Colour Maximite 2
I grew up with the Commodore 64 and the Apple II. The greatest aspect of the Apple II, for me, was the inclusion of BASIC. With BASIC I was able to produce lightweight games and projects for school.
I have been looking for a way to bring the experience of the Apple II, in particular the inclusion of BASIC, to my young nieces. The Apple II could fill that roll easily, but without an Uncle Devon around it wouldn’t be the easiest onramp. BASICEngine intregued me for a while, unfortunately there isn’t a community there.
That’s when the Colour Maximite 2 walked in to my life. The story of creating MMBasic, the BASIC interpreter used by the CMM2, is a particulary compelling read
The CMM2 machine supports BASIC, supports modern graphics, supports a GPIO breakout for controlling circuits, the list goes on. Honestly the only thing the machine is missing is Orgegon Trail and Where in the World is Carmen Sandiego?
Ordering the machine parts
Board
- I purchased my CMM2 board from CircuitGizmos.
The Colour Maximite 2 project page includes a list of international retailers.
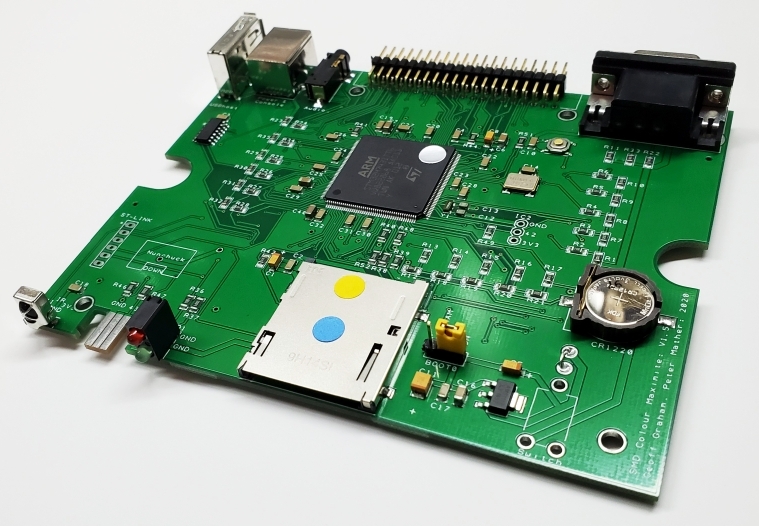
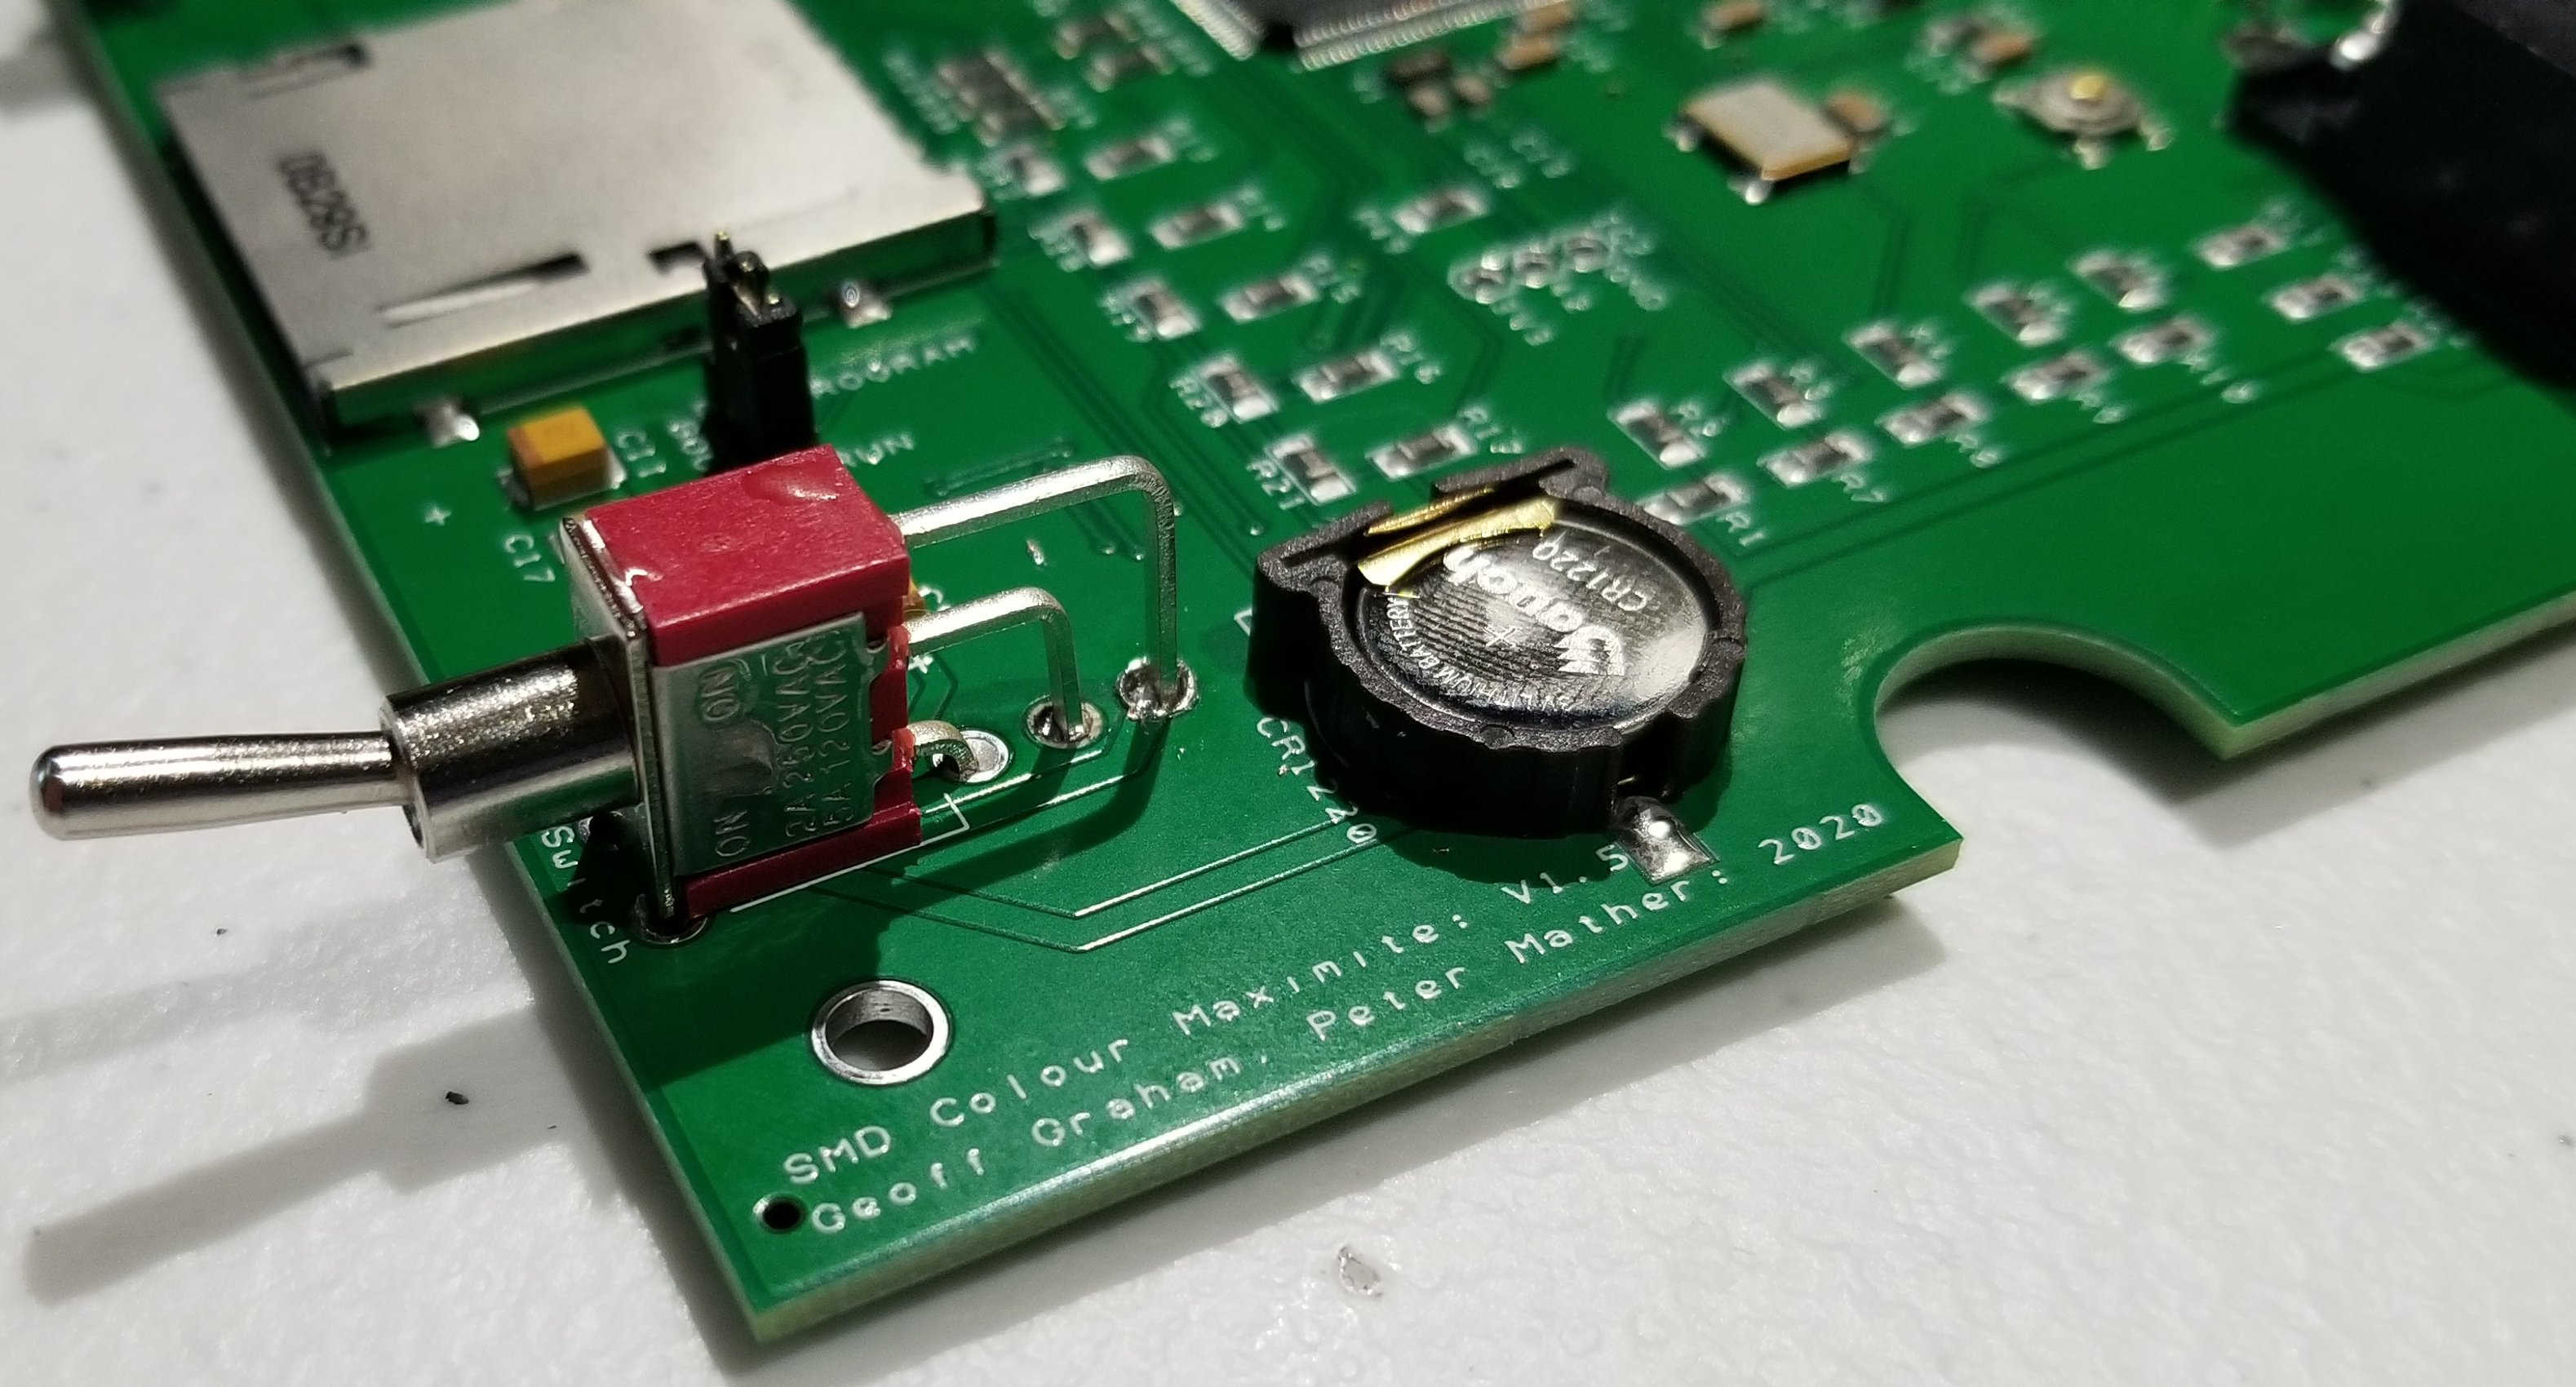
Power Switch
- The board from CircuitGizmos does not come with a power switch. For some it is not a problem for there to not be a power switch since the power is wired to be on all the time. Since I wanted a switch, I needed to purchase a
Mini Right Angle Toggle Switch Switches SPDT 2 Position ON ON PCB Mountingwhich I found on eBay

GPIO Breakout
- The CMM2 board has the same GPIO pinouts as a Raspberry Pi. However, the GPIO connector is a bunch of pins that connect to a 40-pin ribbon cable. Fortunately, there are
Raspberry Pi 3B+/4B Accessories T type GPIO Expansion Board 40P cableswhich can be purchased through AliExpress.

Case
- The hardest item to procure was the electronics enclosure case.
CircuitGizmos does not carry the case directly, but they include links to the Australia suppliers. The creators of the CMM2 are from Australia, so naturally they chose a locally sourced case which is oddly enough difficult to locate in the USA.
I did finally locate a supplier of thePlastic 140mm x 110mm x 35mmcase on eBay

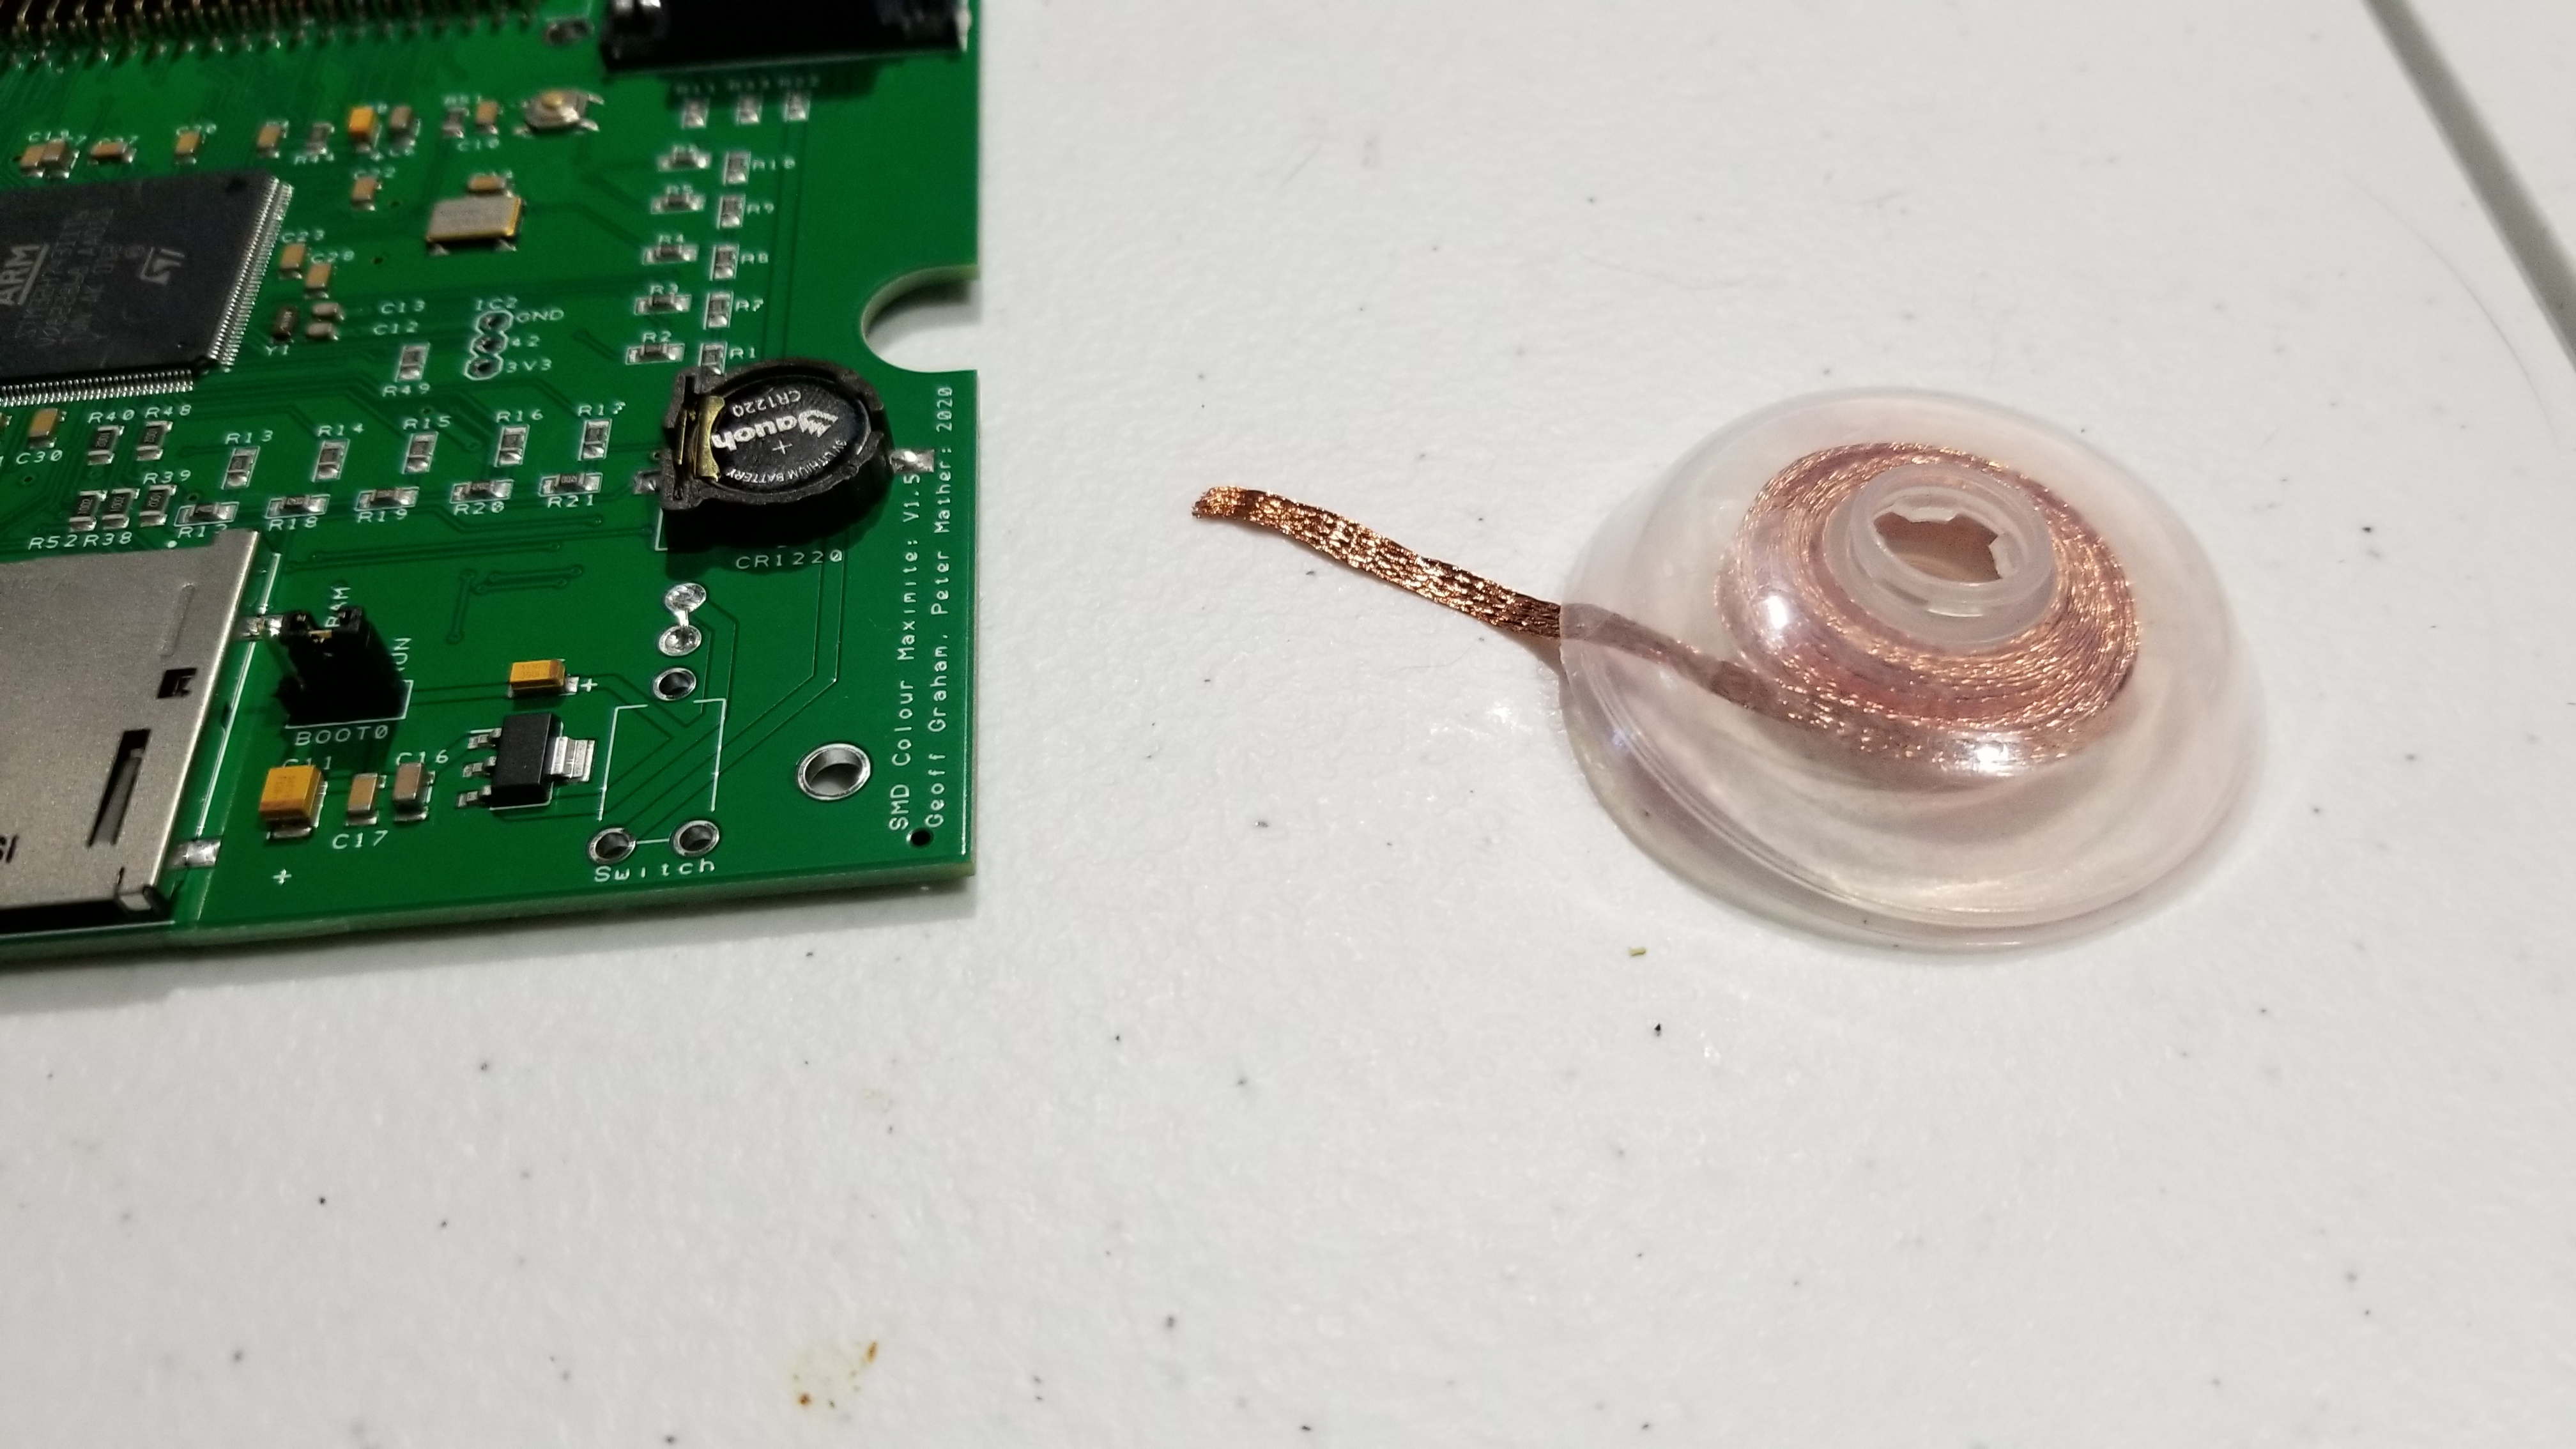
SD Card
- And of course a 16GB SD Card from Amazon. Definitely the easiest project piece to acquire.
Installing the Power Switch
Unsolder the always-on power pin bridge
- Unfortunately the board came with a wire soldered to the power pins to keep the machine on at all times.

- Because I wanted to install a power switch, I needed to remove the power bridge wire so I could solder in my new switch.
Solder on the 3-pole power switch
- After removing the always-on power bridge wire I was able to solder in my new on/off switch.
Setting up an SD Card
- The Colour Maximite 2 will not do much without an SD Card.
- It’s true that the BASIC system is built in to ROM, but you can’t even create a basic
GOTO 10loop program without an SD card present.

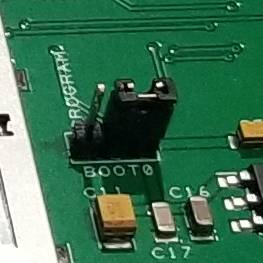
Updating the Firmware
-
I intended to try out the CMM2 Welcome Tape put together by members of The BackShed Forum, however the CMM2 Welcome Tape requires an updated firmware. So first thing we’ll do is update the firmware.
-
The CMM2 User Manual includes instructions for upgrading the firmware.
-
There are jumper pins labeled
programandrun.
Place a jumper on thecommonandprogrampins.
-
Disconnect the Type-B USB power cable from the Colour Maximite 2.
-
Using a USB Type-A to Type-A cable connect the USB Keyboard port on the Colour Maximite 2 to a USB port on your desktop computer. A new USB device will register on the computer.
-
Run the
STM32CubeProgrammer. -
On the top right of the program window select USB as the communications method.
-
Click on the “Connect” button.
You should then see a series of messagesas shown in the screenshot below finishing with the message “Data read successfully”.
Any messages in red will indicate an error. -
On the left side of the STM32CubeProgrammer window, Click on the download button.
-
Use the “Browse button” to select the firmware file (it will have an extension of .bin).Tick the “Verify programming” checkbox. Finally, click on the “Start Programming” button.
-
Change the jumper pins back to
run.
Navigation Commands
The navigation commands are closer in operation to MS-DOS than Apple II DOS. Don’t expect to type HOME, but insead type cls.
| command | description |
|---|---|
| cls | clear the screen |
| files | launch the file manager |
| edit “filename” | launch full screen text editor |
| ctl+c | exit a running program |
| ls | list directory contents |