Futzing about with SerenityOS
Summary
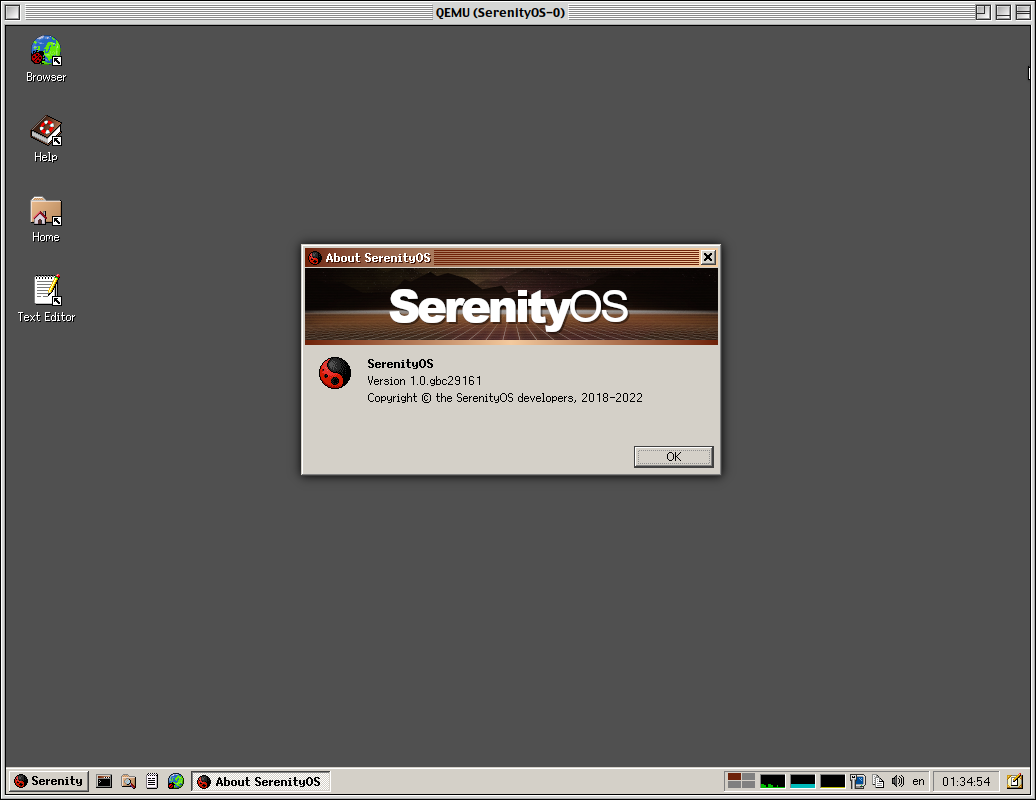
SerenityOS is an amazing project, or what might be better classified as a labor of love. Especially since SerenityOS is a love letter to the operating systems of the late 90’s and early 2000’s. If you lived through the Windows 2000 and 90’s Linux era you will immediately feel right at home.
SerenityOS, being a development projet first, is designed to be built and run inside of a qemu based Virtual Machine.
There are instructions for operating SerenityOS on Windows and MacOS, but I personally find the lowest barrier to entry comes from using Linux as the host OS.
Building and Running SerenityOS
Clone SerenityOS from GitHub
git clone git@github.com:SerenityOS/serenity.git
cd serenity
Serenity has really great build instructions. Those build instructions work best when you are developing on an Ubuntu machine.
After installing the pre-requisites, the Serenity build scripts are all that are required to build the OS:
Meta/serenity.sh rebuild-toolchain
My Lenovo T450 isn’t the strongest machine, so it took 25 minutes to compile the toolchain.
Serenity is run as a qemu VM. The image used by the qemu VM is built automatically for you:
Meta/serenity.sh run
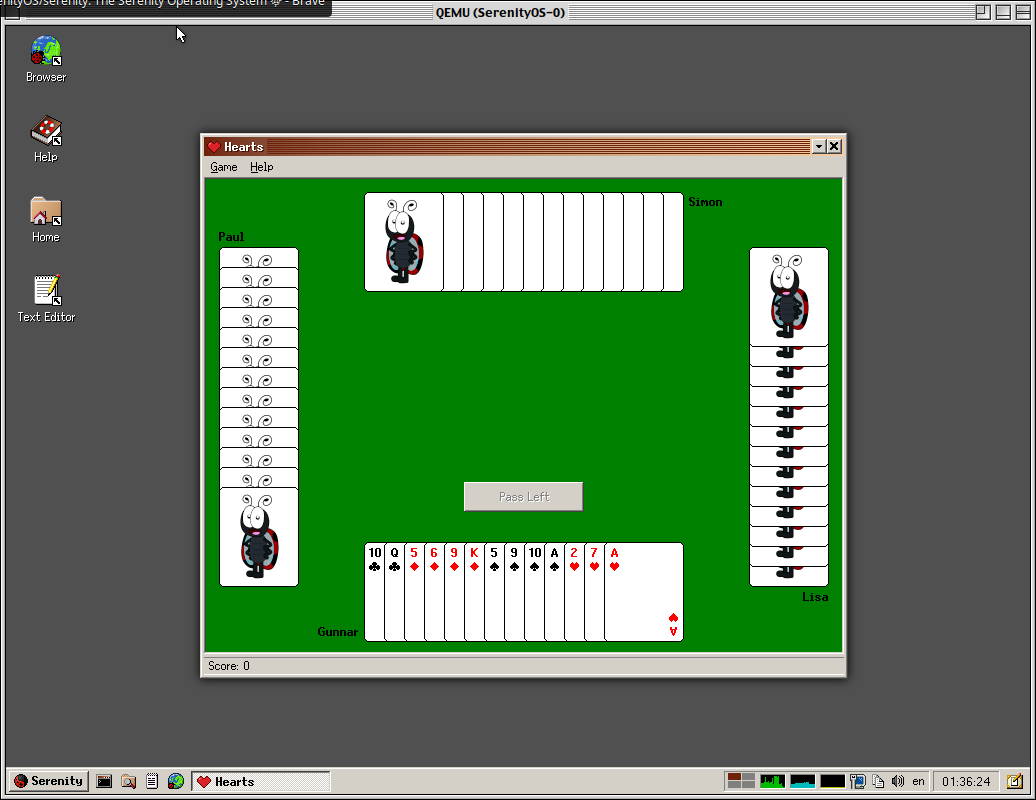
Playing with Hearts
What’s impressive about Serenity is that everything included is built from scratch. The list of apps to have at the base level comes straight from the old Windows 9x and 2000 era, right down to the games like Hearts.
Ports
Most of Serenity is focused around the idea of building everything from scratch with no off the shelf parts. If you need to browse the web, you don’t just compile Chromium or Firefox, you build a web browser from scratch! However, if you find that you just can’t live without familiar tools like vim, bash, or python, there are ports available that will make those packages available to Serenity. Each port has a script called package.sh which downloads and builds each package along with the depdencies.
cd Ports
for p in vim nano mc nano bash cmatrix less gawk dos2unix tr binutils gzip p7zip sed jq grep wget curl git python3 ruby OpenJDK openssl openssh serenity-theming; do
  echo $p
  cd $p
  ./package.sh
  cd ..
done

Meta/serenity.sh run
Creating a user account
When you first startup SerenityOS, you will be logged in as the anon user. However, Serenity does have multi-user support.
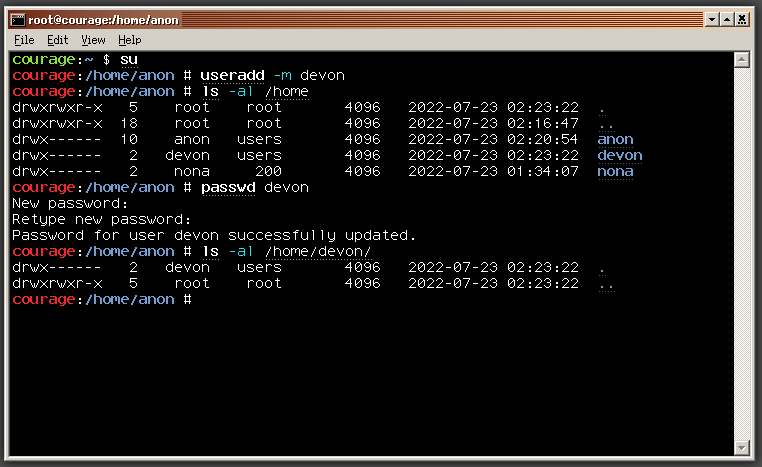
su
useradd -m devon
chown devon:users /home/devon
passwd devon
id devon
Doesn’t copy the SKEL to the user direcotry, so you will need to copy that over.
cp -R /etc/skel/* /home/devon/
mkdir /home/devon/{Desktop,Documents,Downloads,Source,Tests,Videos,sql}
chown does not support recursion or wildcards of any kind. The easiest way for me to chown the ownership of the directories was with bash:
bash
for p in $(ls); do chown devon:users $p; done

cp -R /home/anon/.config /home/devon/
cd /home/devon/
bash
cd .config
for p in $(ls); do chown devon:users $p; done
chown devon:users .
After creating the user I was not able to login as that user. Or rather, I wasn’t able to get a working desktop.
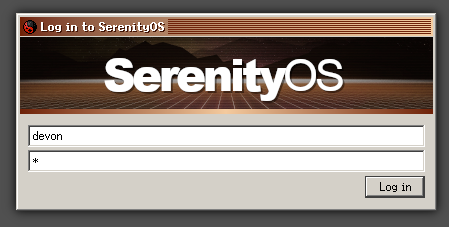
I gave up on trying to get a local user setup that wasn’t just anon.