PowerBook 1xx SCSI Disk Mode
- In SCSI Disk Mode the PowerBook 1xx will behave as an external SCSI drive for another computer.
- The inexpensive Powebooks, which include the 140 and 170 models, do not support SCSI Disk Mode.
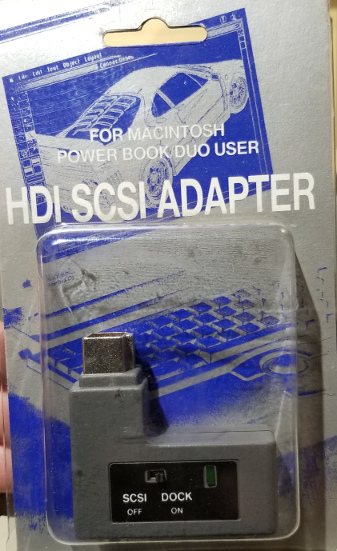
- The PowerBook 1xx has a SCSI connector at the back which, called an HDI-30.

- There are two modes of operation for the HDI-30 adapter: System and Disk
- Not all HDI-30 adapters support Disk, aka Dock, mode. The adapter must have an option to activate SCSI Disk Mode.
Prepare by Configuring SCSI Disk Mode on the PowerBook
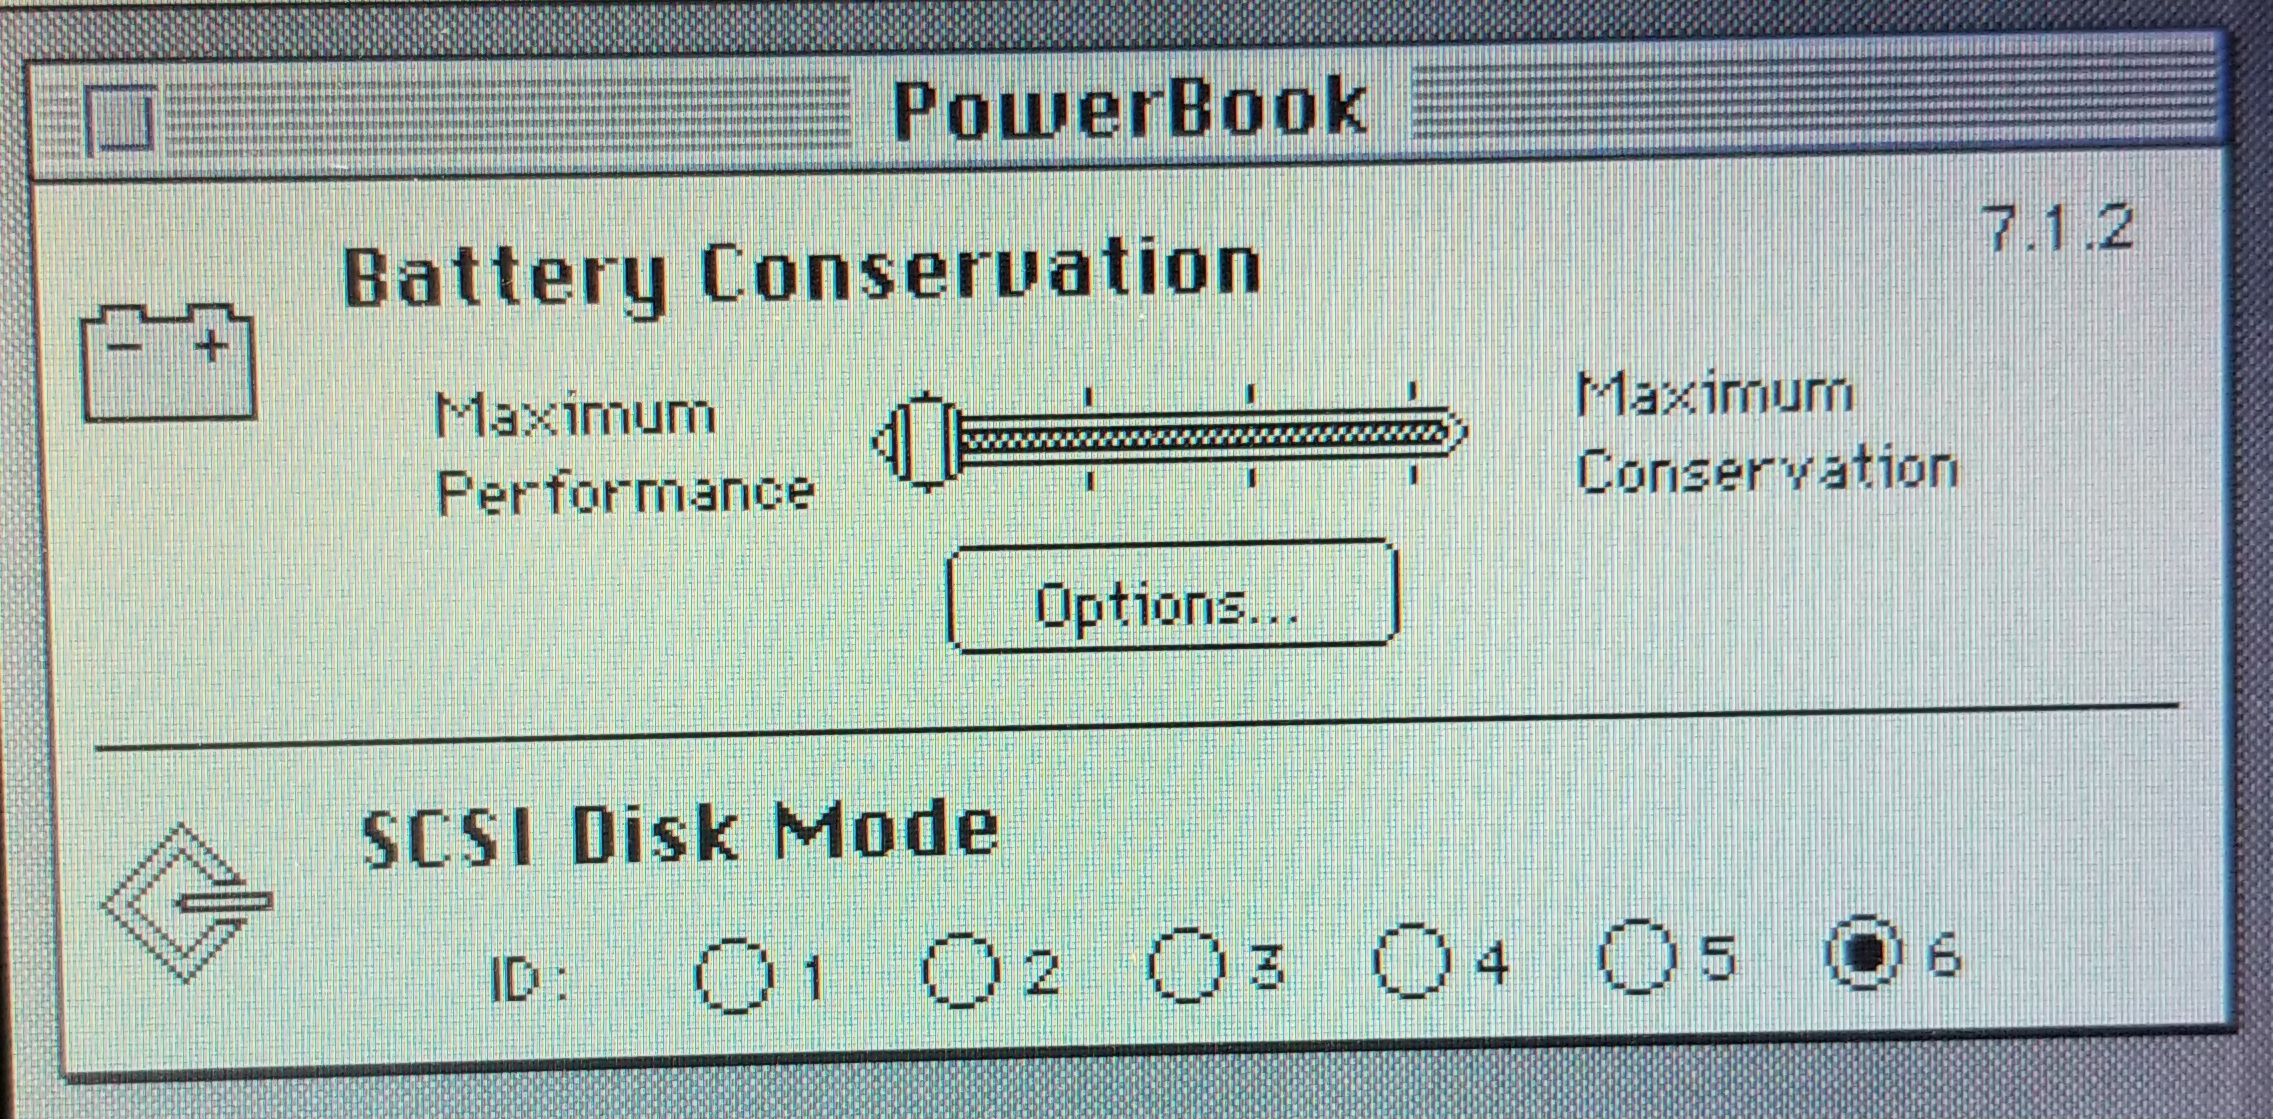
- Open the PowerBook Control Panel.

- Select a SCSI ID for the PowerBook.
- The PowerBook will be acting as an external hard drive, so the SCSI ID must not be 0 or 7.
- If daisy-chained together with other SCSI devices, the device ID must be unique.
Activate SCSI Disk mode and connect to the desktop Mac
- Shut down both Macs and turn off any other SCSI equipment.
- Connect the PowerBook to the SCSI Disk Adapter.
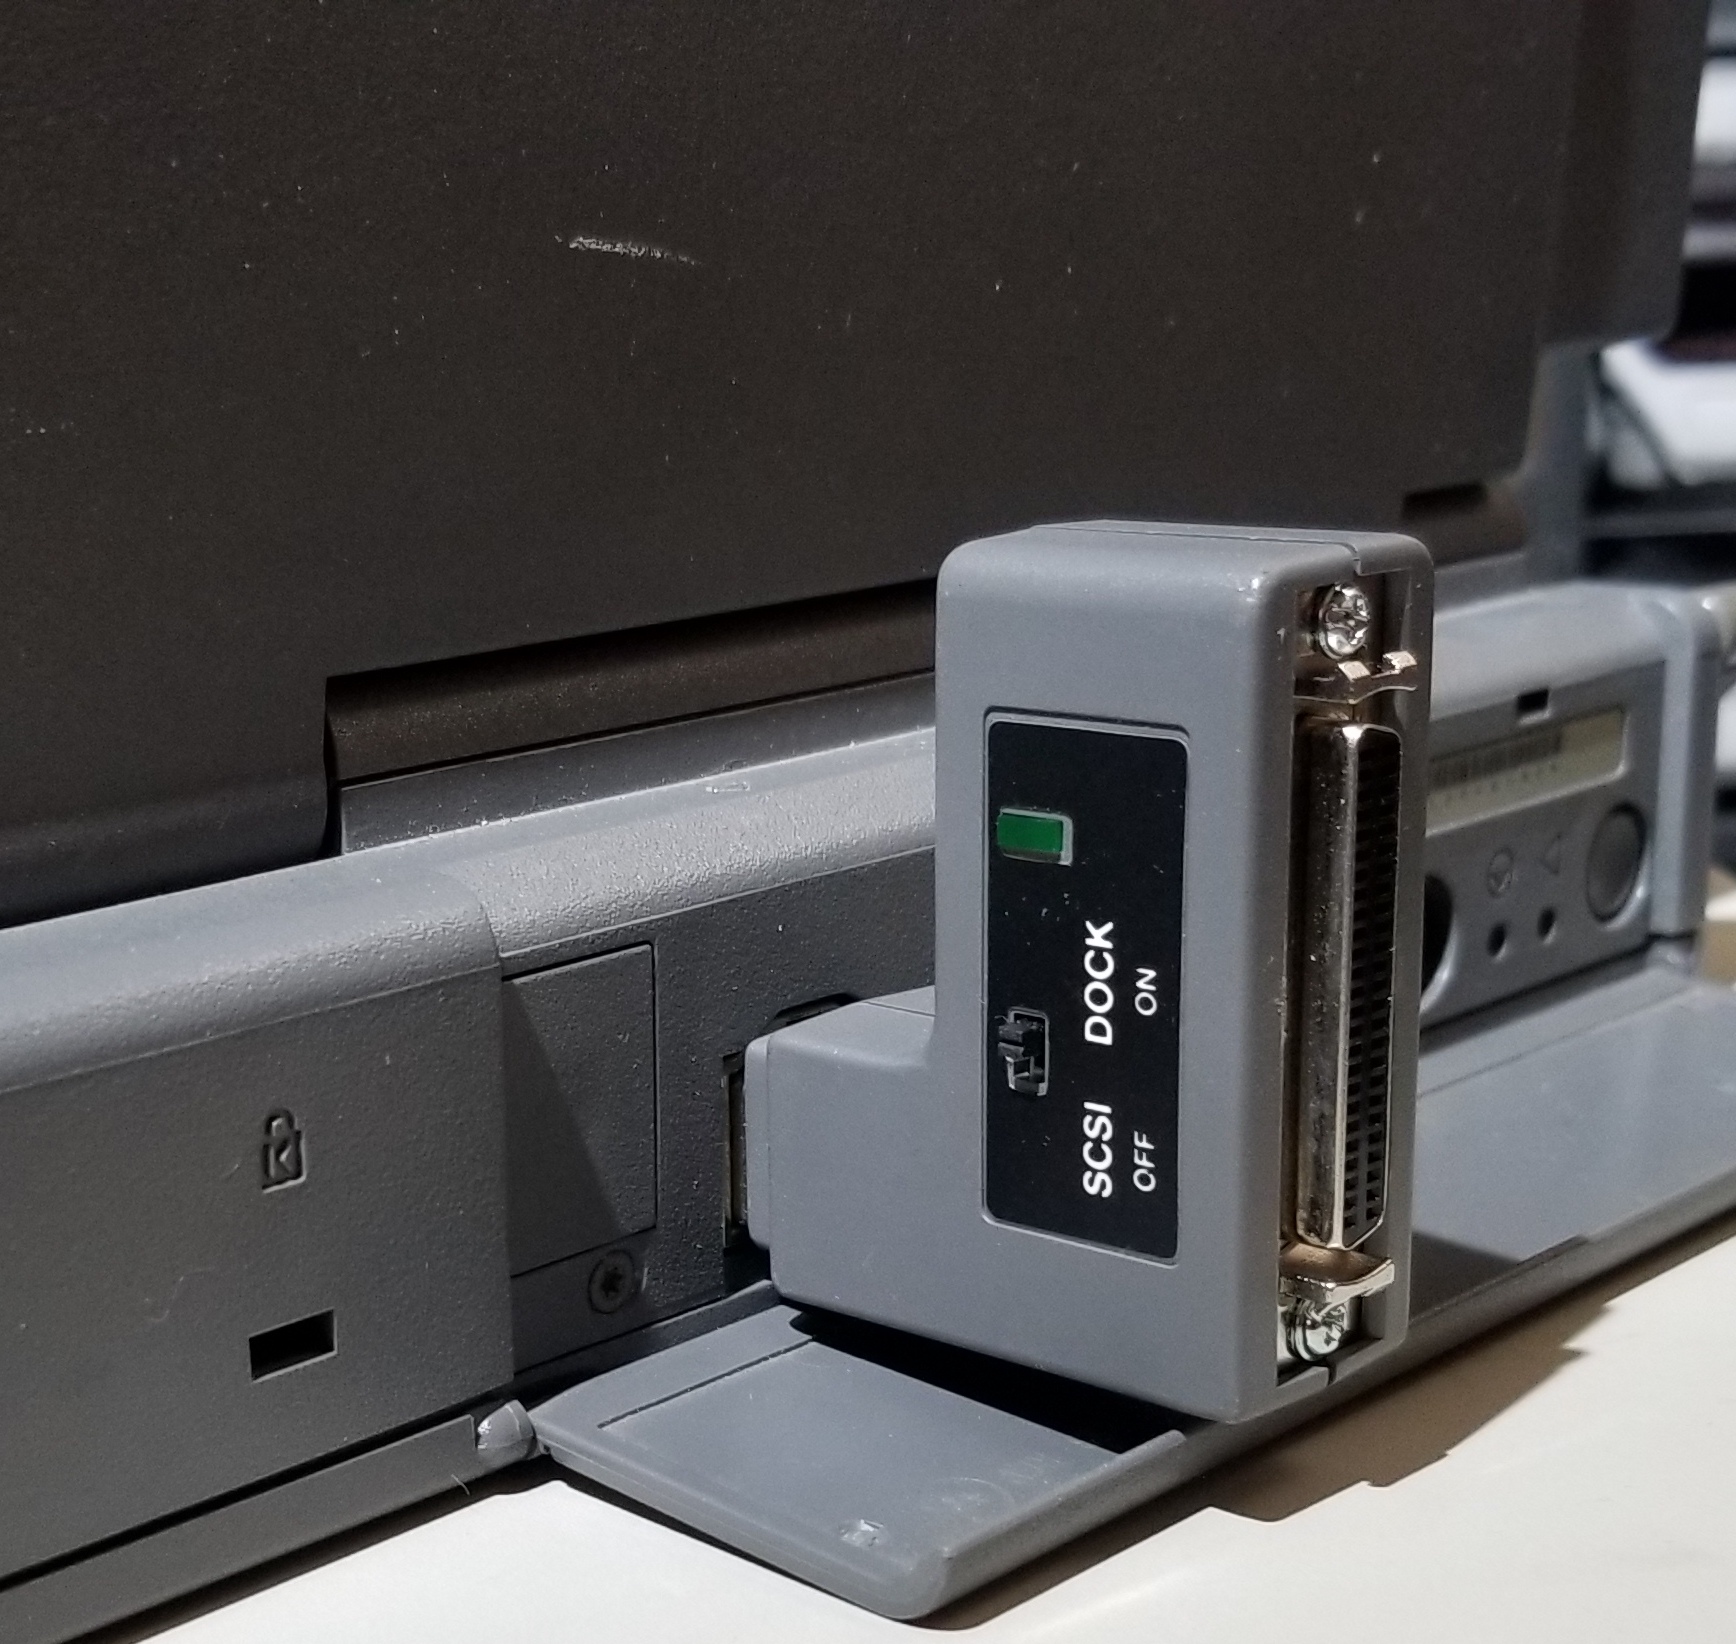
- Put a terminator at the free end of the adapter.
(The terminator is not required when attaching the PowerBook to a Macintosh Portable or to a Mac Plus with no internal drive.) - Connect the terminated end of the SCSI Disk Adapter cable either to the desktop Mac or to the last SCSI device on the chain.
- Turn on the PowerBook.
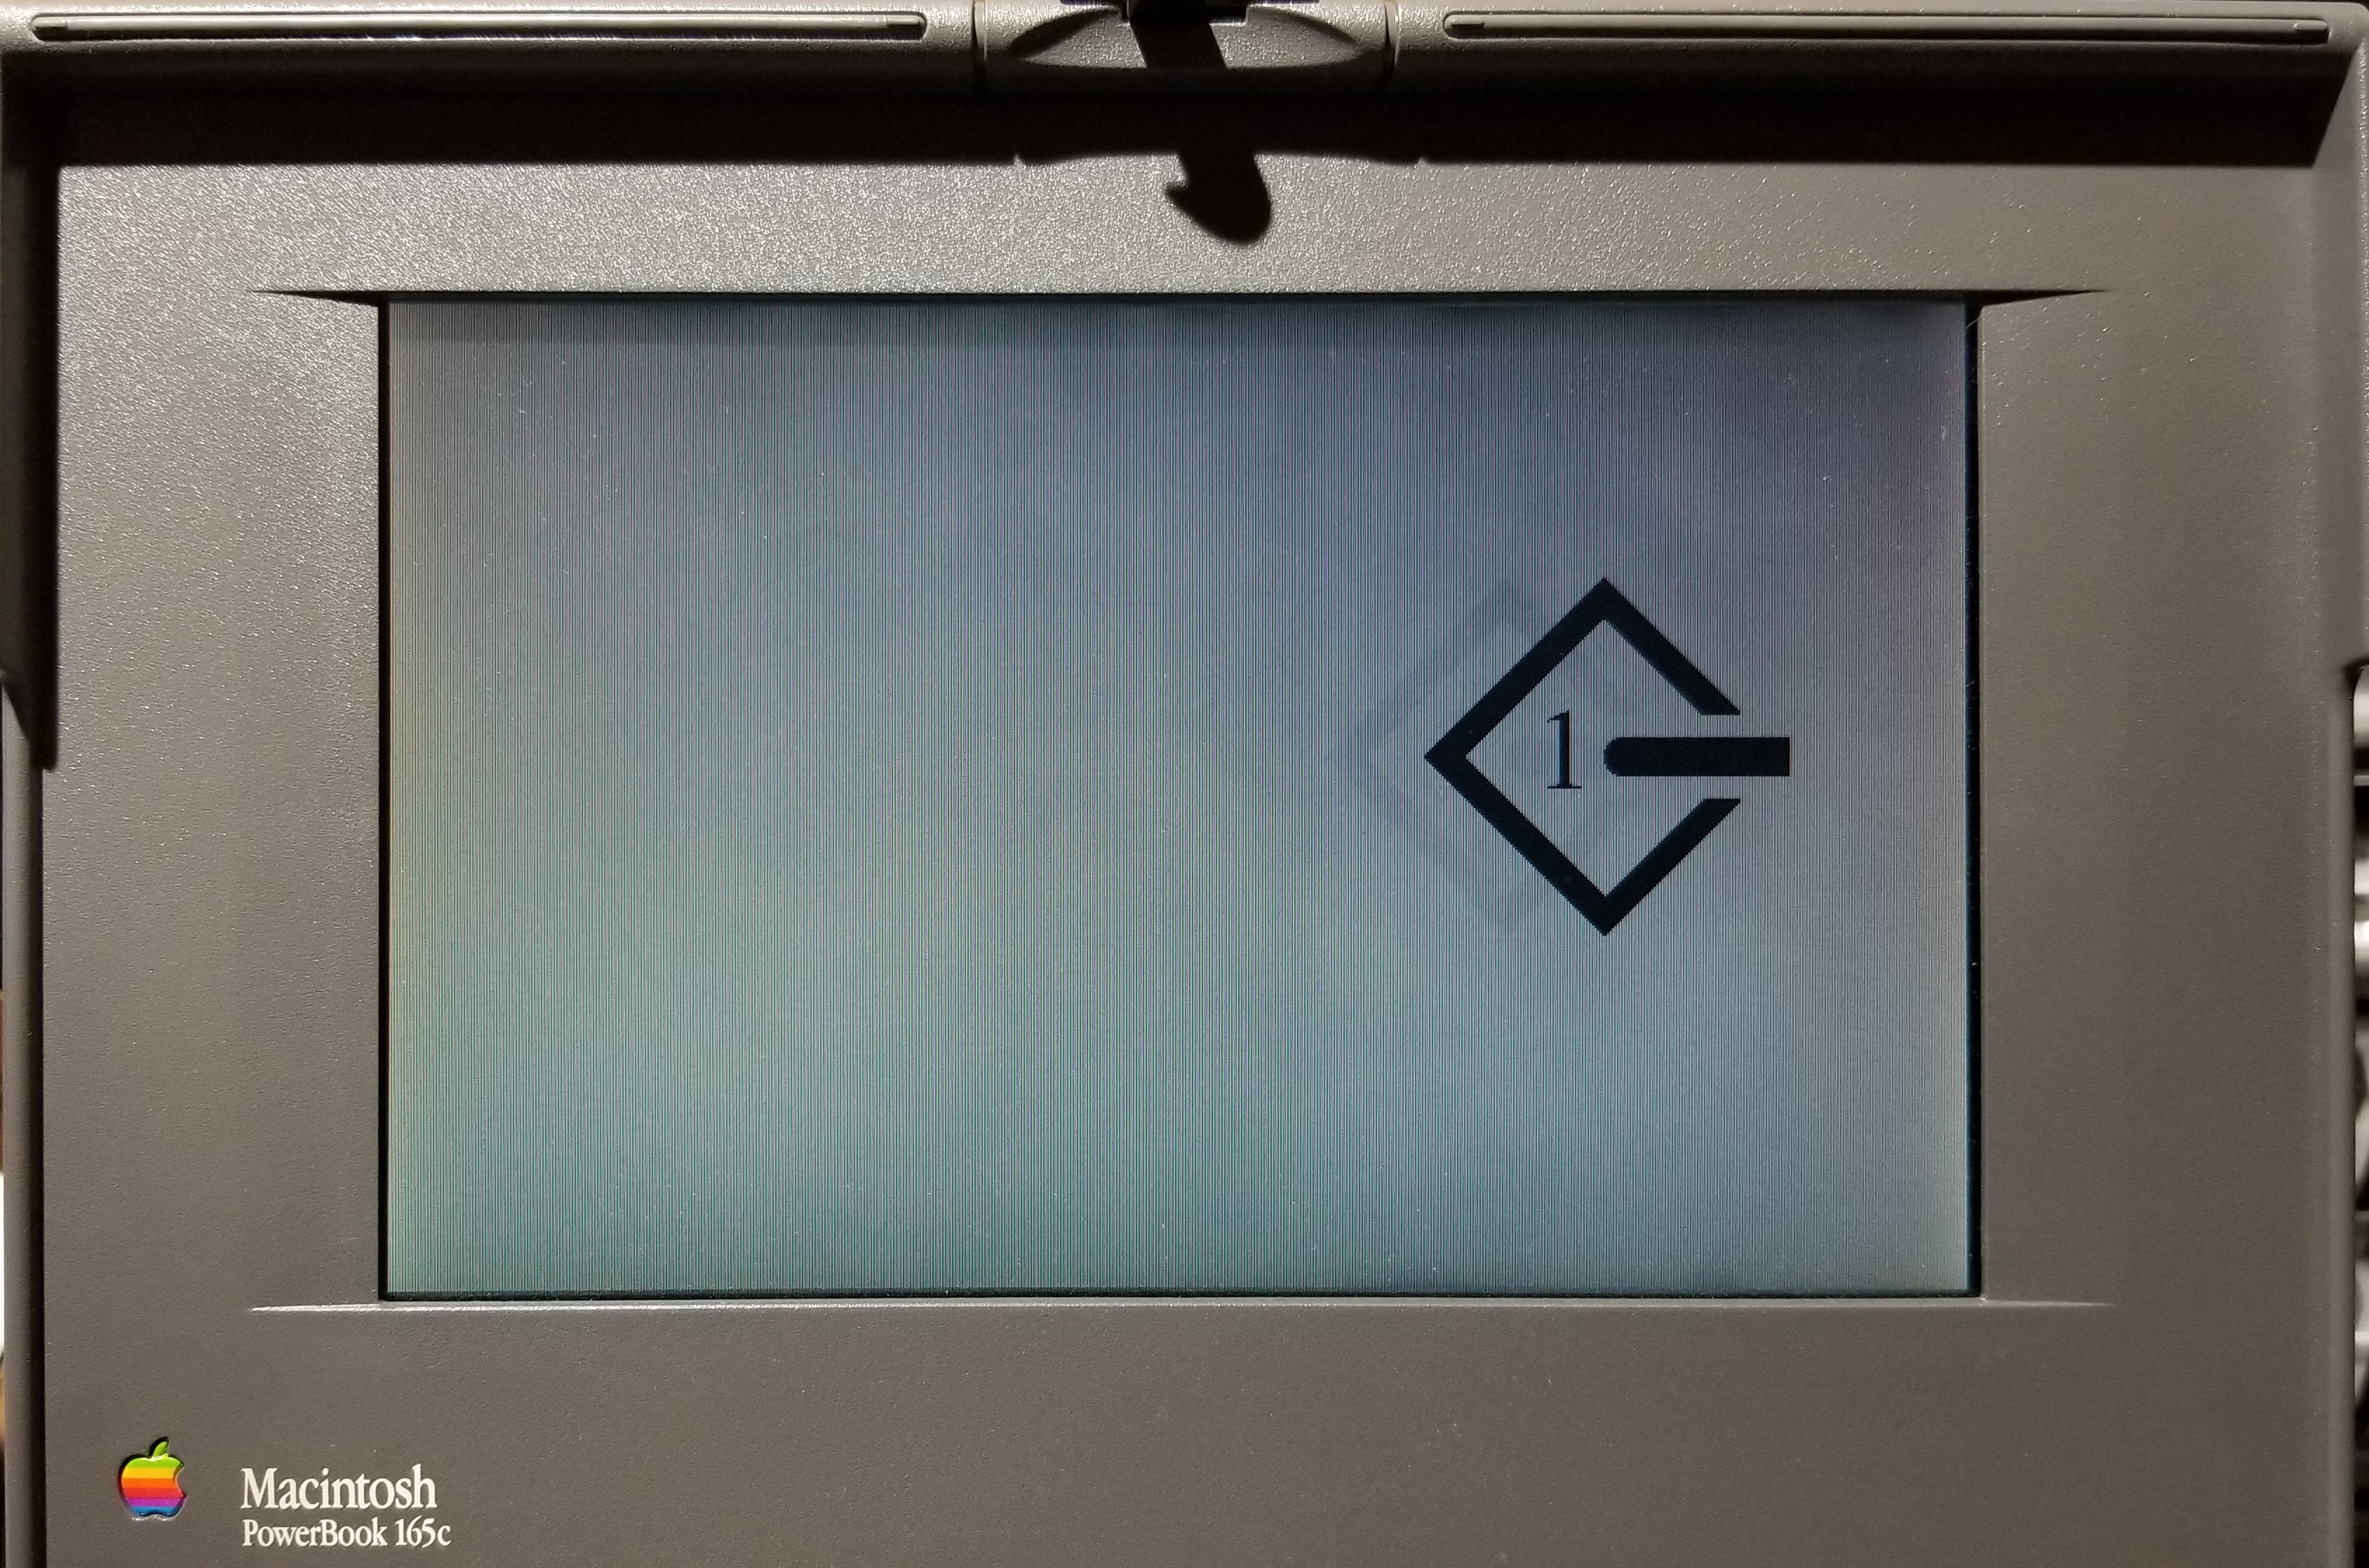
Across the face of the otherwise completely blank PowerBook screen marches a huge SCSI logo (later PowerBook screens may remain blank instead). Inside it is a large digit, representing the SCSI ID selected in the Powerbook Control Panel.
- Turn on any other SCSI devices.
- Finally, turn on the desktop Mac.
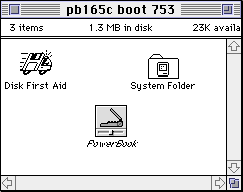
- The PowerBook’s hard drive icon shows up on the desktop Mac’s screen just as though it were an external hard drive.
Reverse the procedure
- First, turn off the desktop Mac.
- Turn off the PowerBook.
- Finally, turn off the other SCSI devices, if any.
Downloads