Using MicroPython with a NodeMCU
Download MicroPython firmware
Download the firmware from http://micropython.org/download#esp8266
wget http://micropython.org/resources/firmware/esp8266-20180511-v1.9.4.binInstall esptool for flashing the NodeMCU
pip install esptoolFlash the MicroPython firmware to the NodeMCU
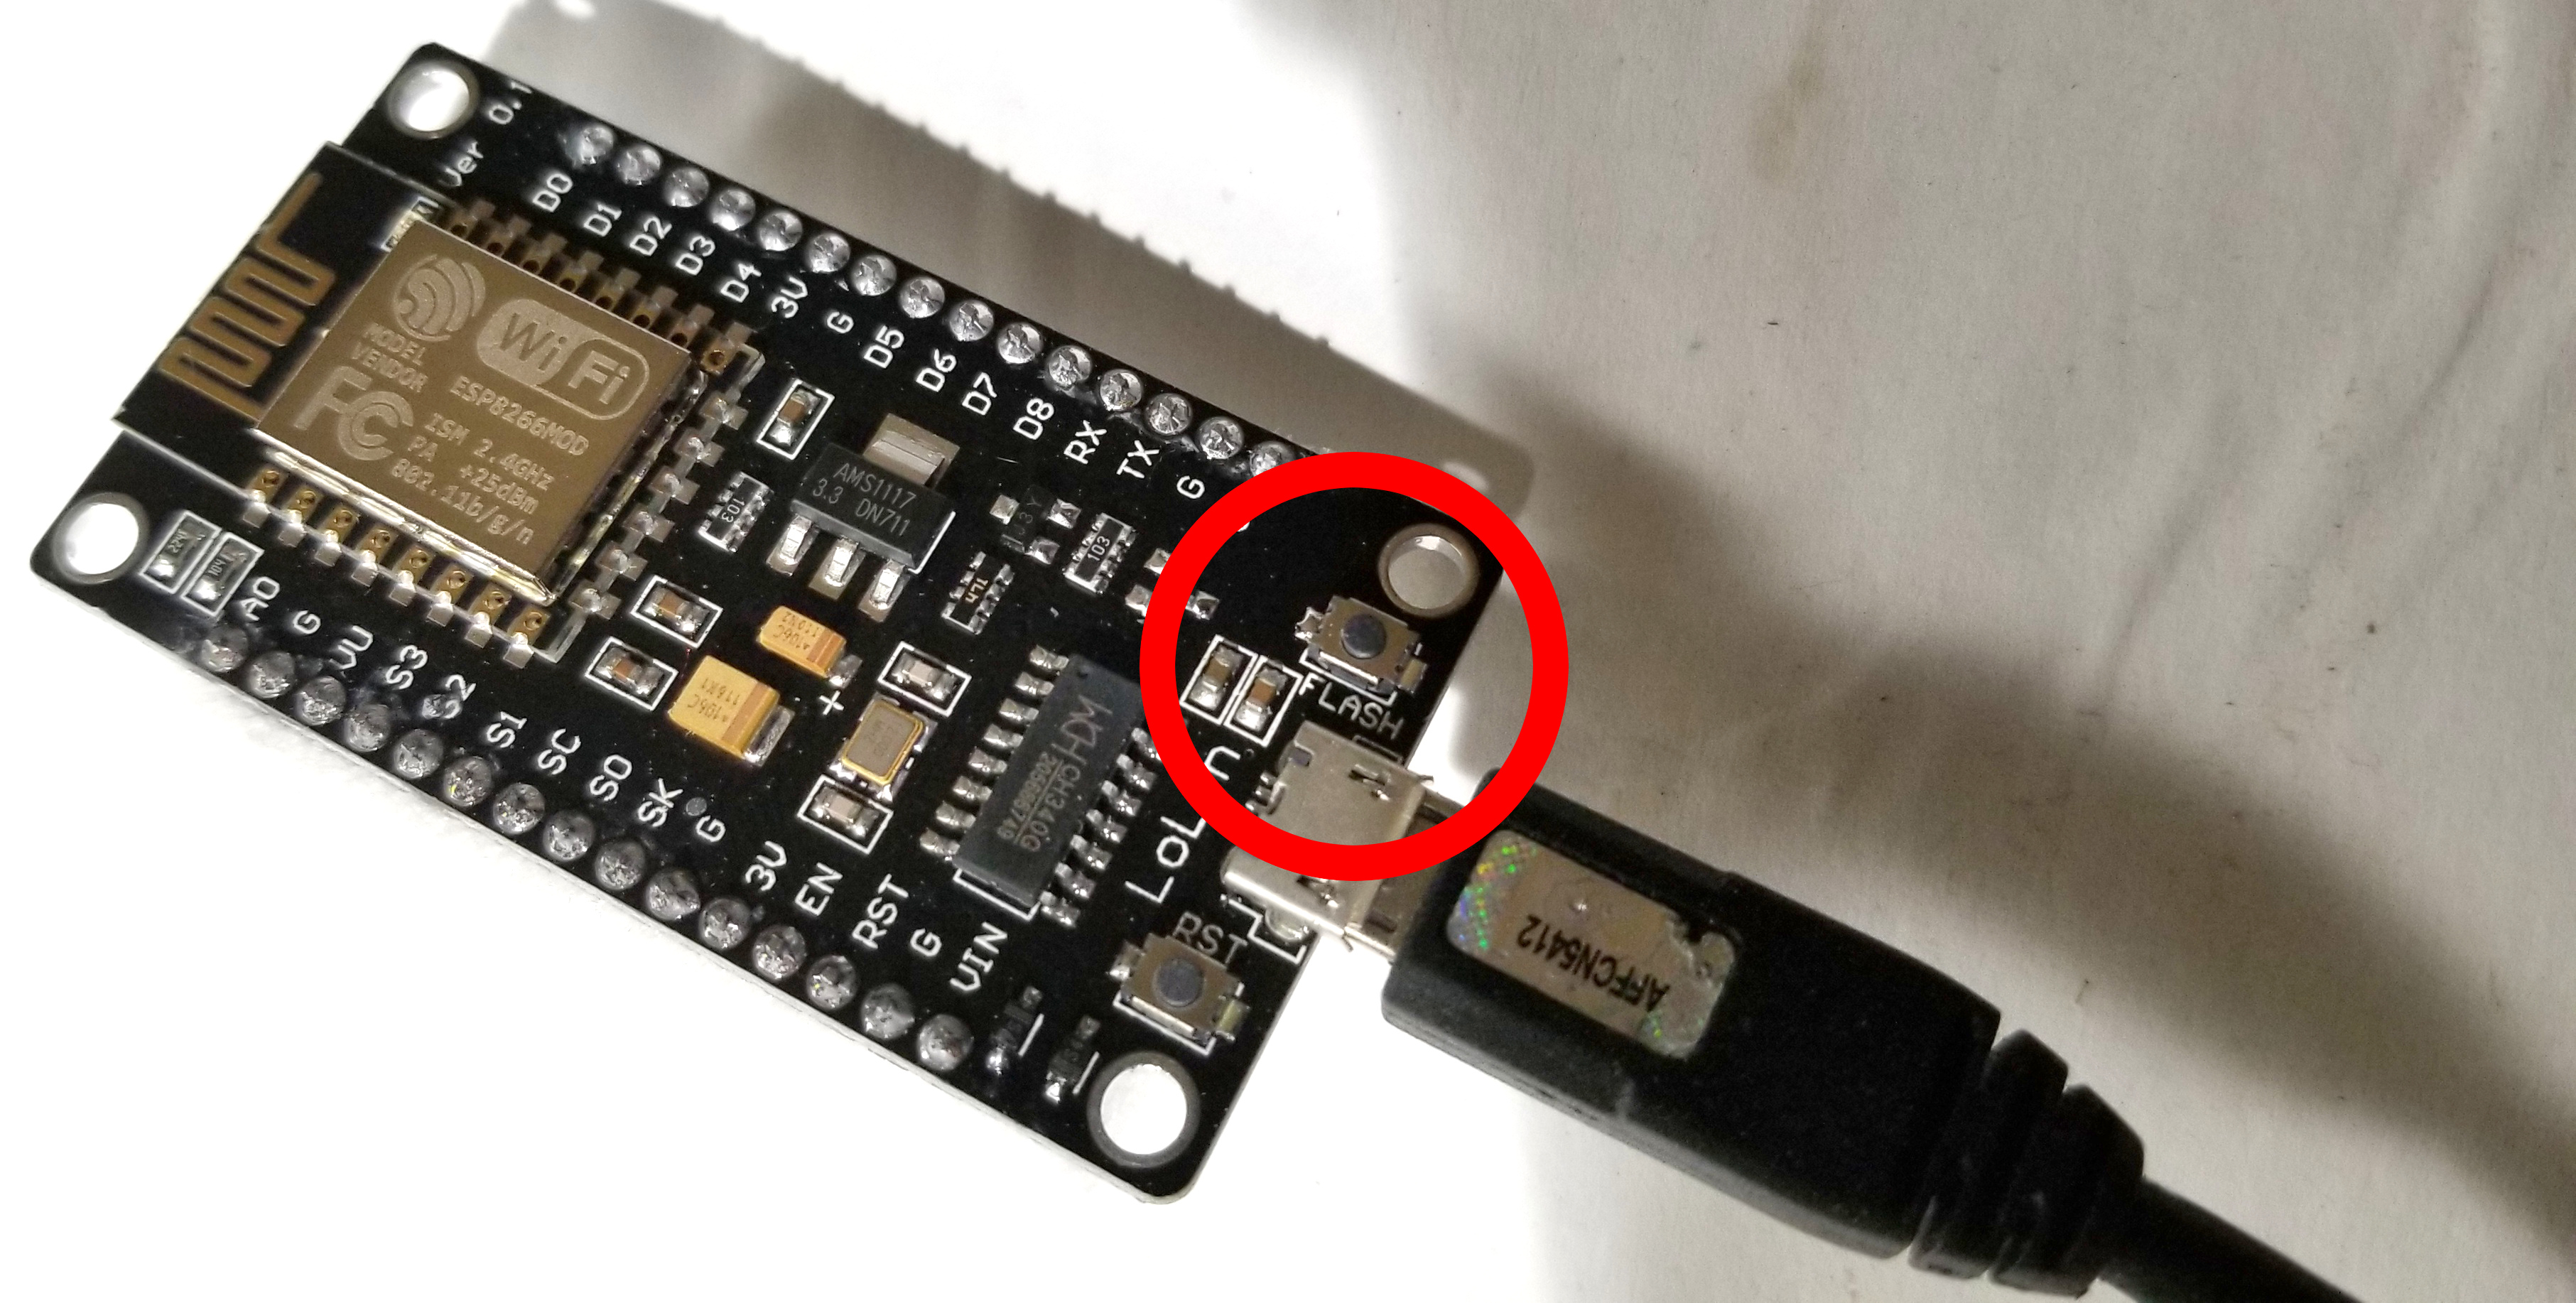
Start the NodeMCU in ROM Flash Mode
- Connect the power to the NodeMCU while holding down the Flash button.
- The flash button will startup the NodeMCU in ROM flash mode.

Connect the NodeMCU using a USB Hub or external power supply
- The NodeMCU will draw 5.5v of power.
- If you are programming the NodeMCU using a Raspberry Pi, you will find that the power draw will be too large and your Raspberry Pi will shutdown.
- I find it easiest to connect to the NodeMCU through a powered USB hub.
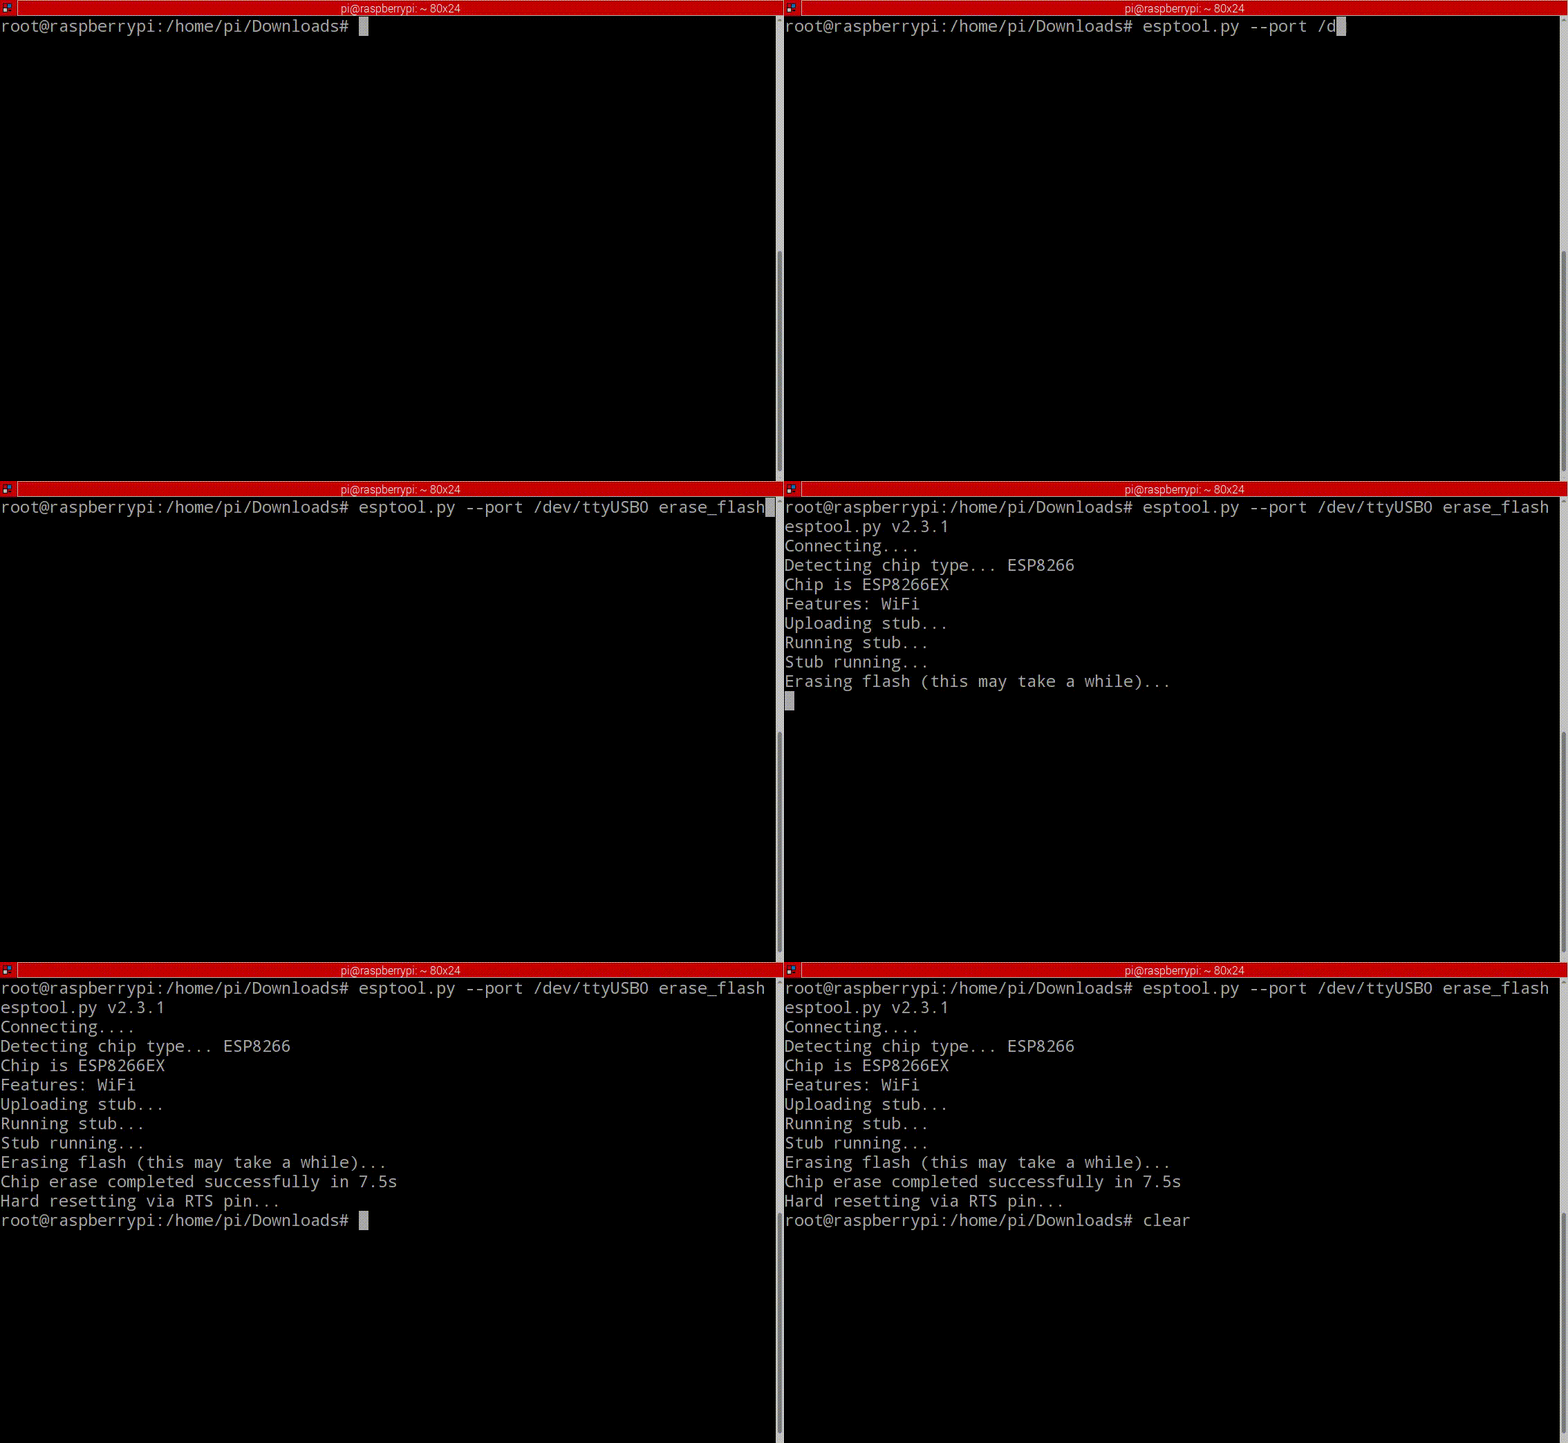
Erase the NodeMCU
esptool.py --port /dev/ttyUSB0 erase_flash
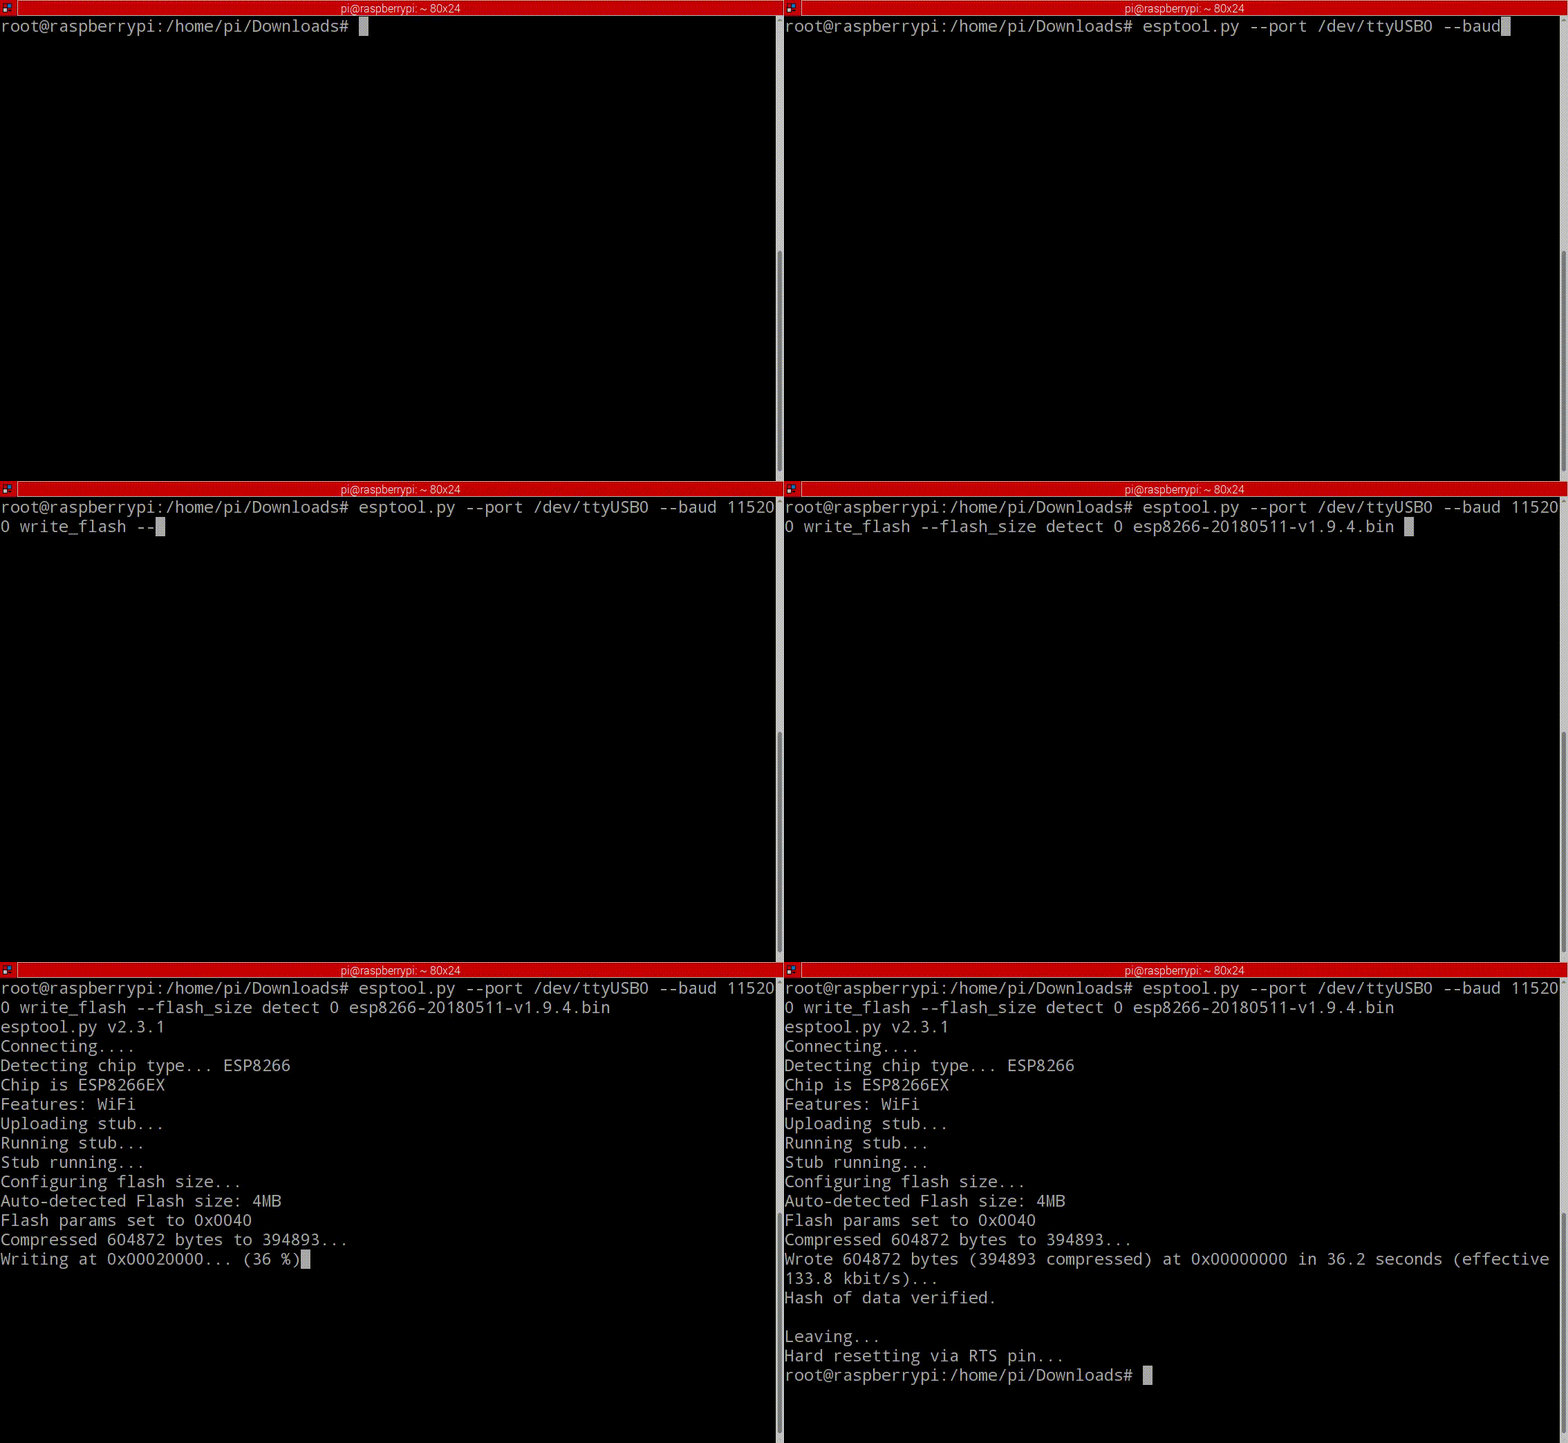
Write the rom to the NodeMCU
esptool.py \
  --port /dev/ttyUSB0 \
  --baud 115200 write_flash \
  --flash_size=detect 0 \
  esp8266-20180511-v1.9.4.bin
- After flashing the NodeMCU with MicroPython, recycle the power on it twice.
Connect to the MicroPython NodeMCU
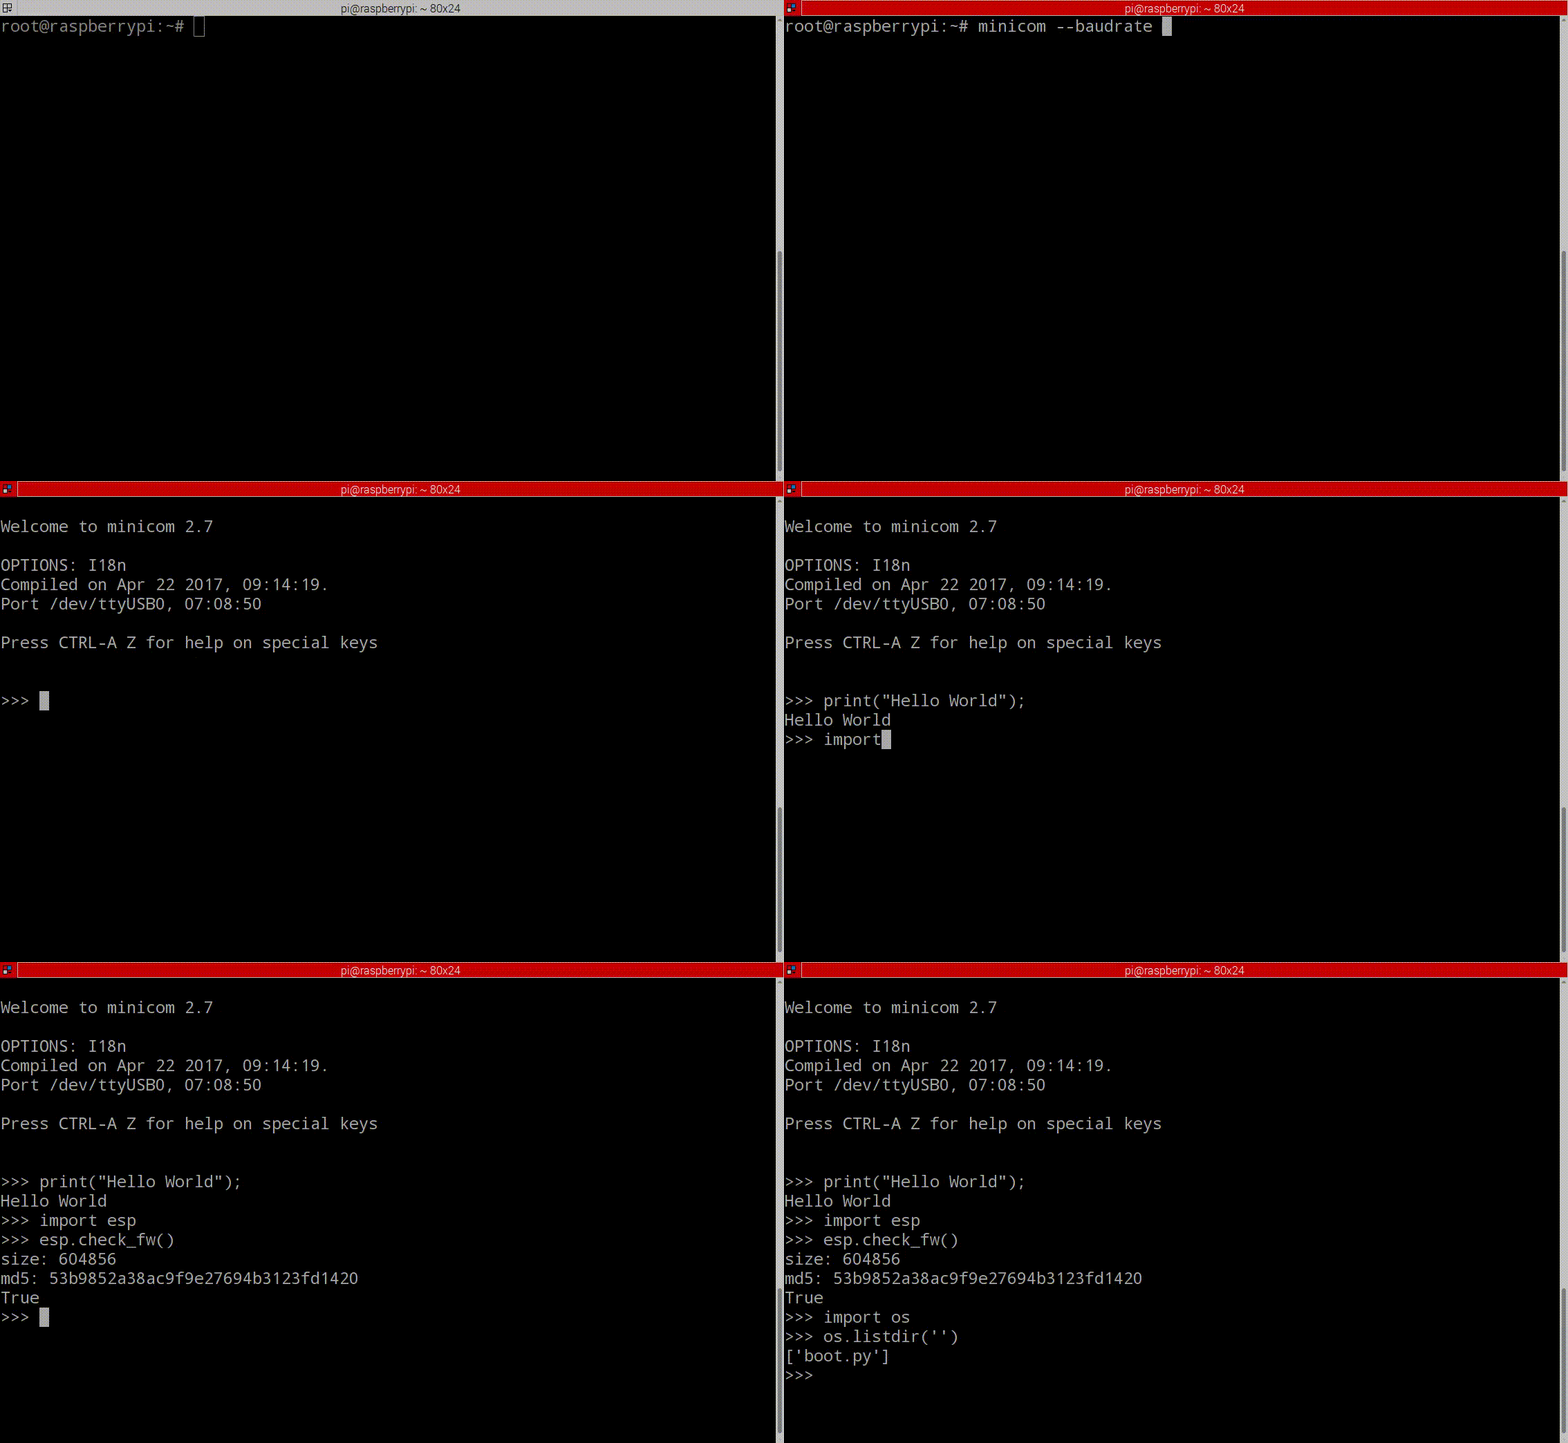
Connect to the MicroPython NodeMCU using minicom
minicom --baudrate 115200 --device /dev/ttyUSB0
Verify the MicroPython firmware
import esp
esp.check_fw()
The Internal Filesystem
-
When the NodeMCU boots the MicroPython framework for the first time, a FAT filesystem will be setup in the firmware.
-
The filesystem can be accessed over (Web)REPL using the appropriate client.
List files via REPL
import os
os.listdir('')
Startup Scripts
-
There are two startup scripts: boot.py and main.py
- boot.py is executed first
- main.py is executed second
Read the list of files on the filesystem using Python
import os
print(os.listdir())
Read the contents of a file using Python
with open("boot.py", "r") as f:
  print(f.read())

with open("webrepl_cfg.py", "r") as f:
  print(f.read())
Write the contents of a file using Python
with open("myfile.txt", "w") as f:
  f.write("Hello world!")
Configure Wifi
After getting the NodeMCU running MicroPython, the wifi can be configured.