Using MicroPython with a WeMos D1 Mini
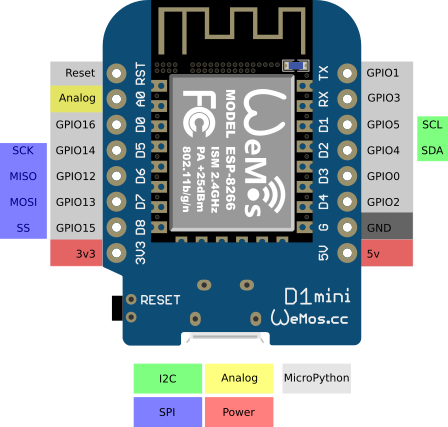
WeMos D1 Mini
- The WeMos is a miniature WeMos
- I purchase mine from AliExpress
- The WeMos has:
- 11 digital input/output pins, all pins have interrupt/pwm/I2C/one-wire supported (except D0)
- 1 analog input(3.3V max input)
- a Micro USB connection
Download MicroPython firmware
Download the firmware from http://micropython.org/download#esp8266
wget http://micropython.org/resources/firmware/esp8266-20190125-v1.10.binInstall esptool for flashing the WeMos
pip install esptoolFlash the MicroPython firmware to the WeMos
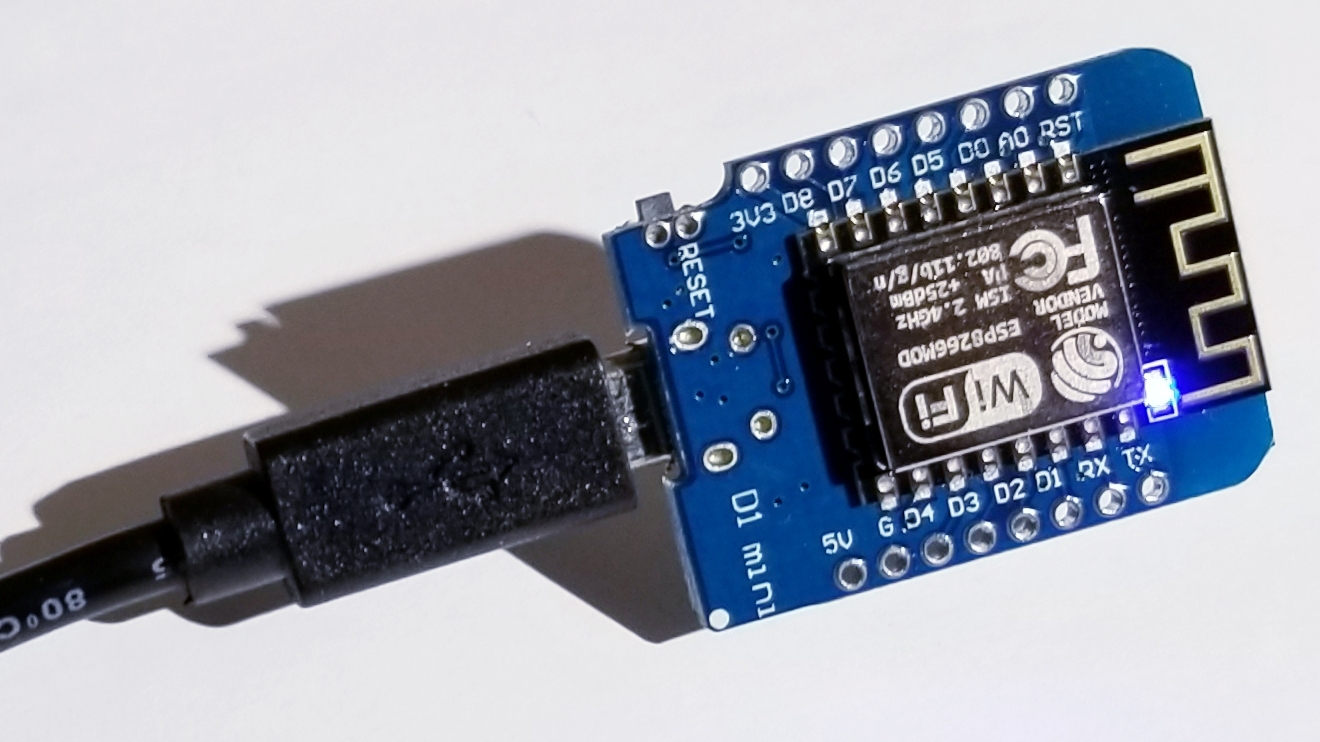
Unlike the NodeMCU, there is no Flash Button to initiate flash mode. Just plug in the WeMos.
Connect the WeMos using a USB Hub
- The WeMos will draw 5.5v of power.
- If you are programming the WeMos using a Raspberry Pi, you will find that the power draw will be too large and your Raspberry Pi will shutdown.
- I find it easiest to connect to the WeMos through a powered USB hub.
- If connecting to a normal PC desktop, then no powered USB hub is required.
Erase the WeMos
esptool.py --port /dev/ttyUSB0 erase_flash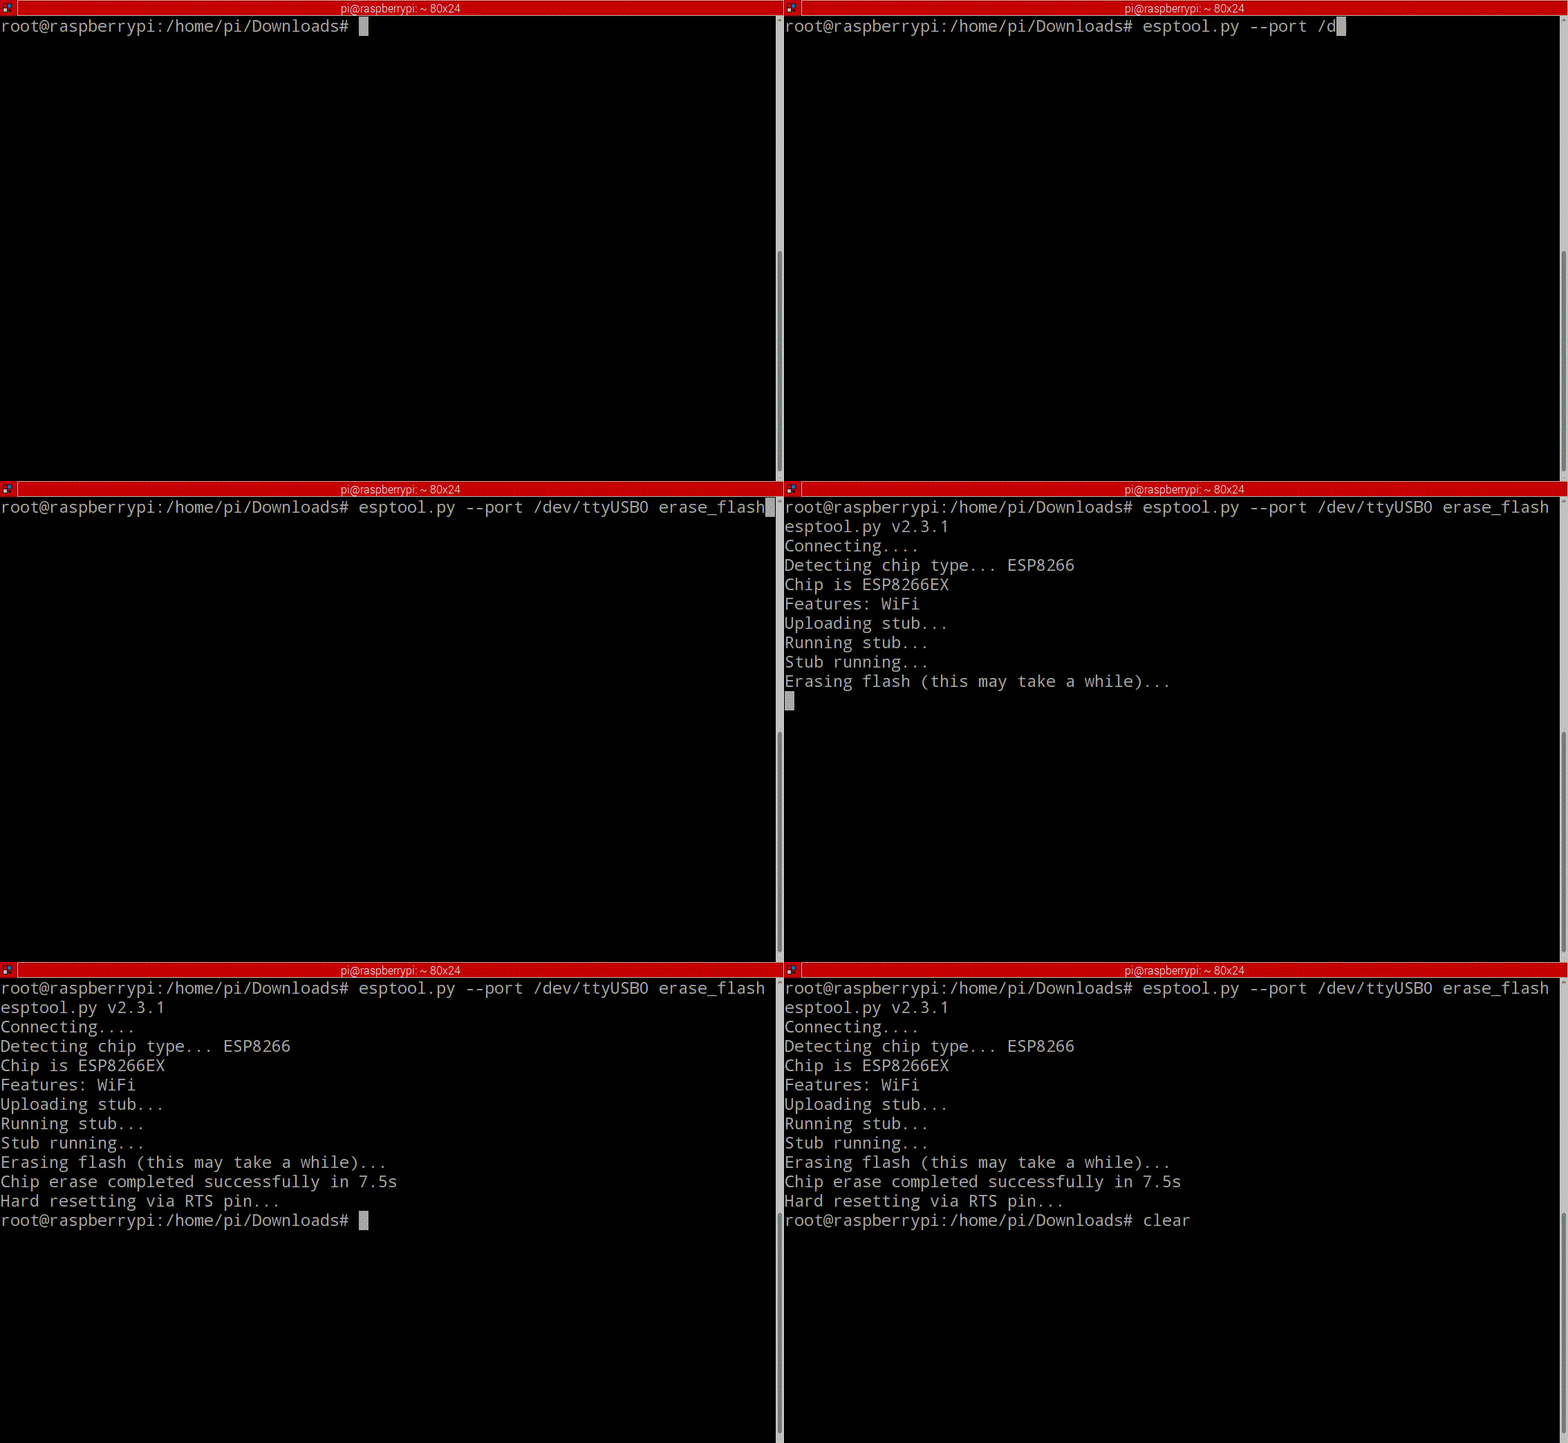
Write the rom to the WeMos
esptool.py \
  --port /dev/ttyUSB0 \
  --baud 115200 write_flash \
  --flash_size=detect 0 \
  esp8266-20190125-v1.10.bin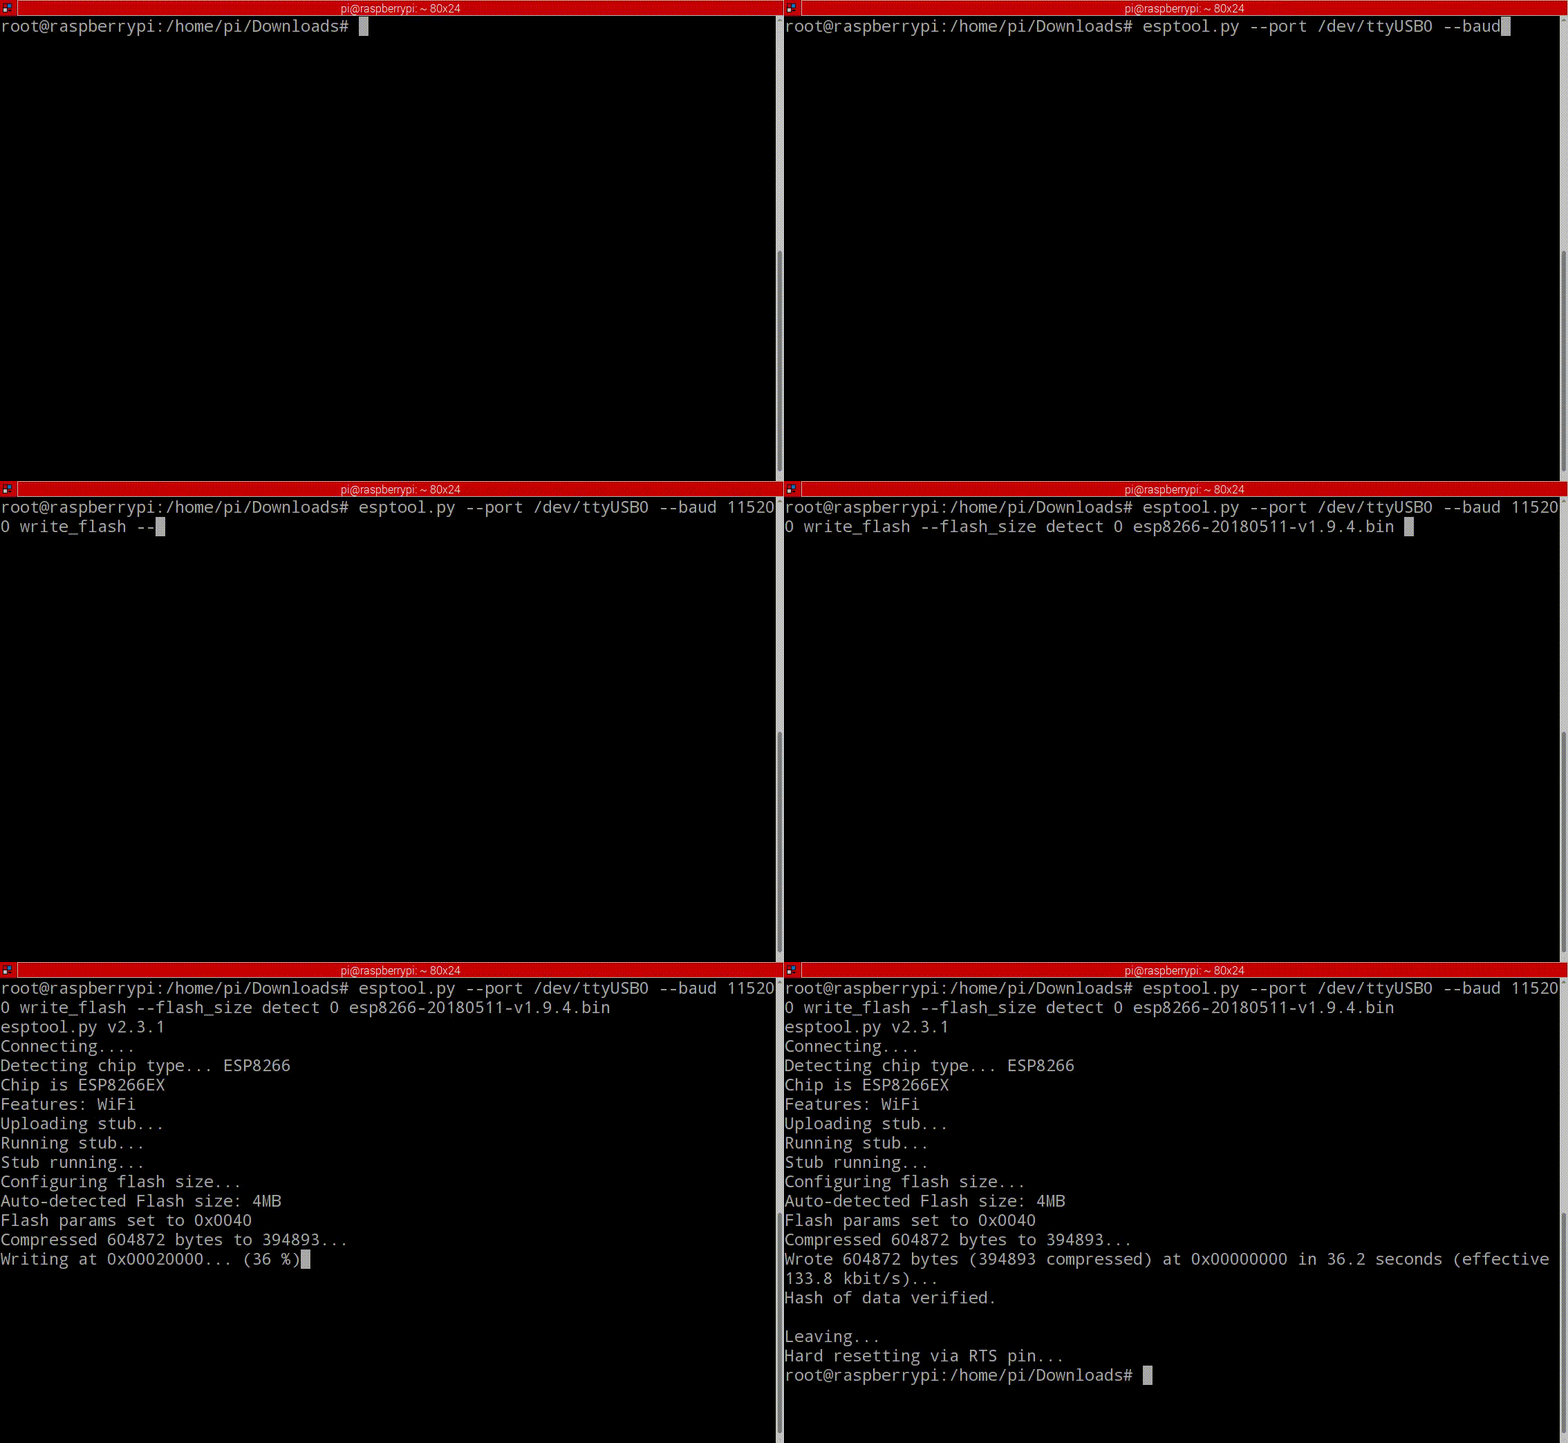
- After flashing the WeMos with MicroPython, recycle the power on it twice.
Connect to the MicroPython WeMos
Connect to the MicroPython WeMos using minicom
minicom --baudrate 115200 --device /dev/ttyUSB0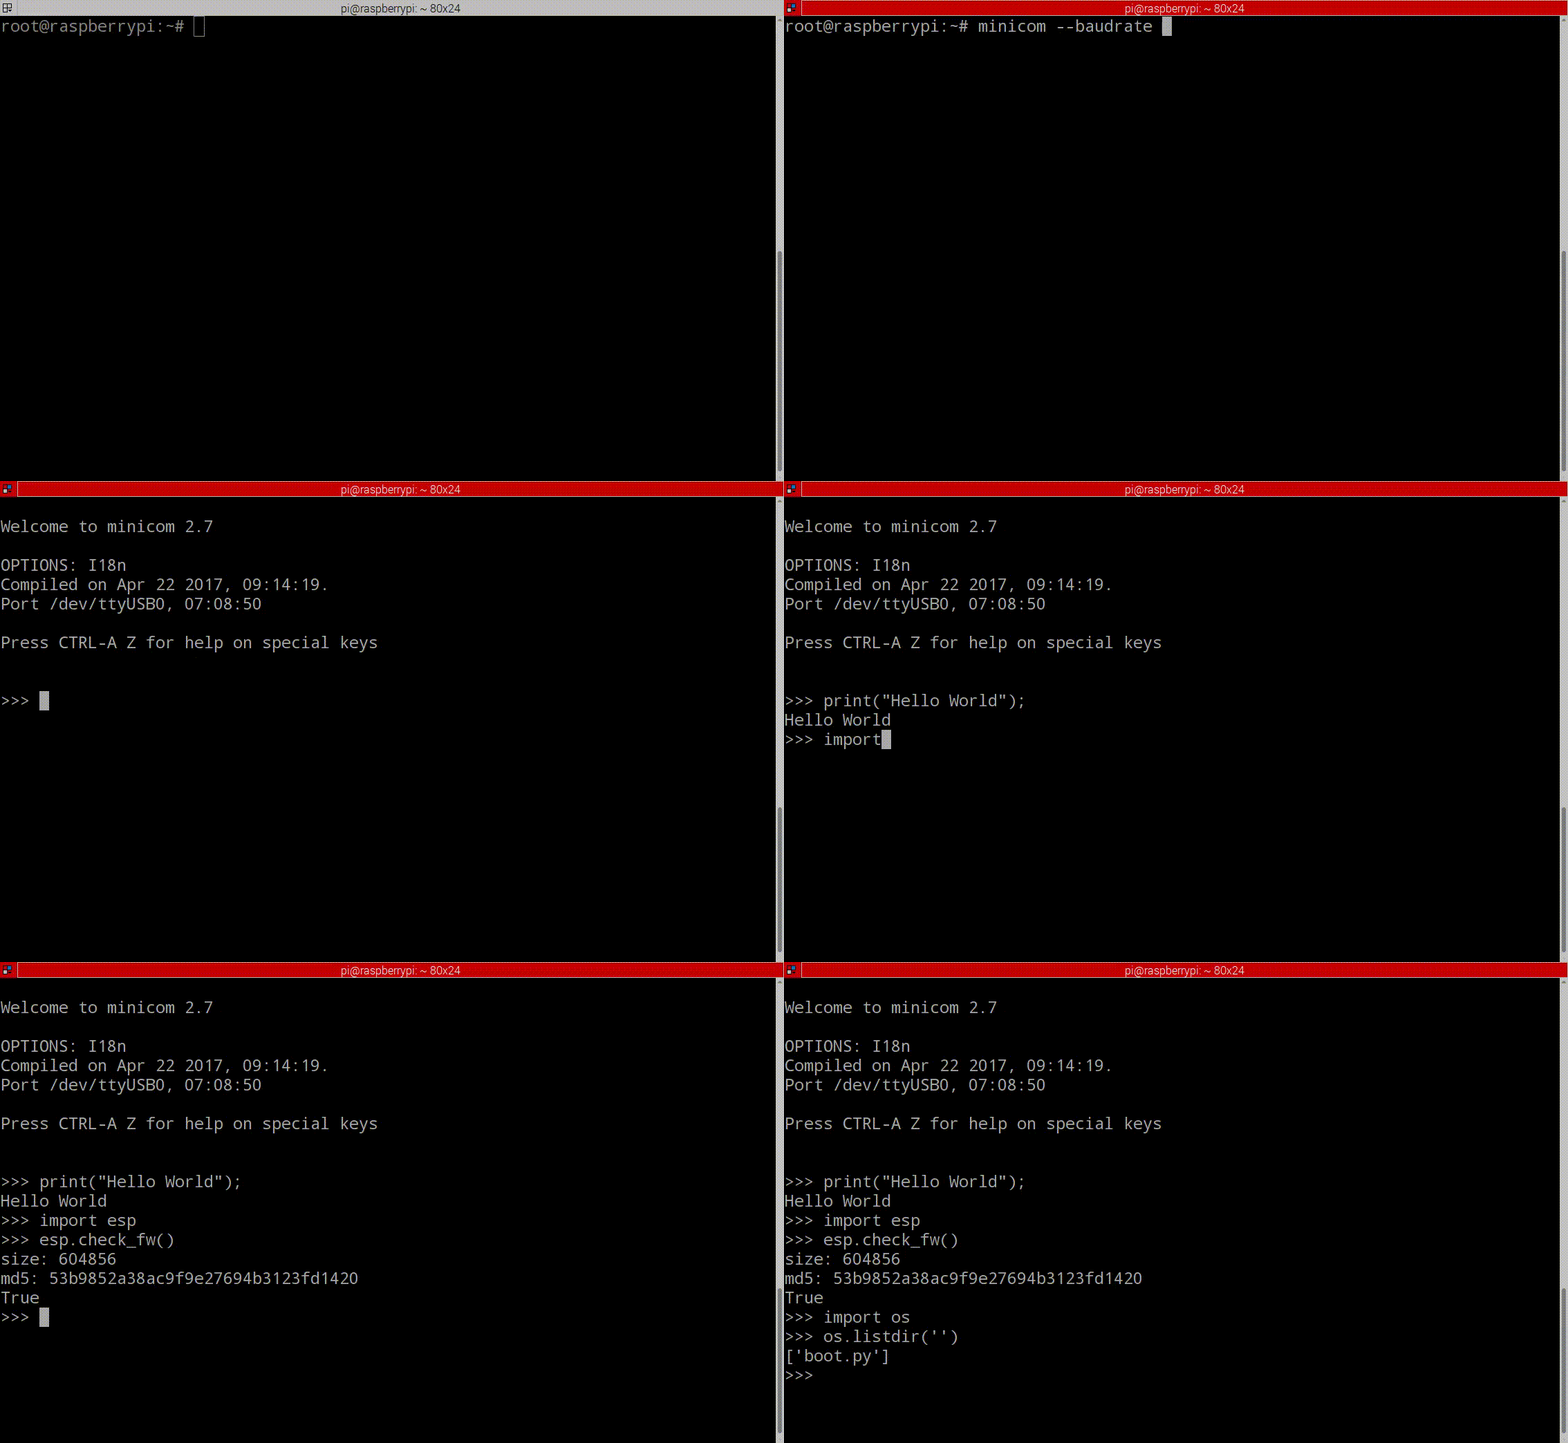
Verify the MicroPython firmware
import esp
esp.check_fw()
The Internal Filesystem
-
When the WeMos boots the MicroPython framework for the first time, a FAT filesystem will be setup in the firmware.
-
The filesystem can be accessed over (Web)REPL using the appropriate client.
Startup Scripts
-
There are two startup scripts: boot.py and main.py
- boot.py is executed first
- main.py is executed second
Read the list of files on the filesystem using Python
import os
print(os.listdir())- After the initial flash there will only be boot.py on the filesystem.
About MicroPython’s WebREPL
- The Wemos D1 Mini does not have enough memory to load the WebREPL service.
- If using a Serial interface with the TX/RX pins, the programming will need to be done ahead of time and then the Wemos connected to an external power supply using the vin pin as the USB connection is shared with the RX/TX pins.