Remove Apple IIGS Battery
The first thing you do when you get a new (old) Apple IIgs is remove the battery
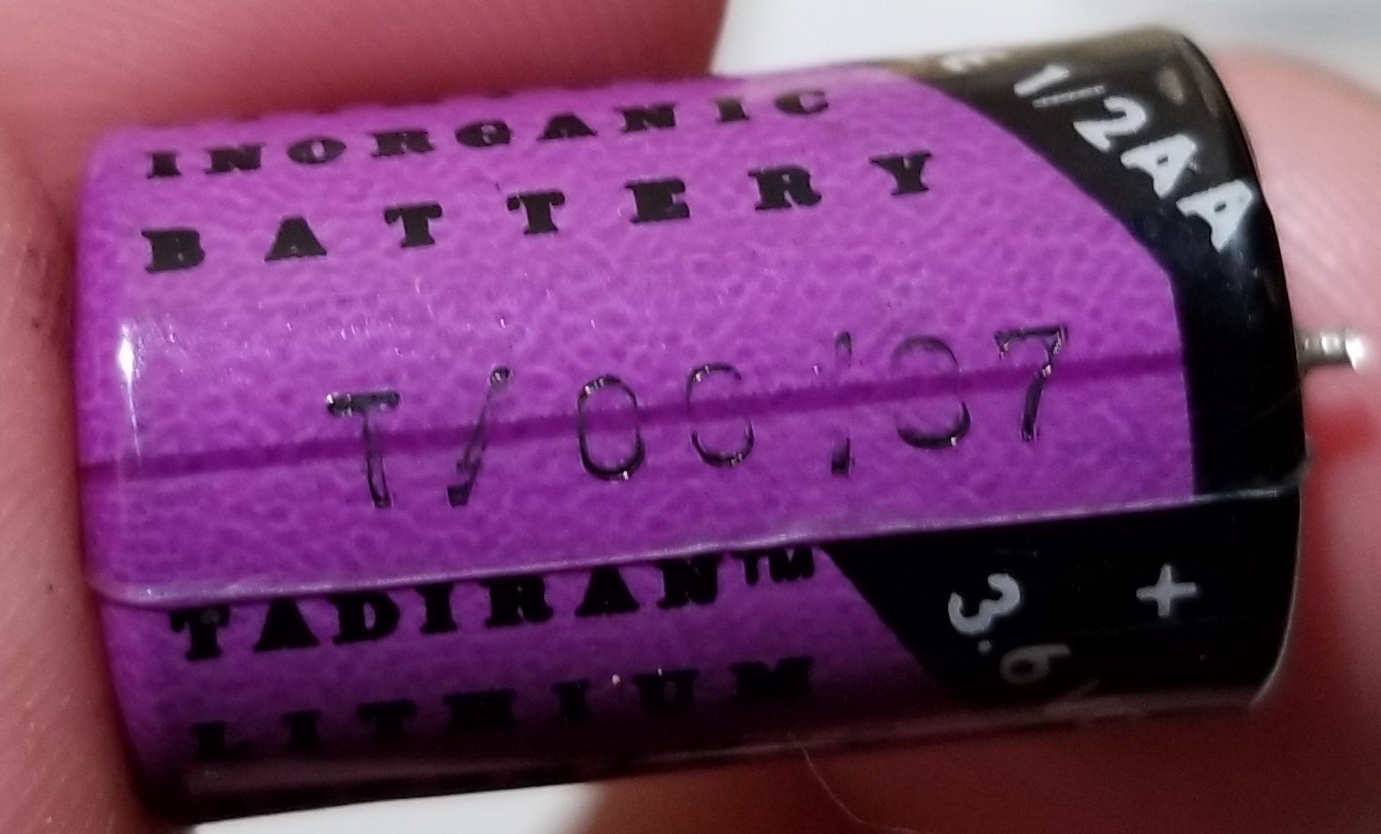
The Apple IIgs Lithium battery can begin to leak any time after 10 years.
Here you see my original battery from 1987. Although this battery had not leaked yet, it is now 2018, which means that the battery is 30 years old and 20 years past it's prime.
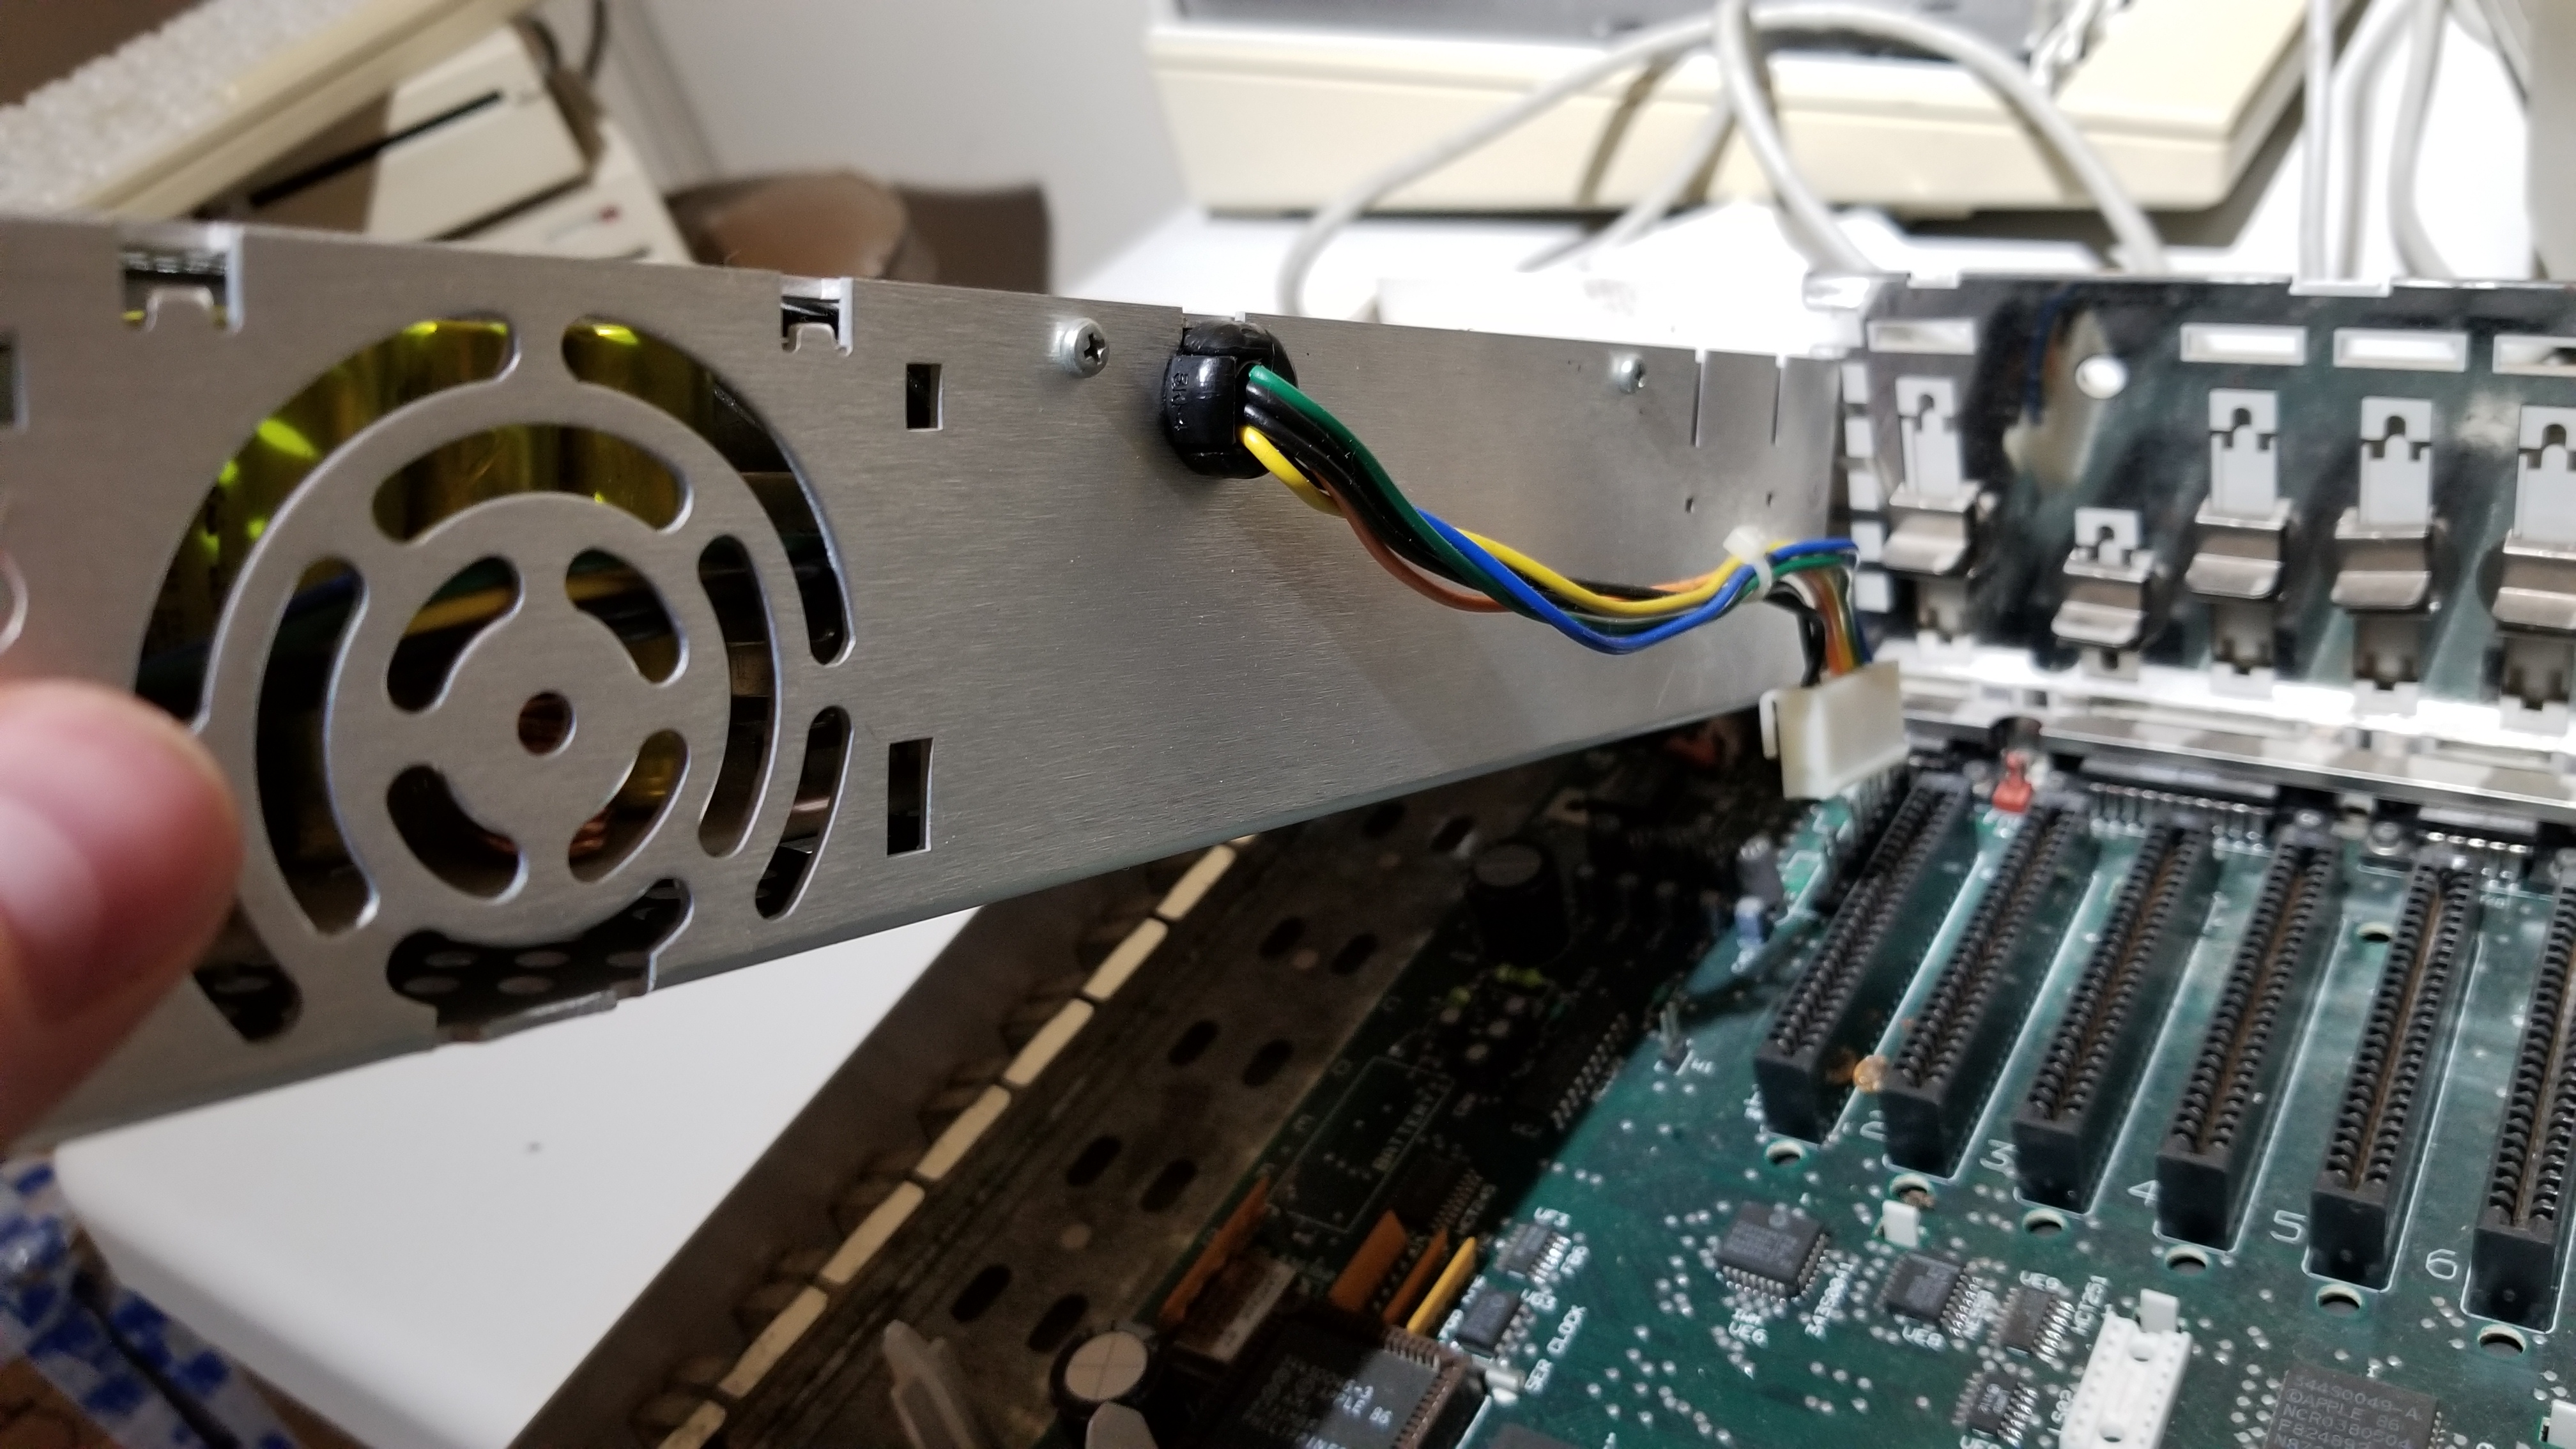
Disconnect the Power Supply
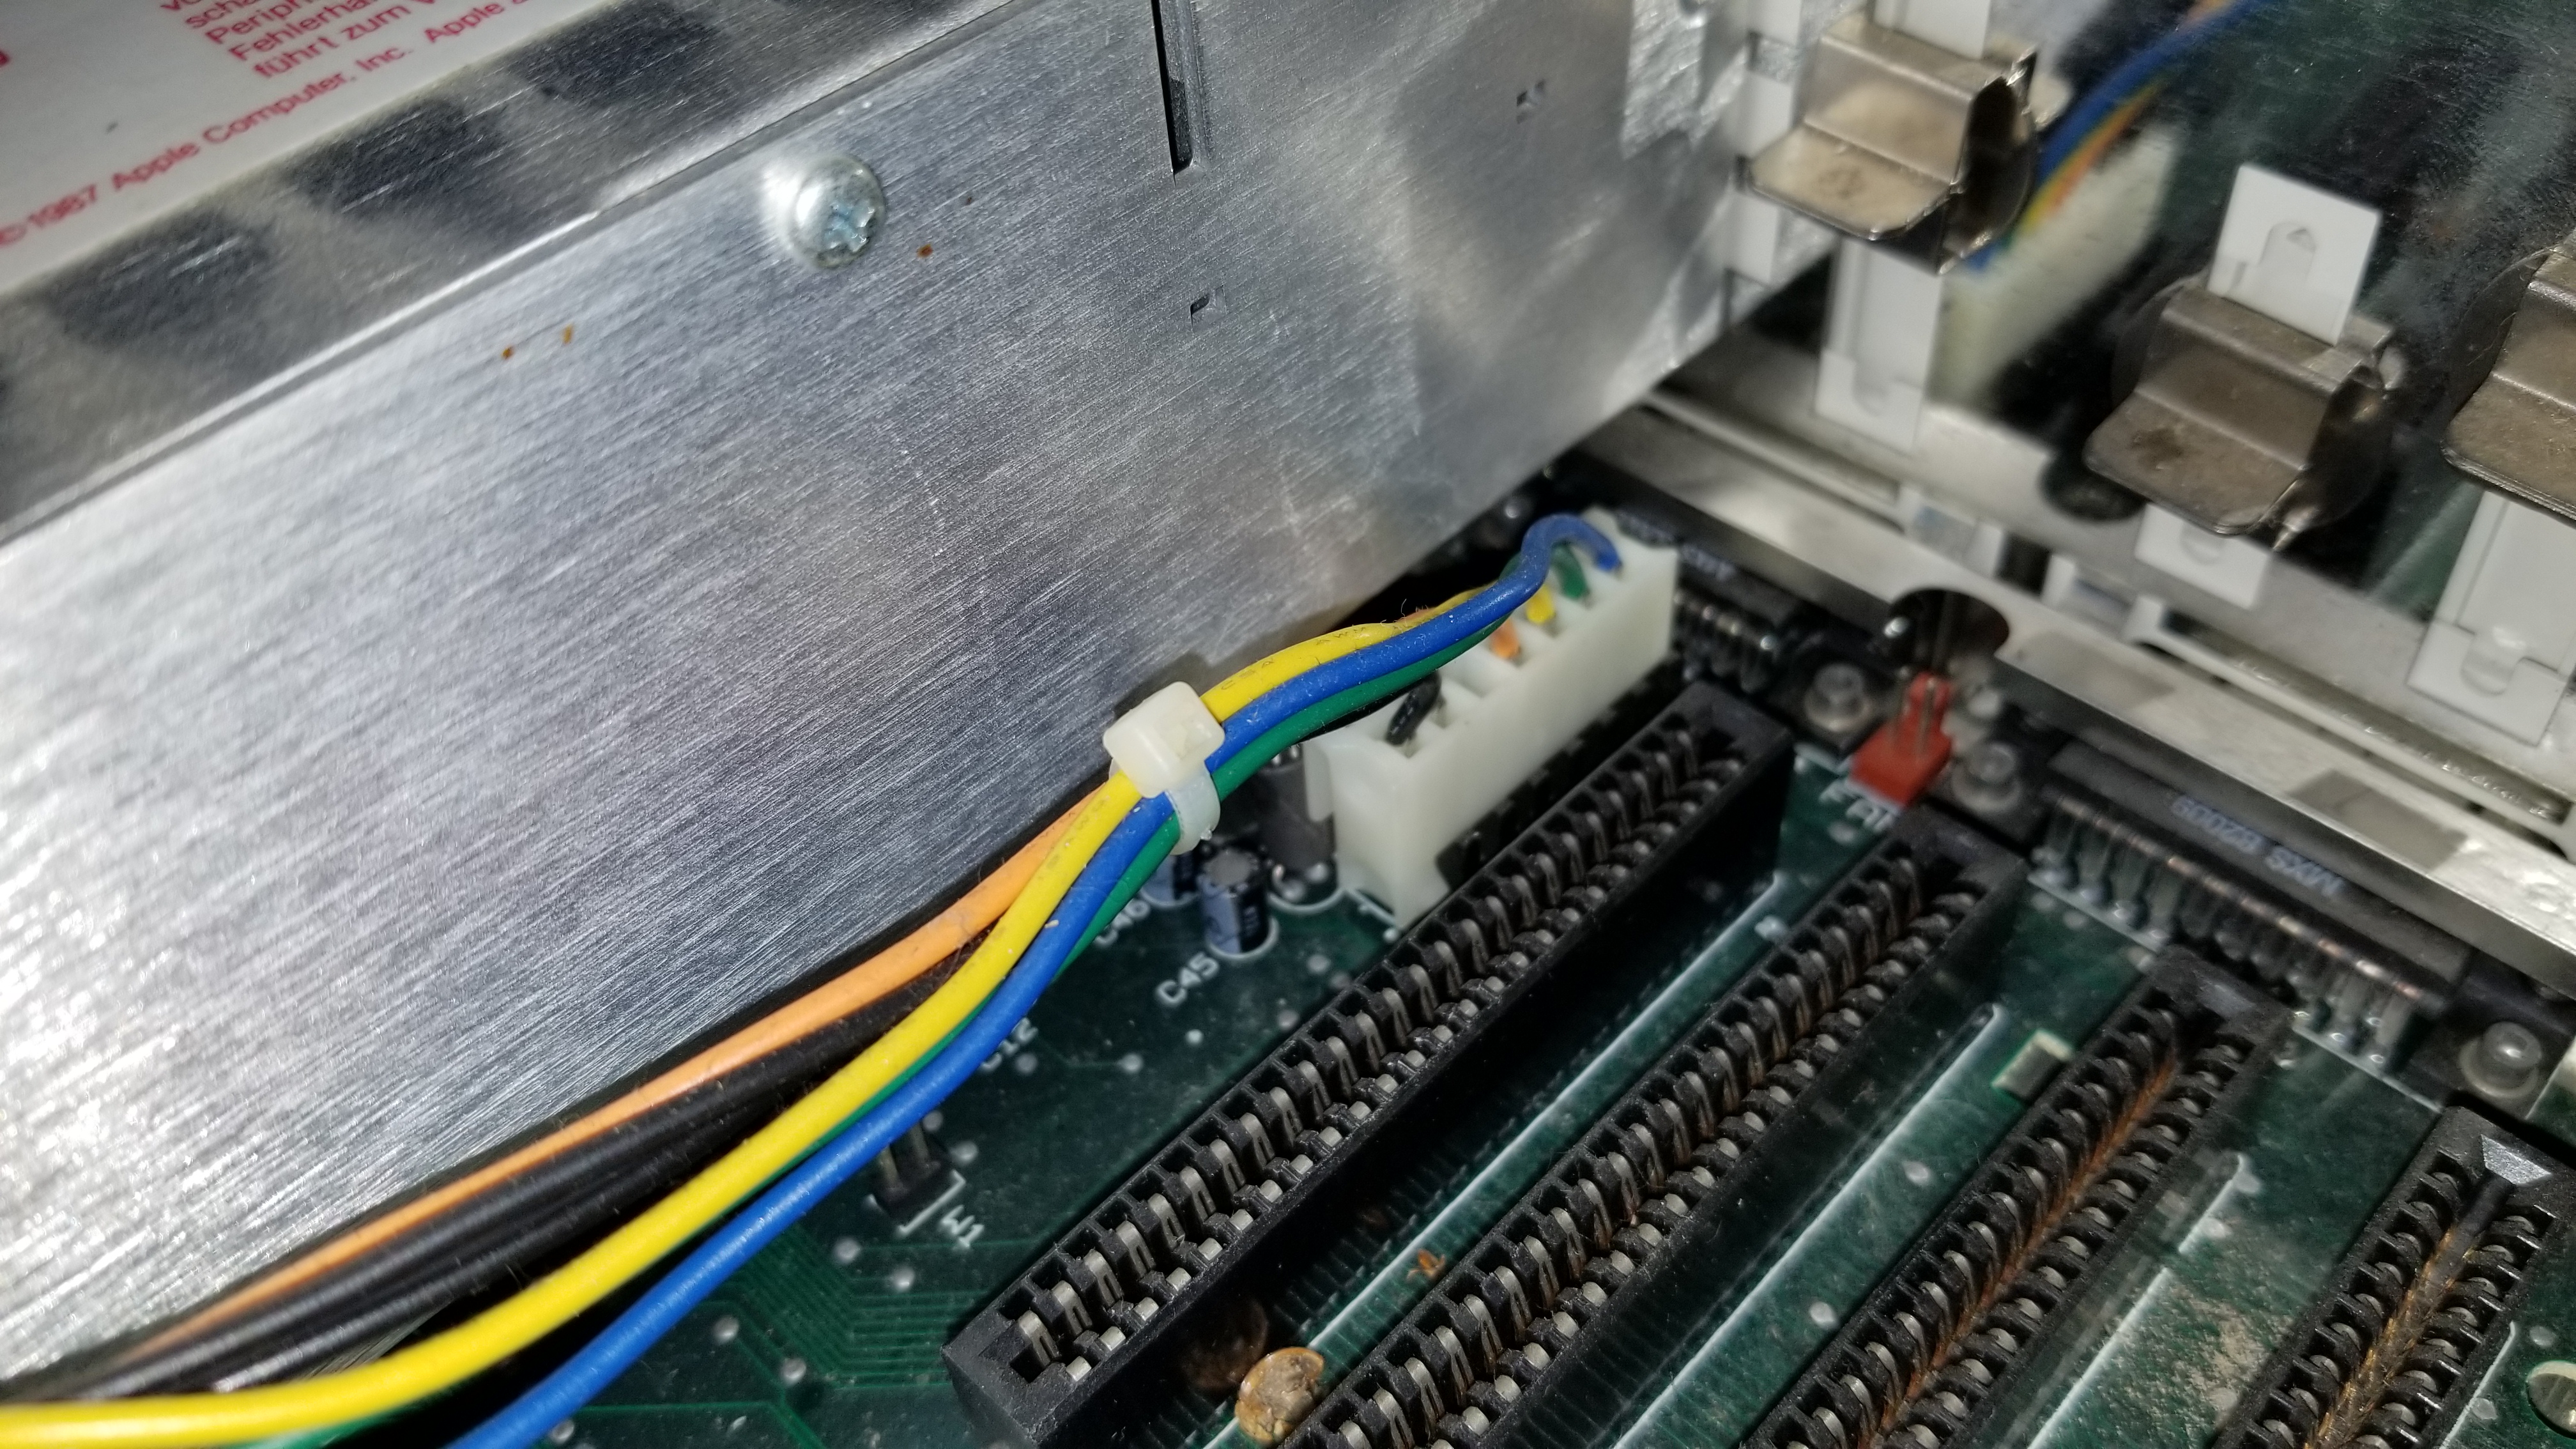
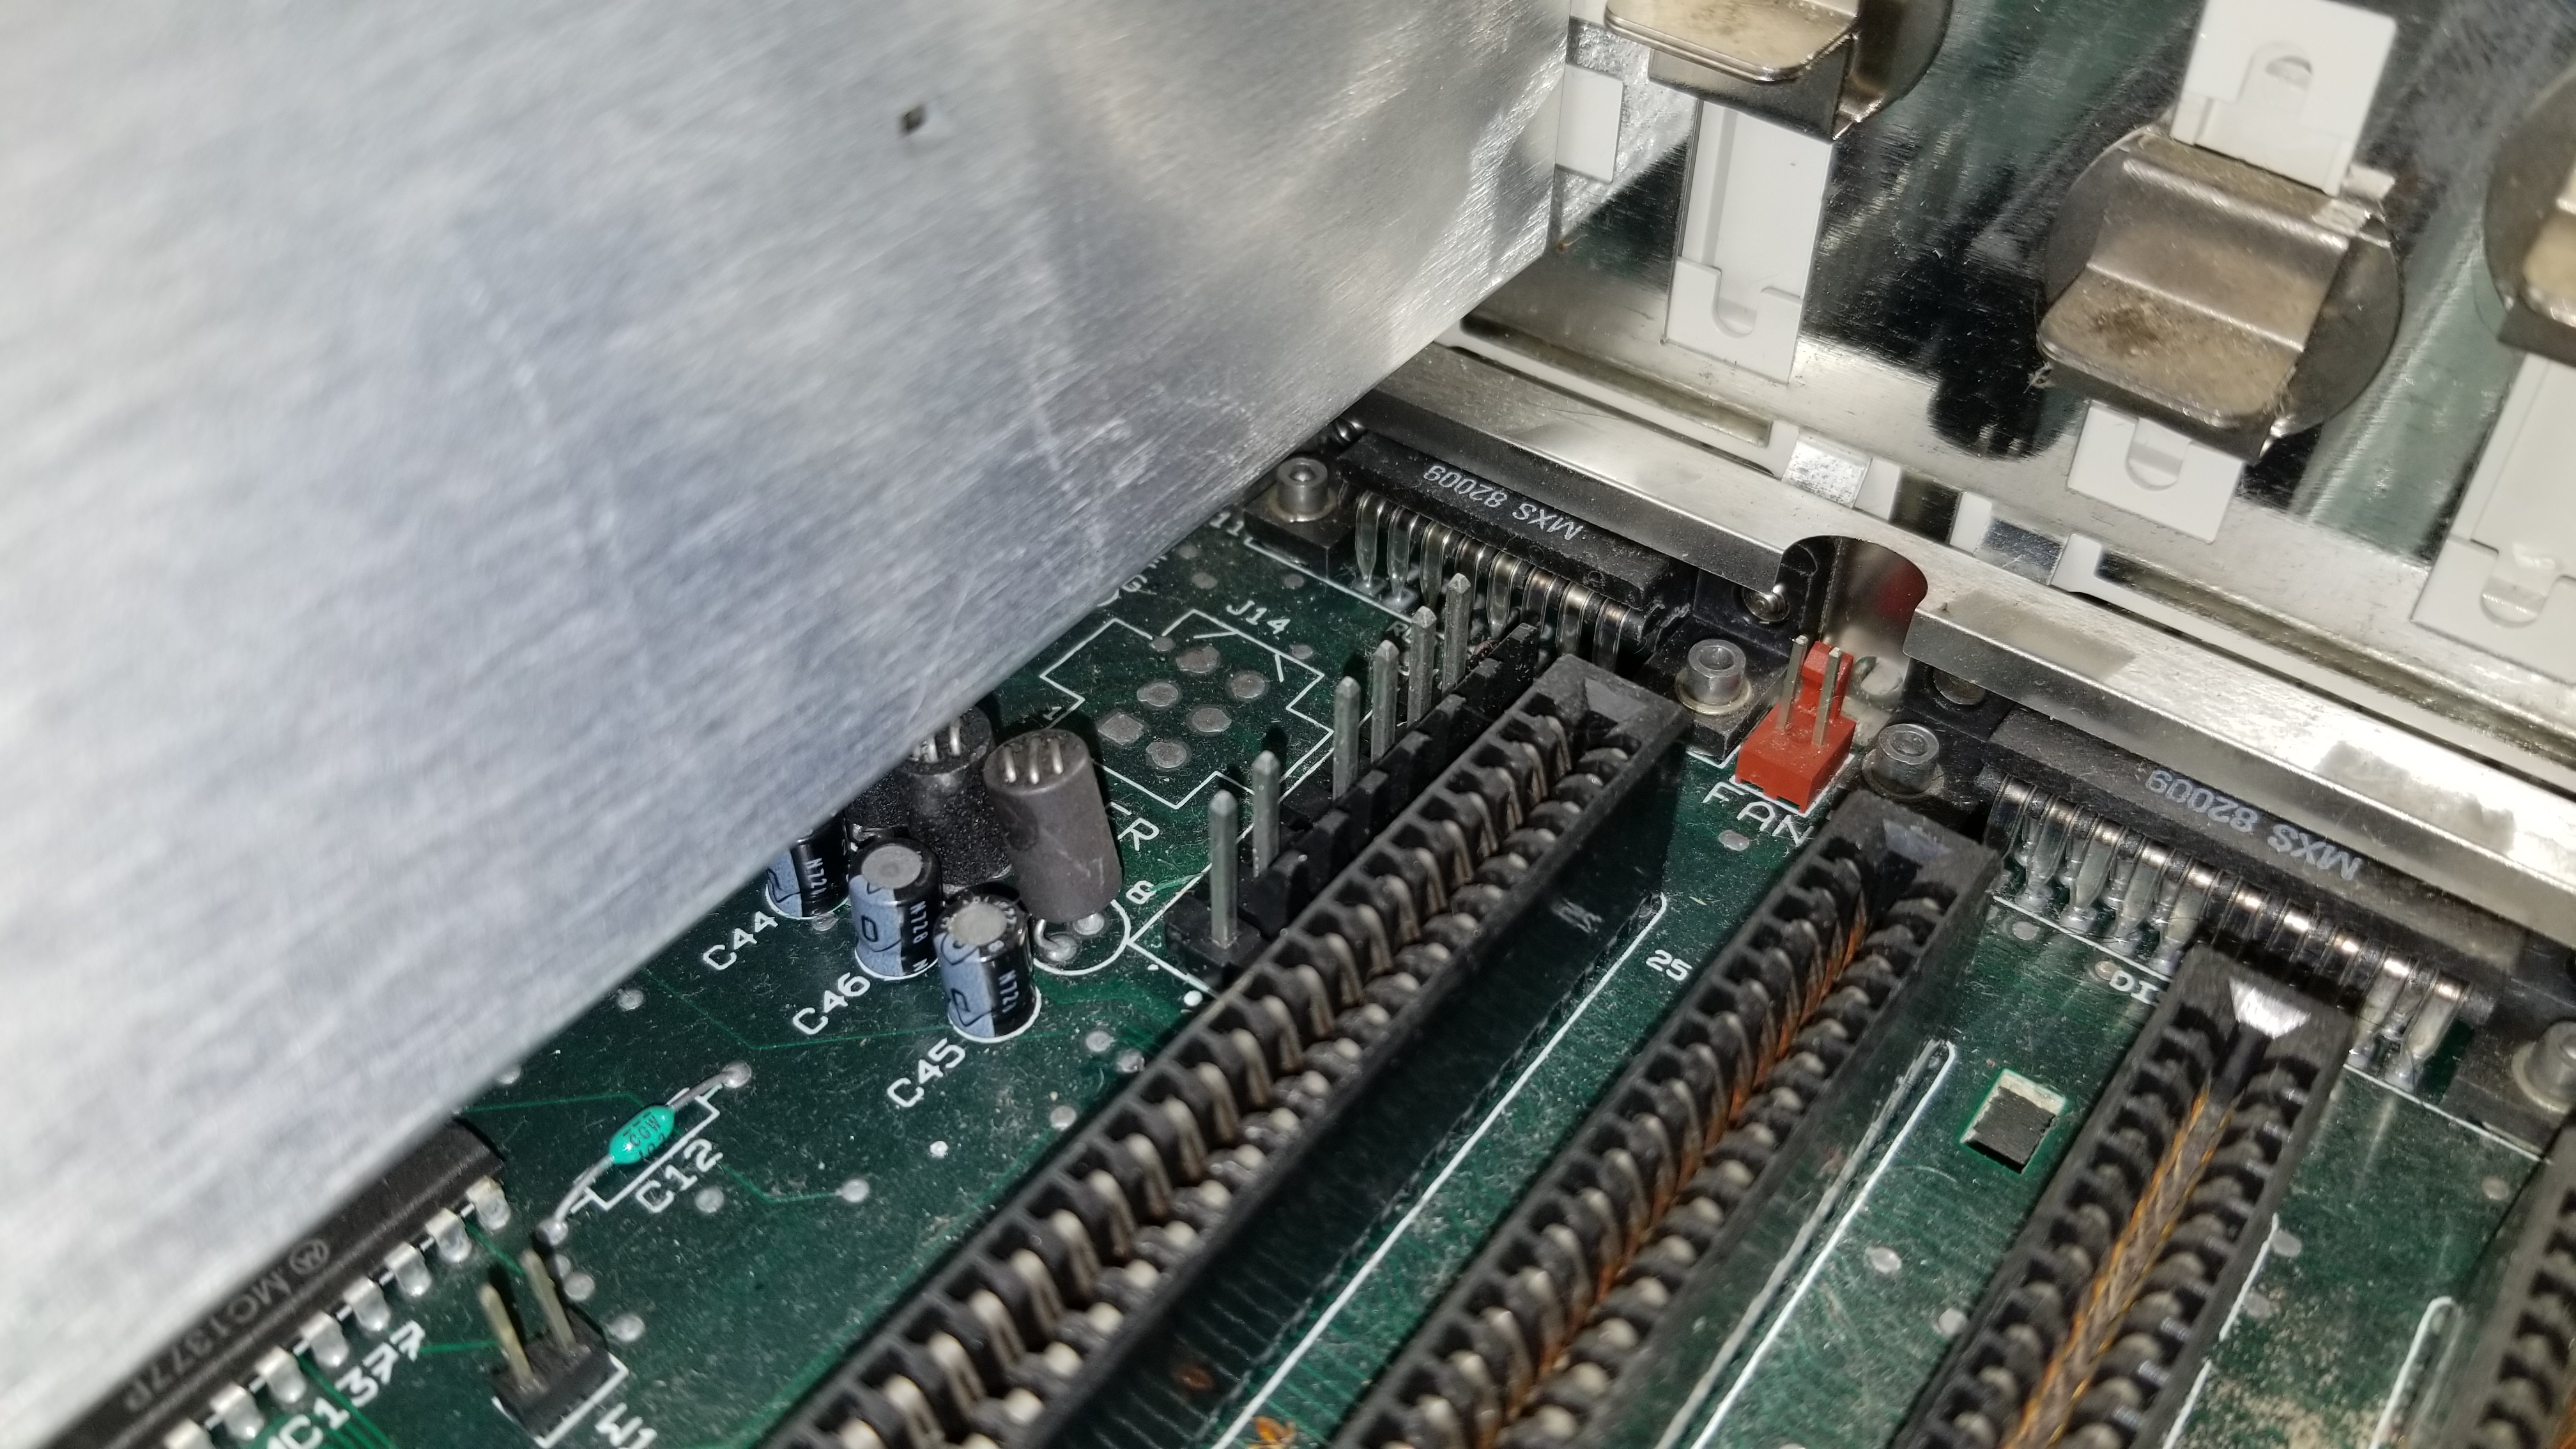
The power supply is connected to the motherboard using a simple plug.
Nothing holds the plug down, but it will take some gentle manuevering to get the plug unseated after it's comfortable life.
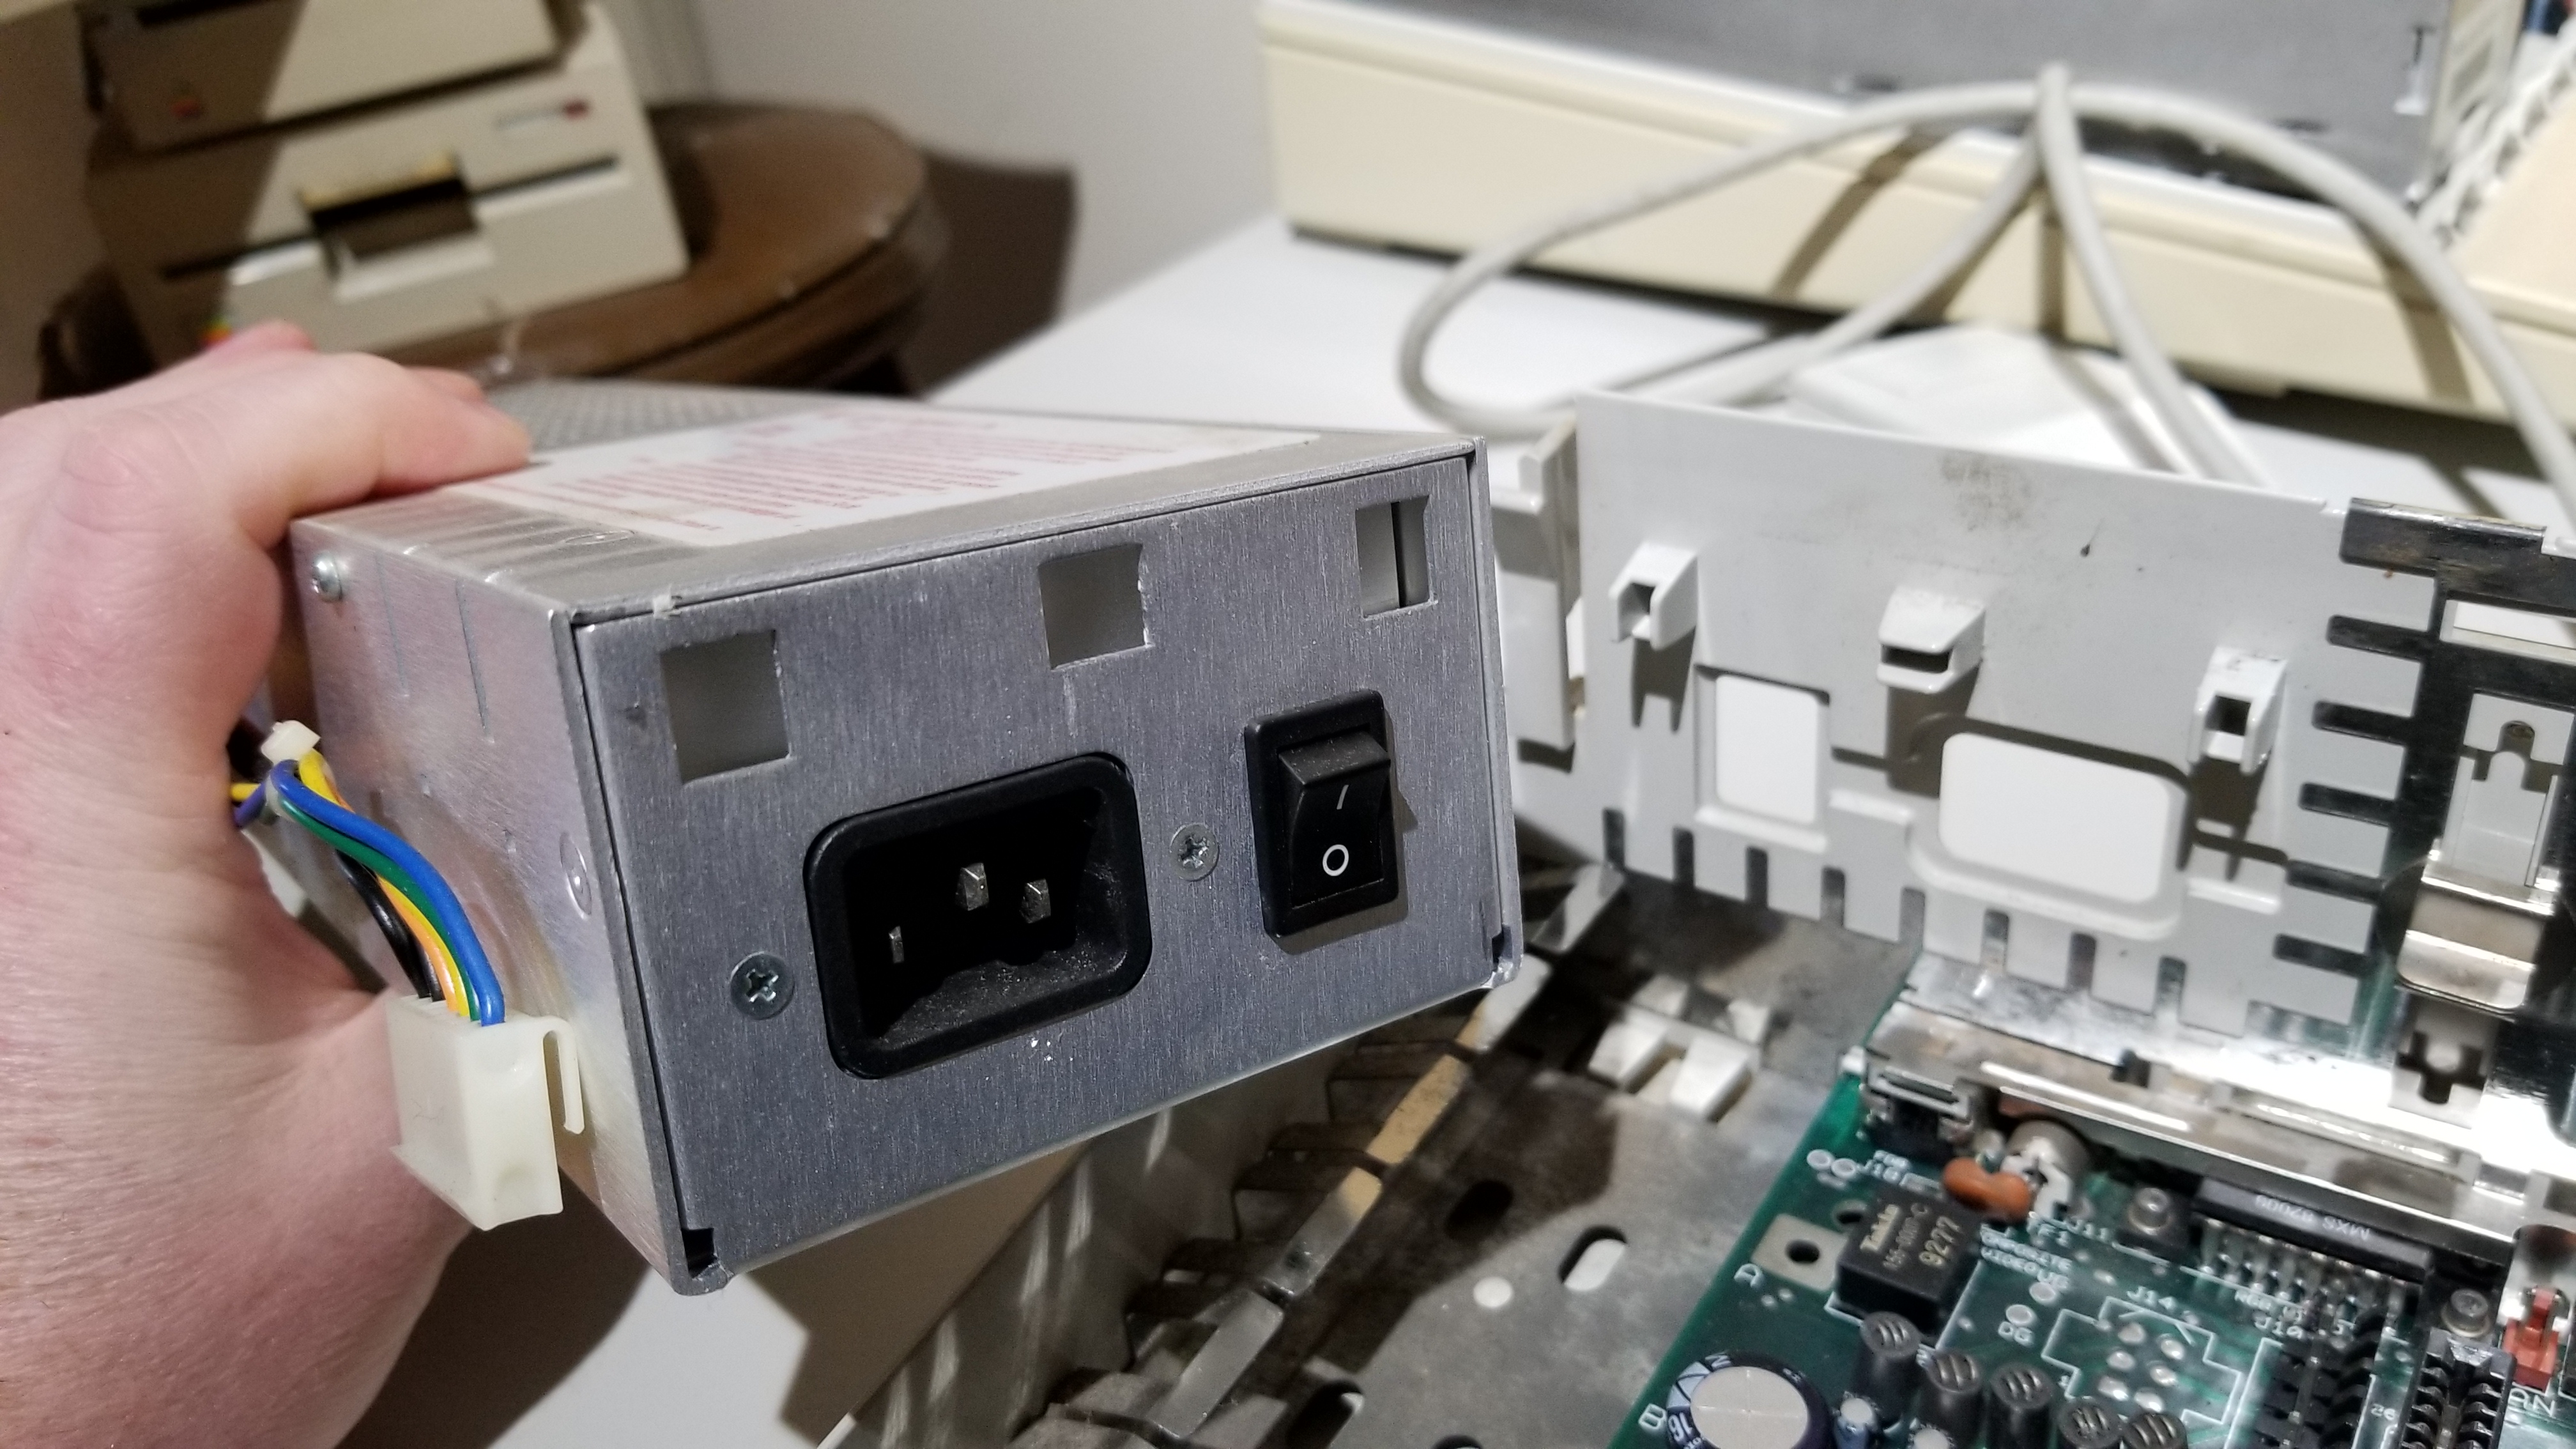
Remove the Power Supply
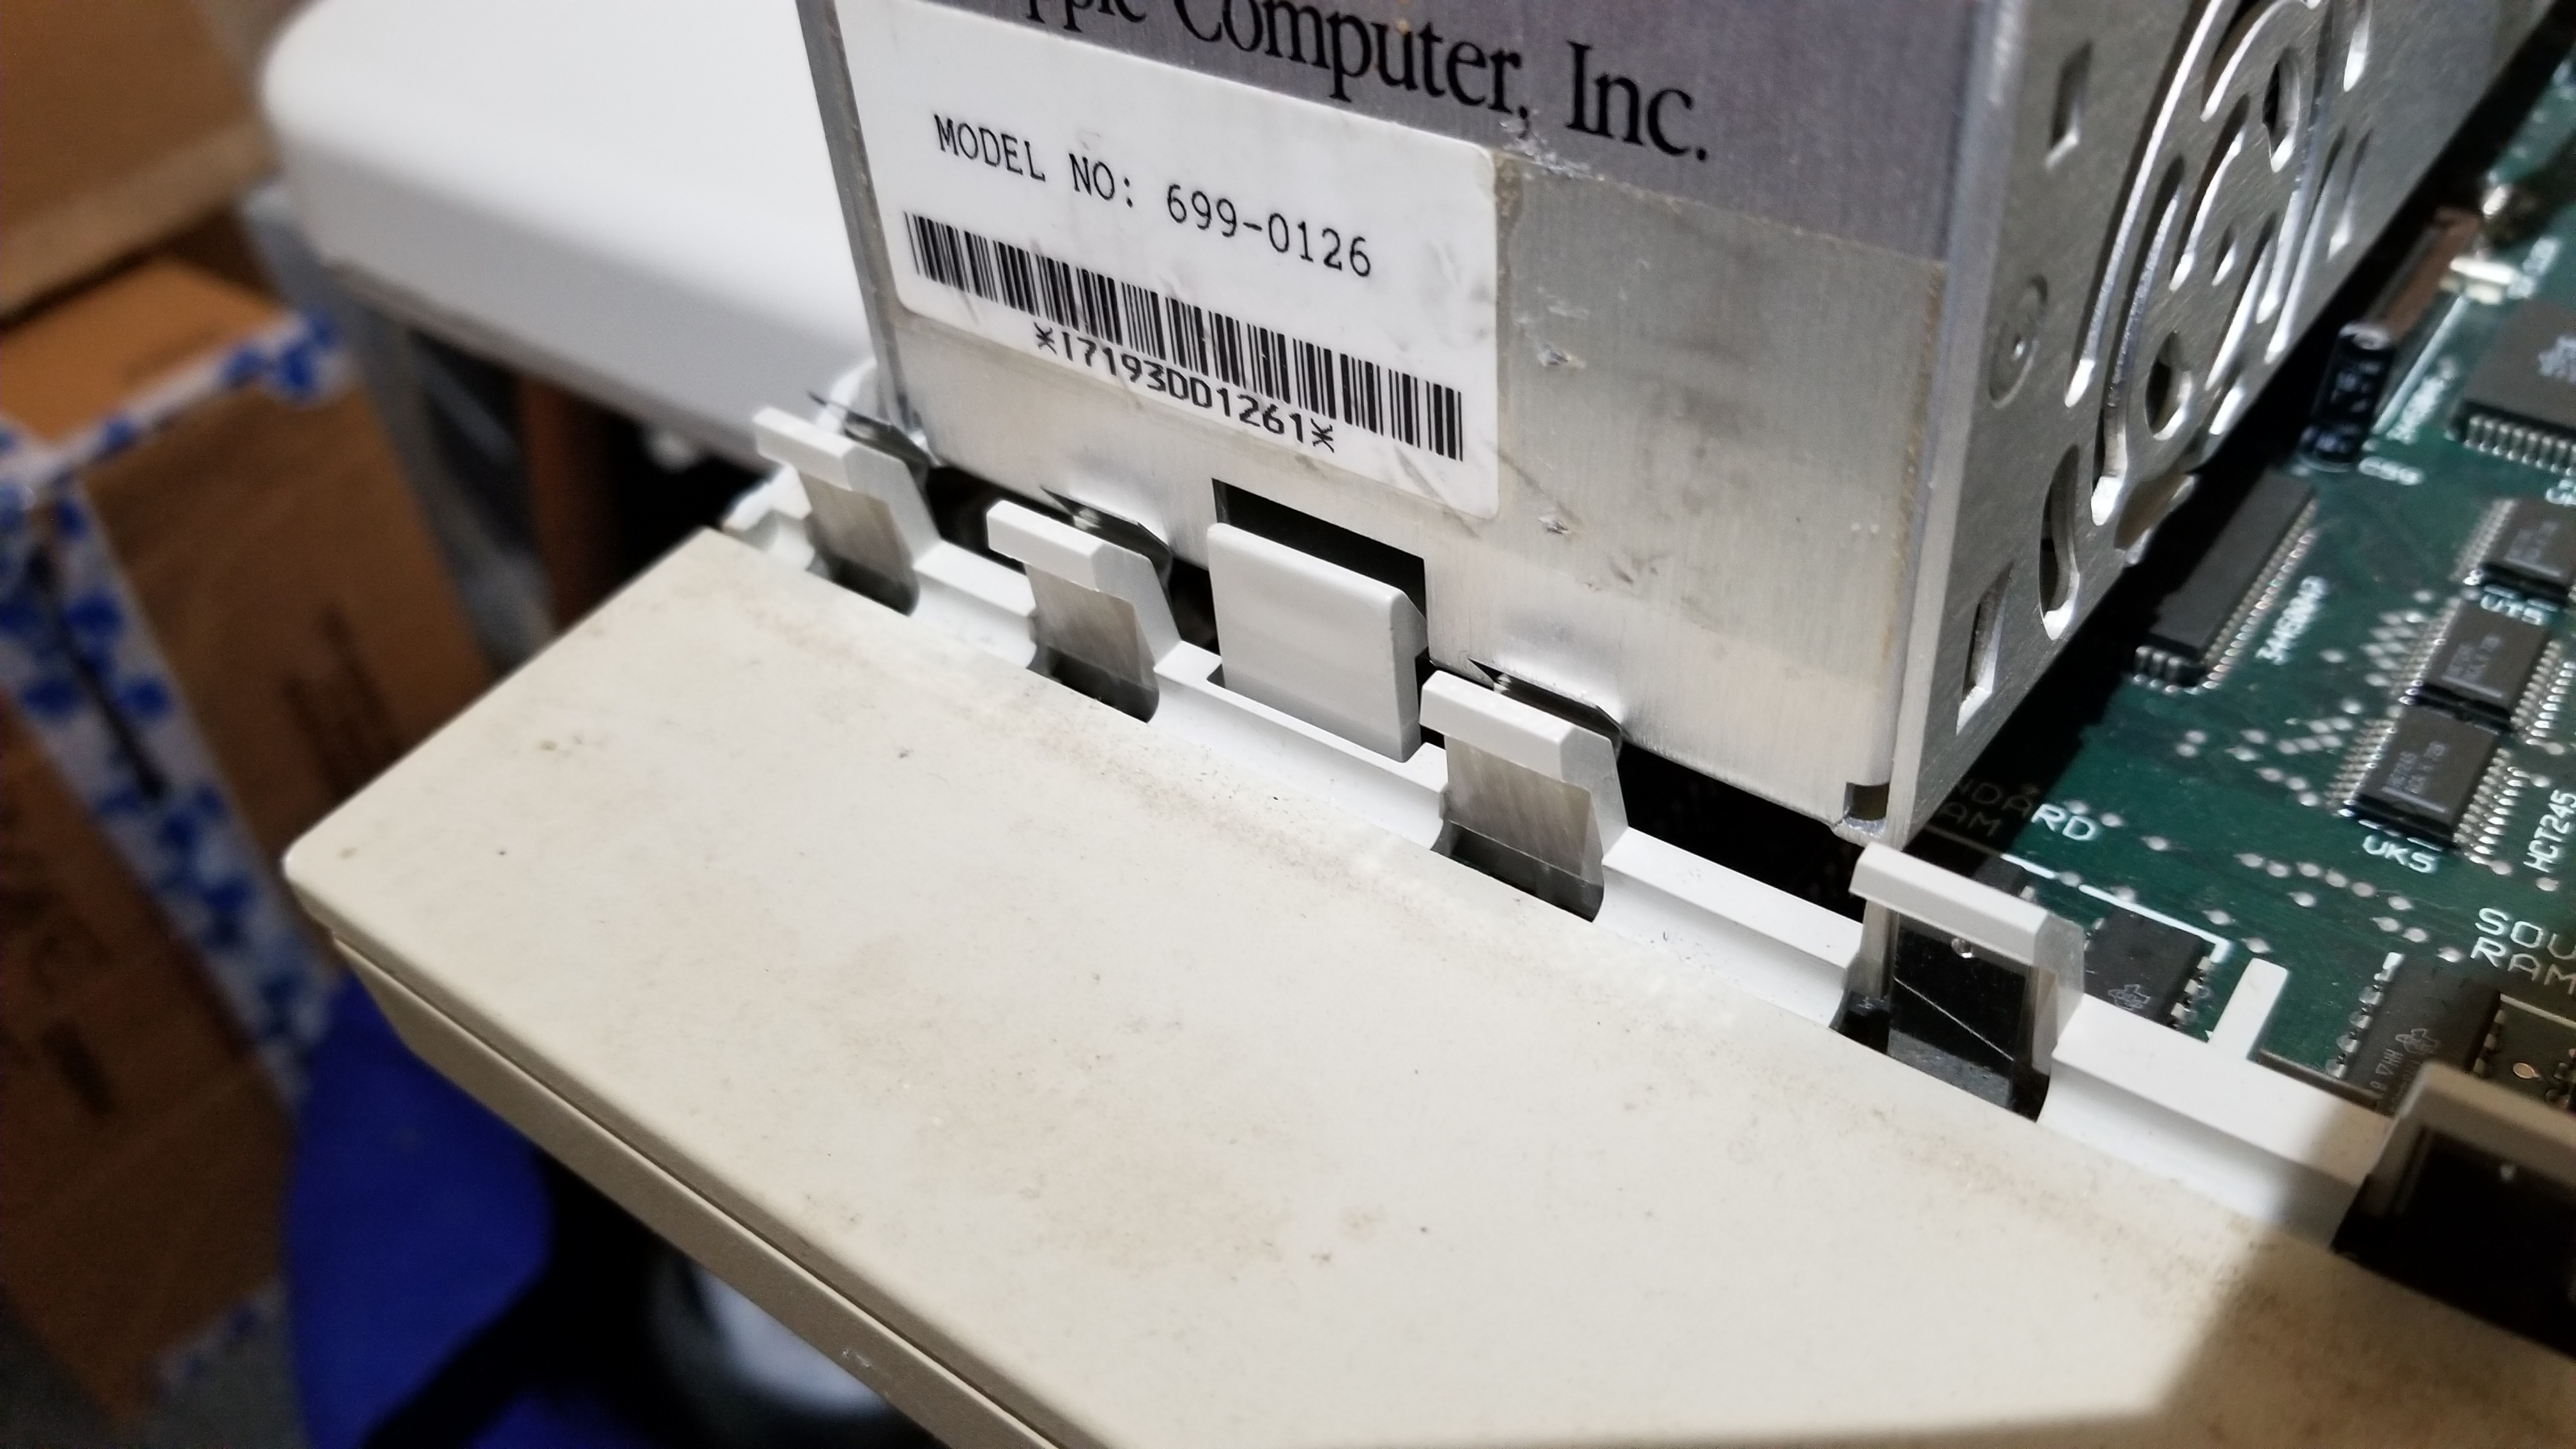
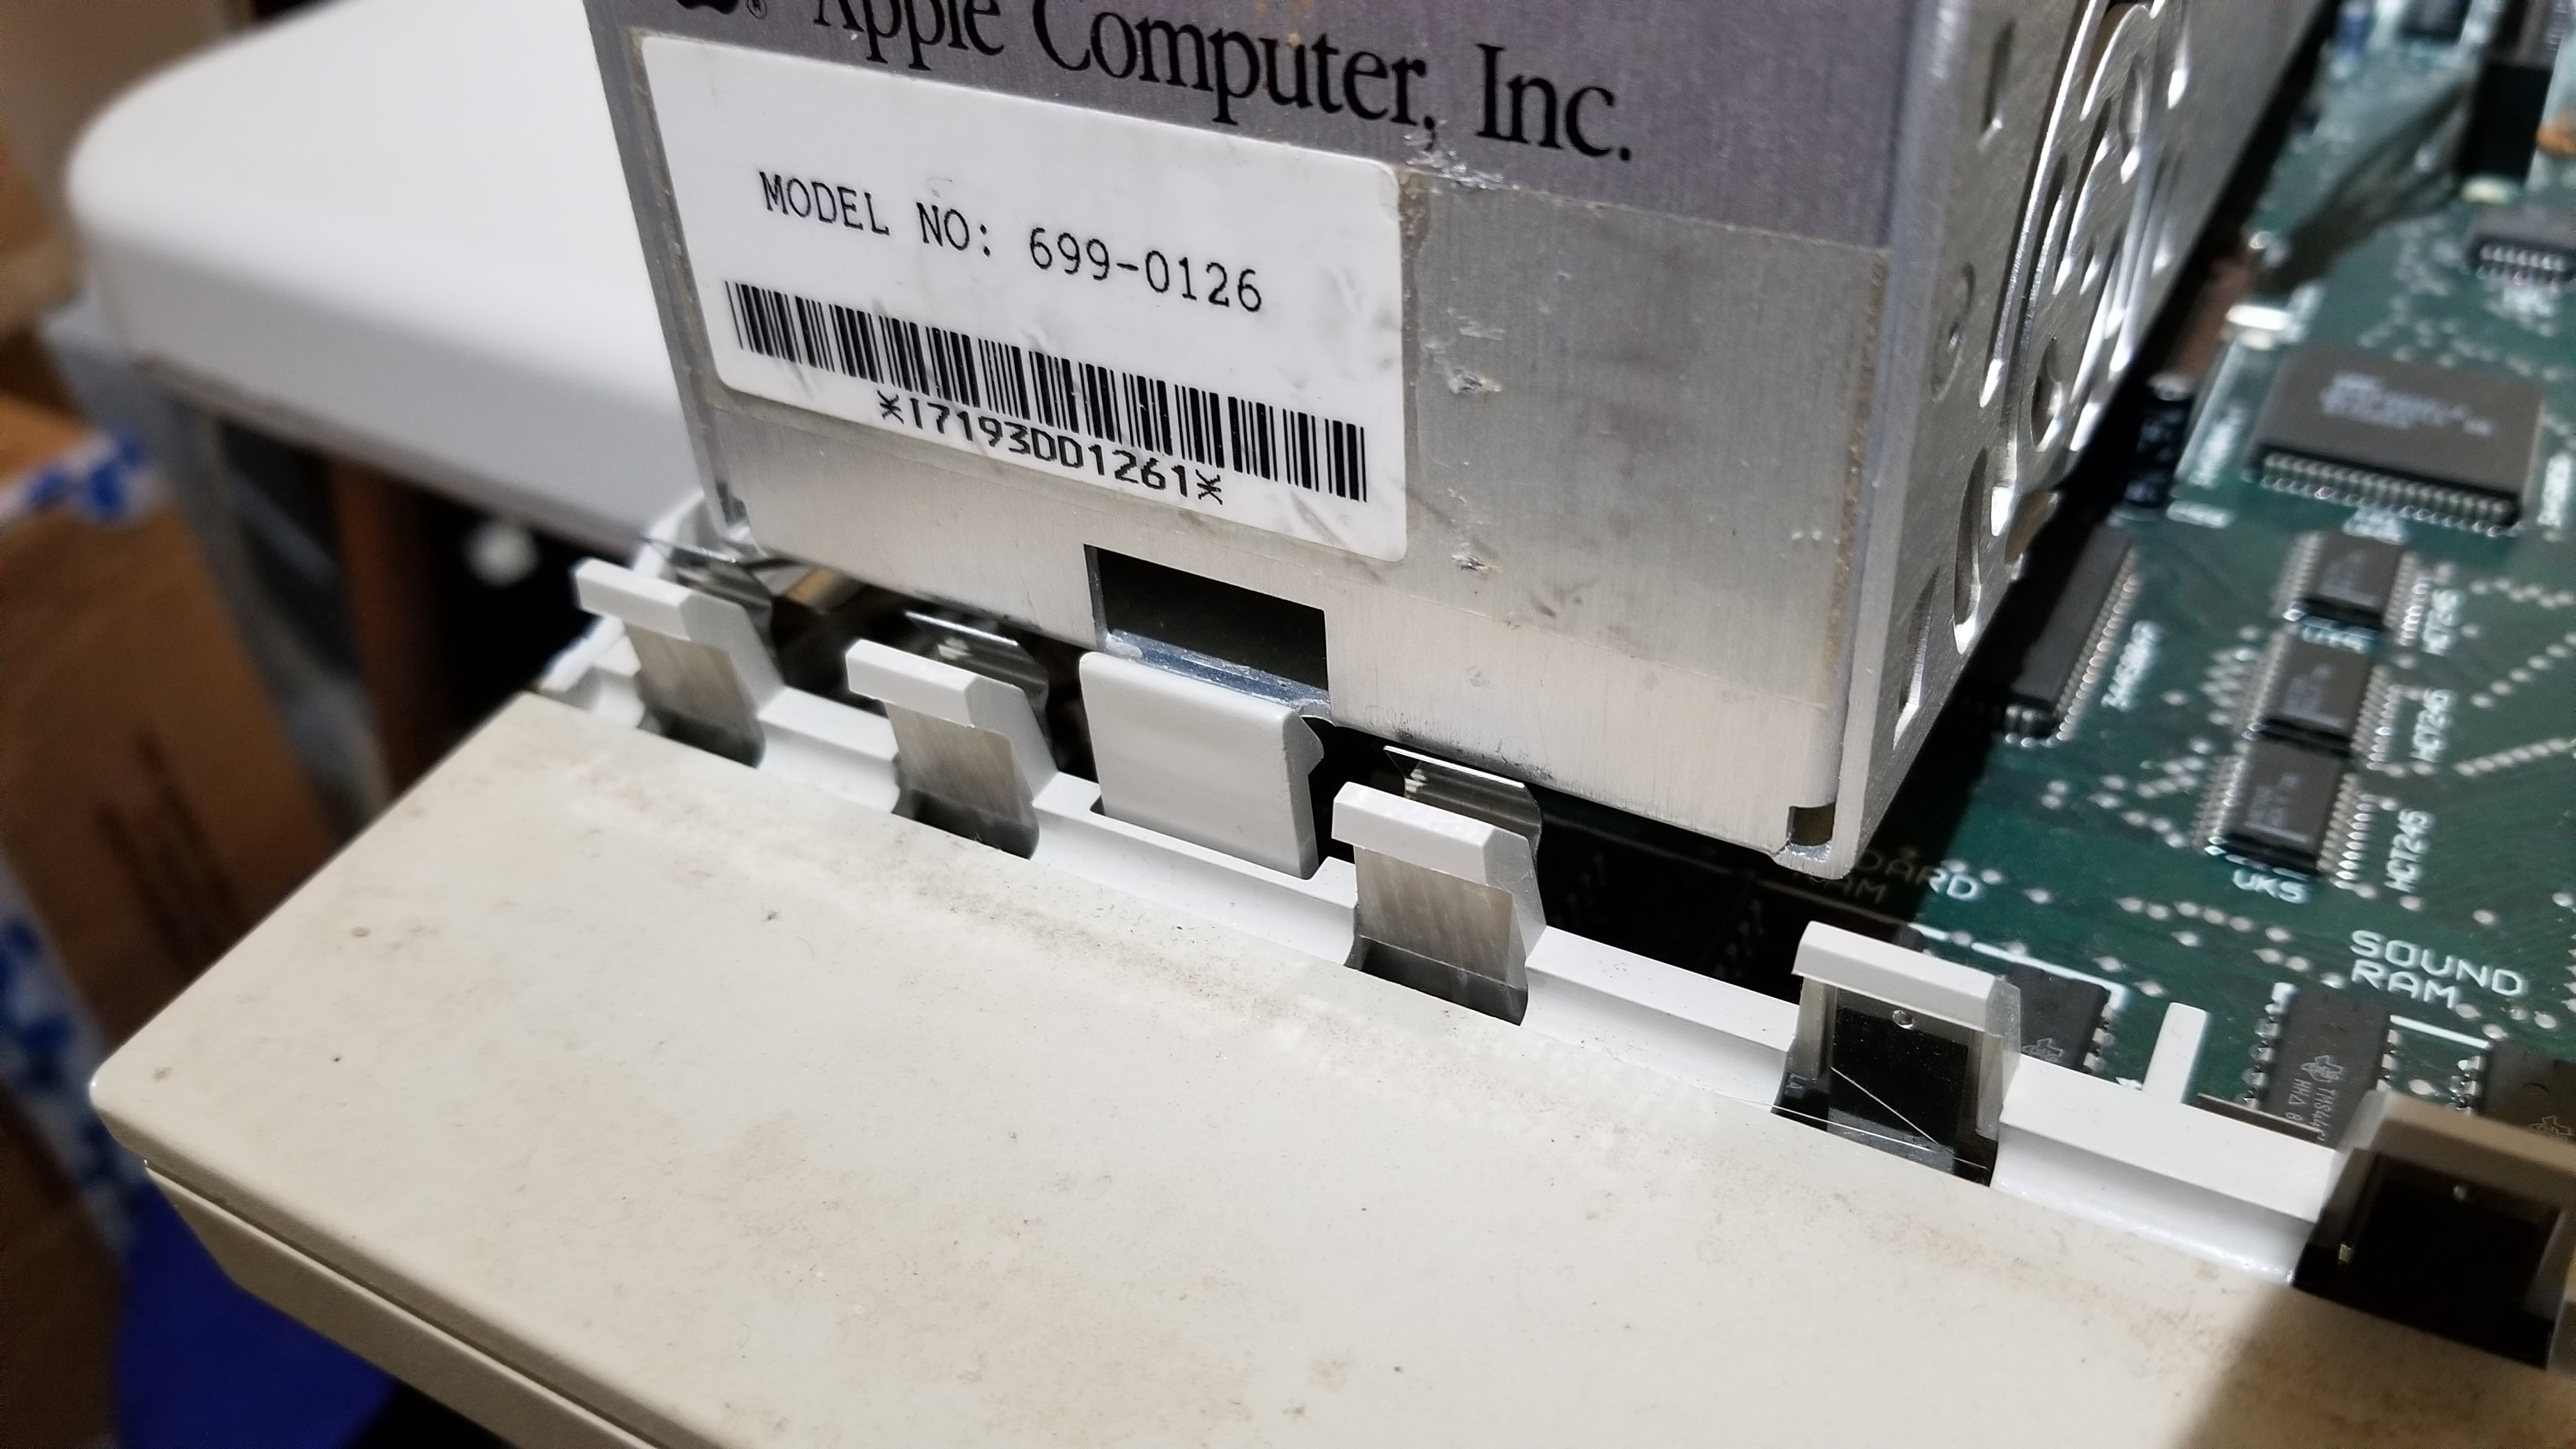
Apple did a fantastic job designing the Apple IIgs case.The power supply is held in by a single clip that can be held back with the light touch of a finger.
Tilt the power supply up on the end where the clip held it down.
There are three bumps that the power supply is held down by on the front-side of the case. The bumps don't need to be manipulated in any way. You will easily be able to lift the power supply up and away from the case.
Remove the Battery
Locate the old battery attached to the motherboard.
ROM03 motherboards have batteries which can just pop out, but older ROM01 systems have the battery hard wired to the board.
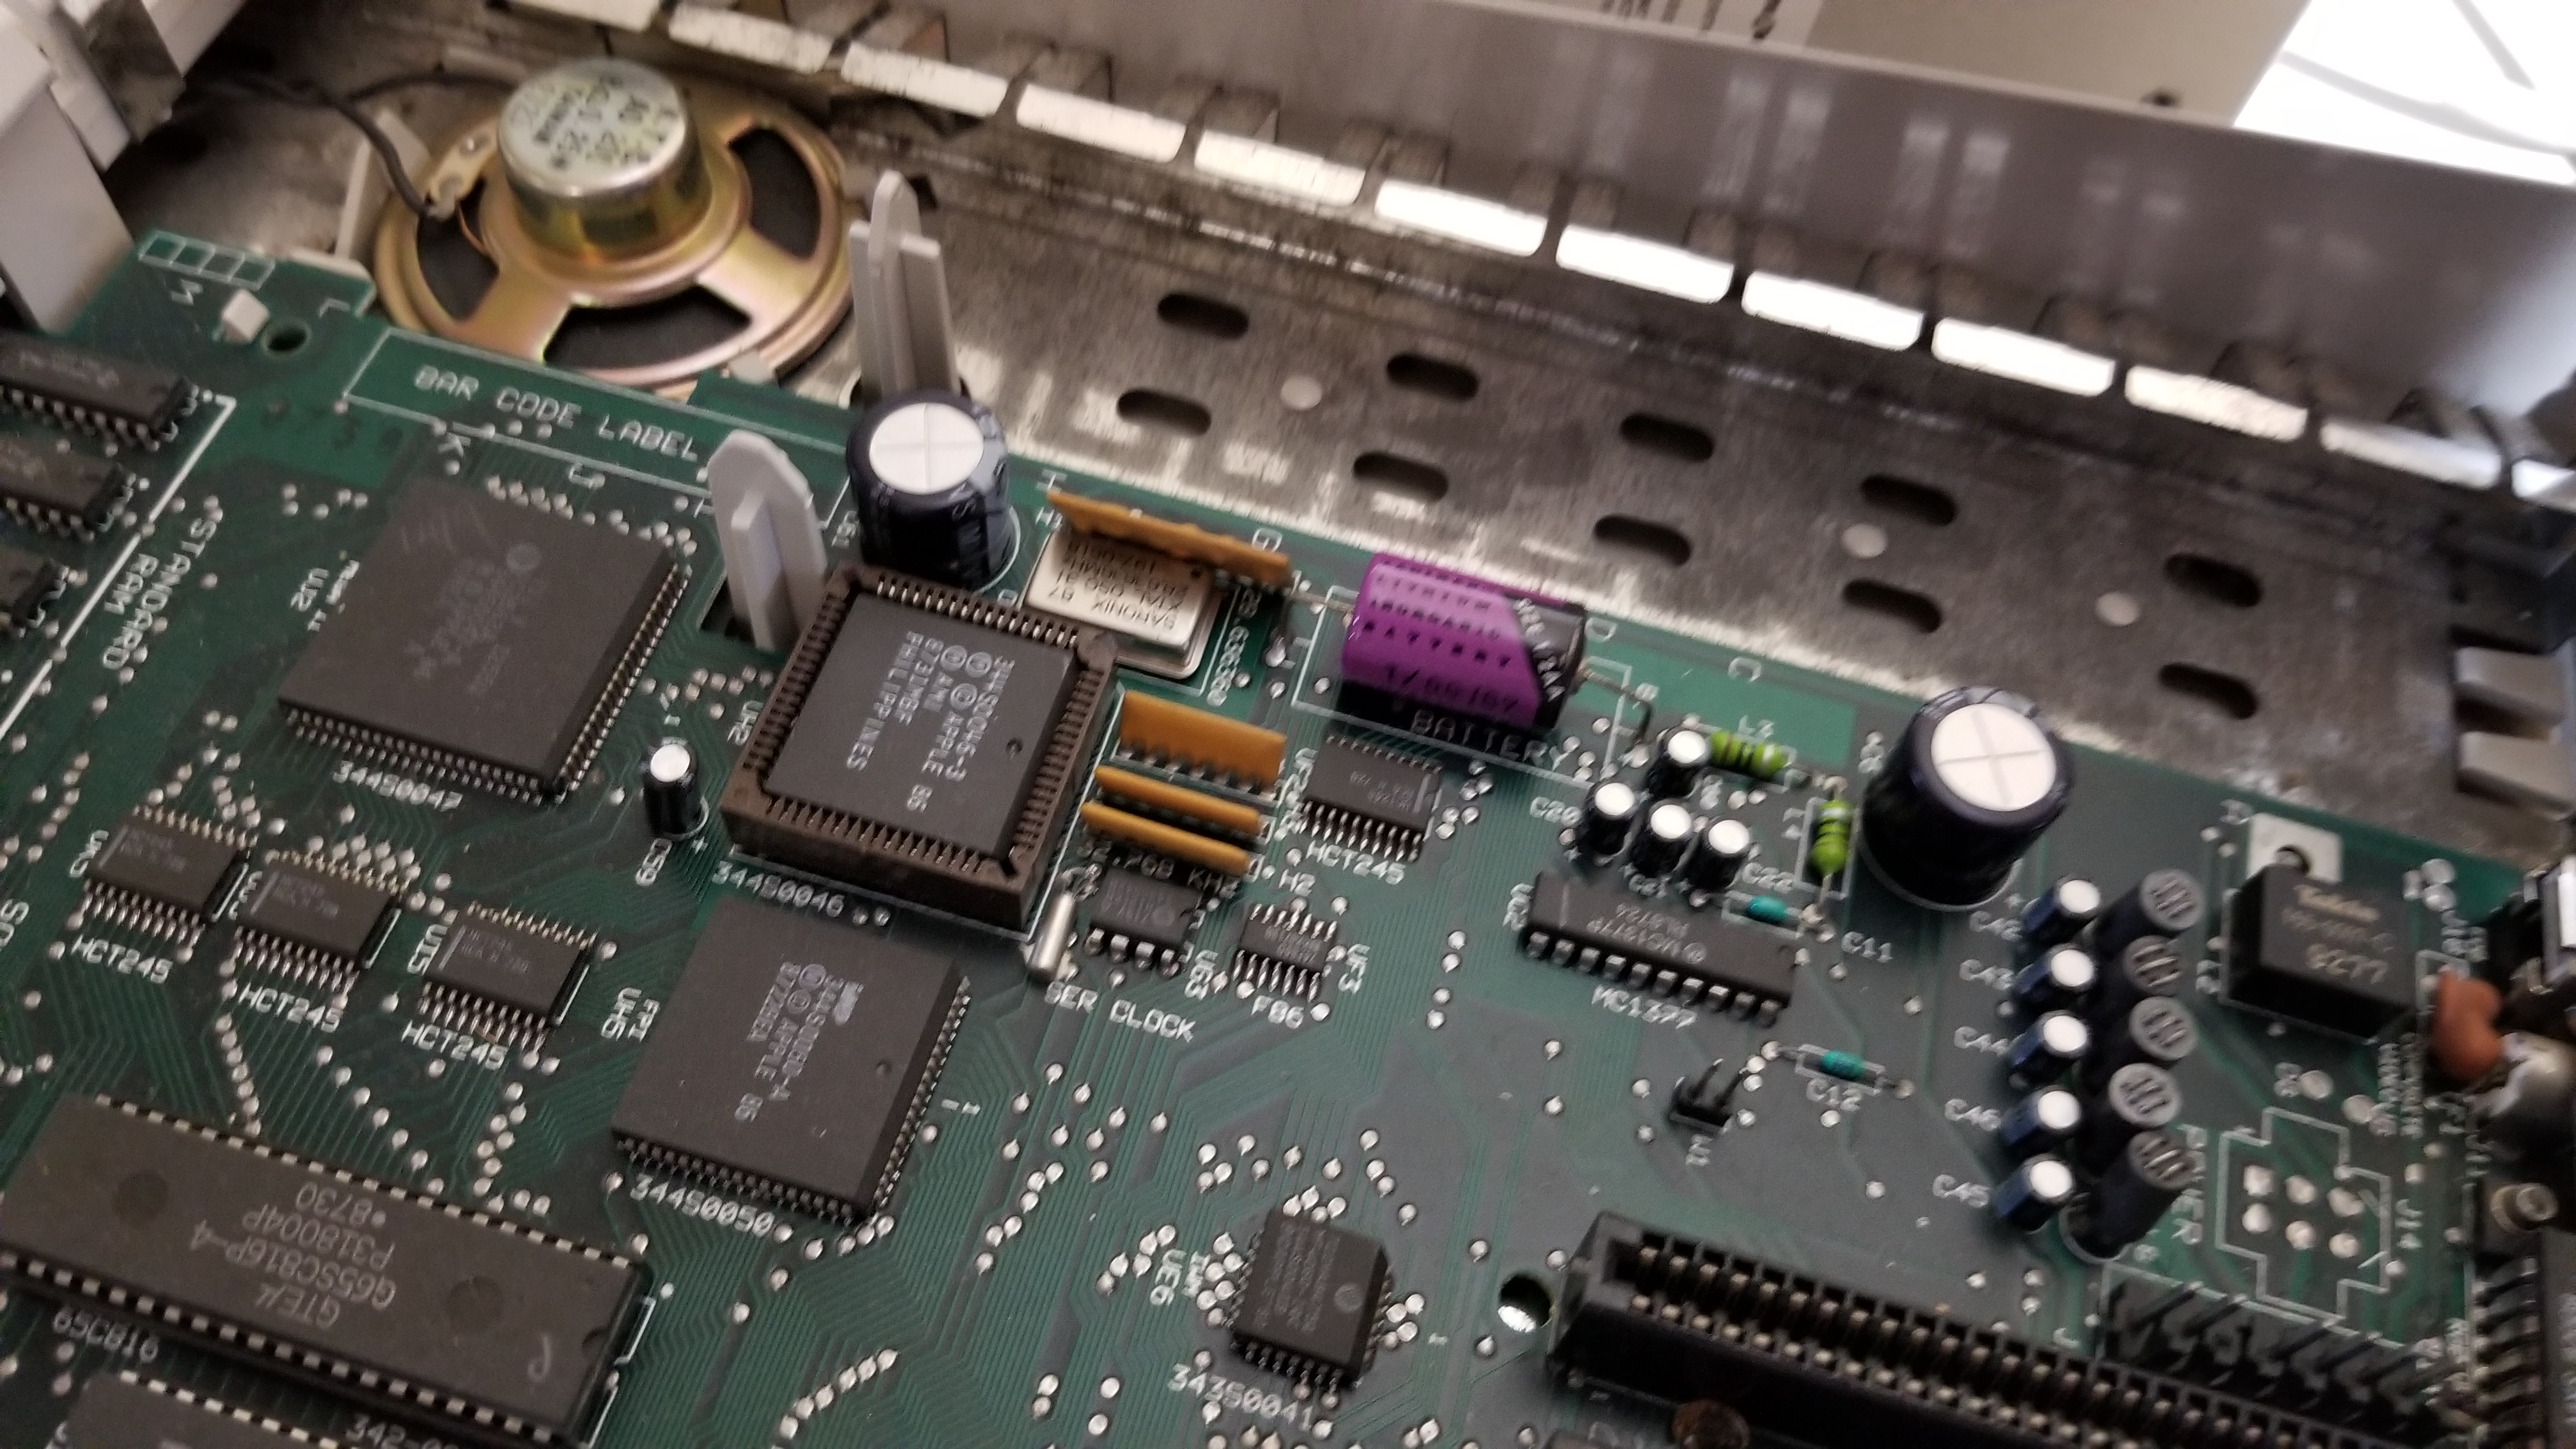
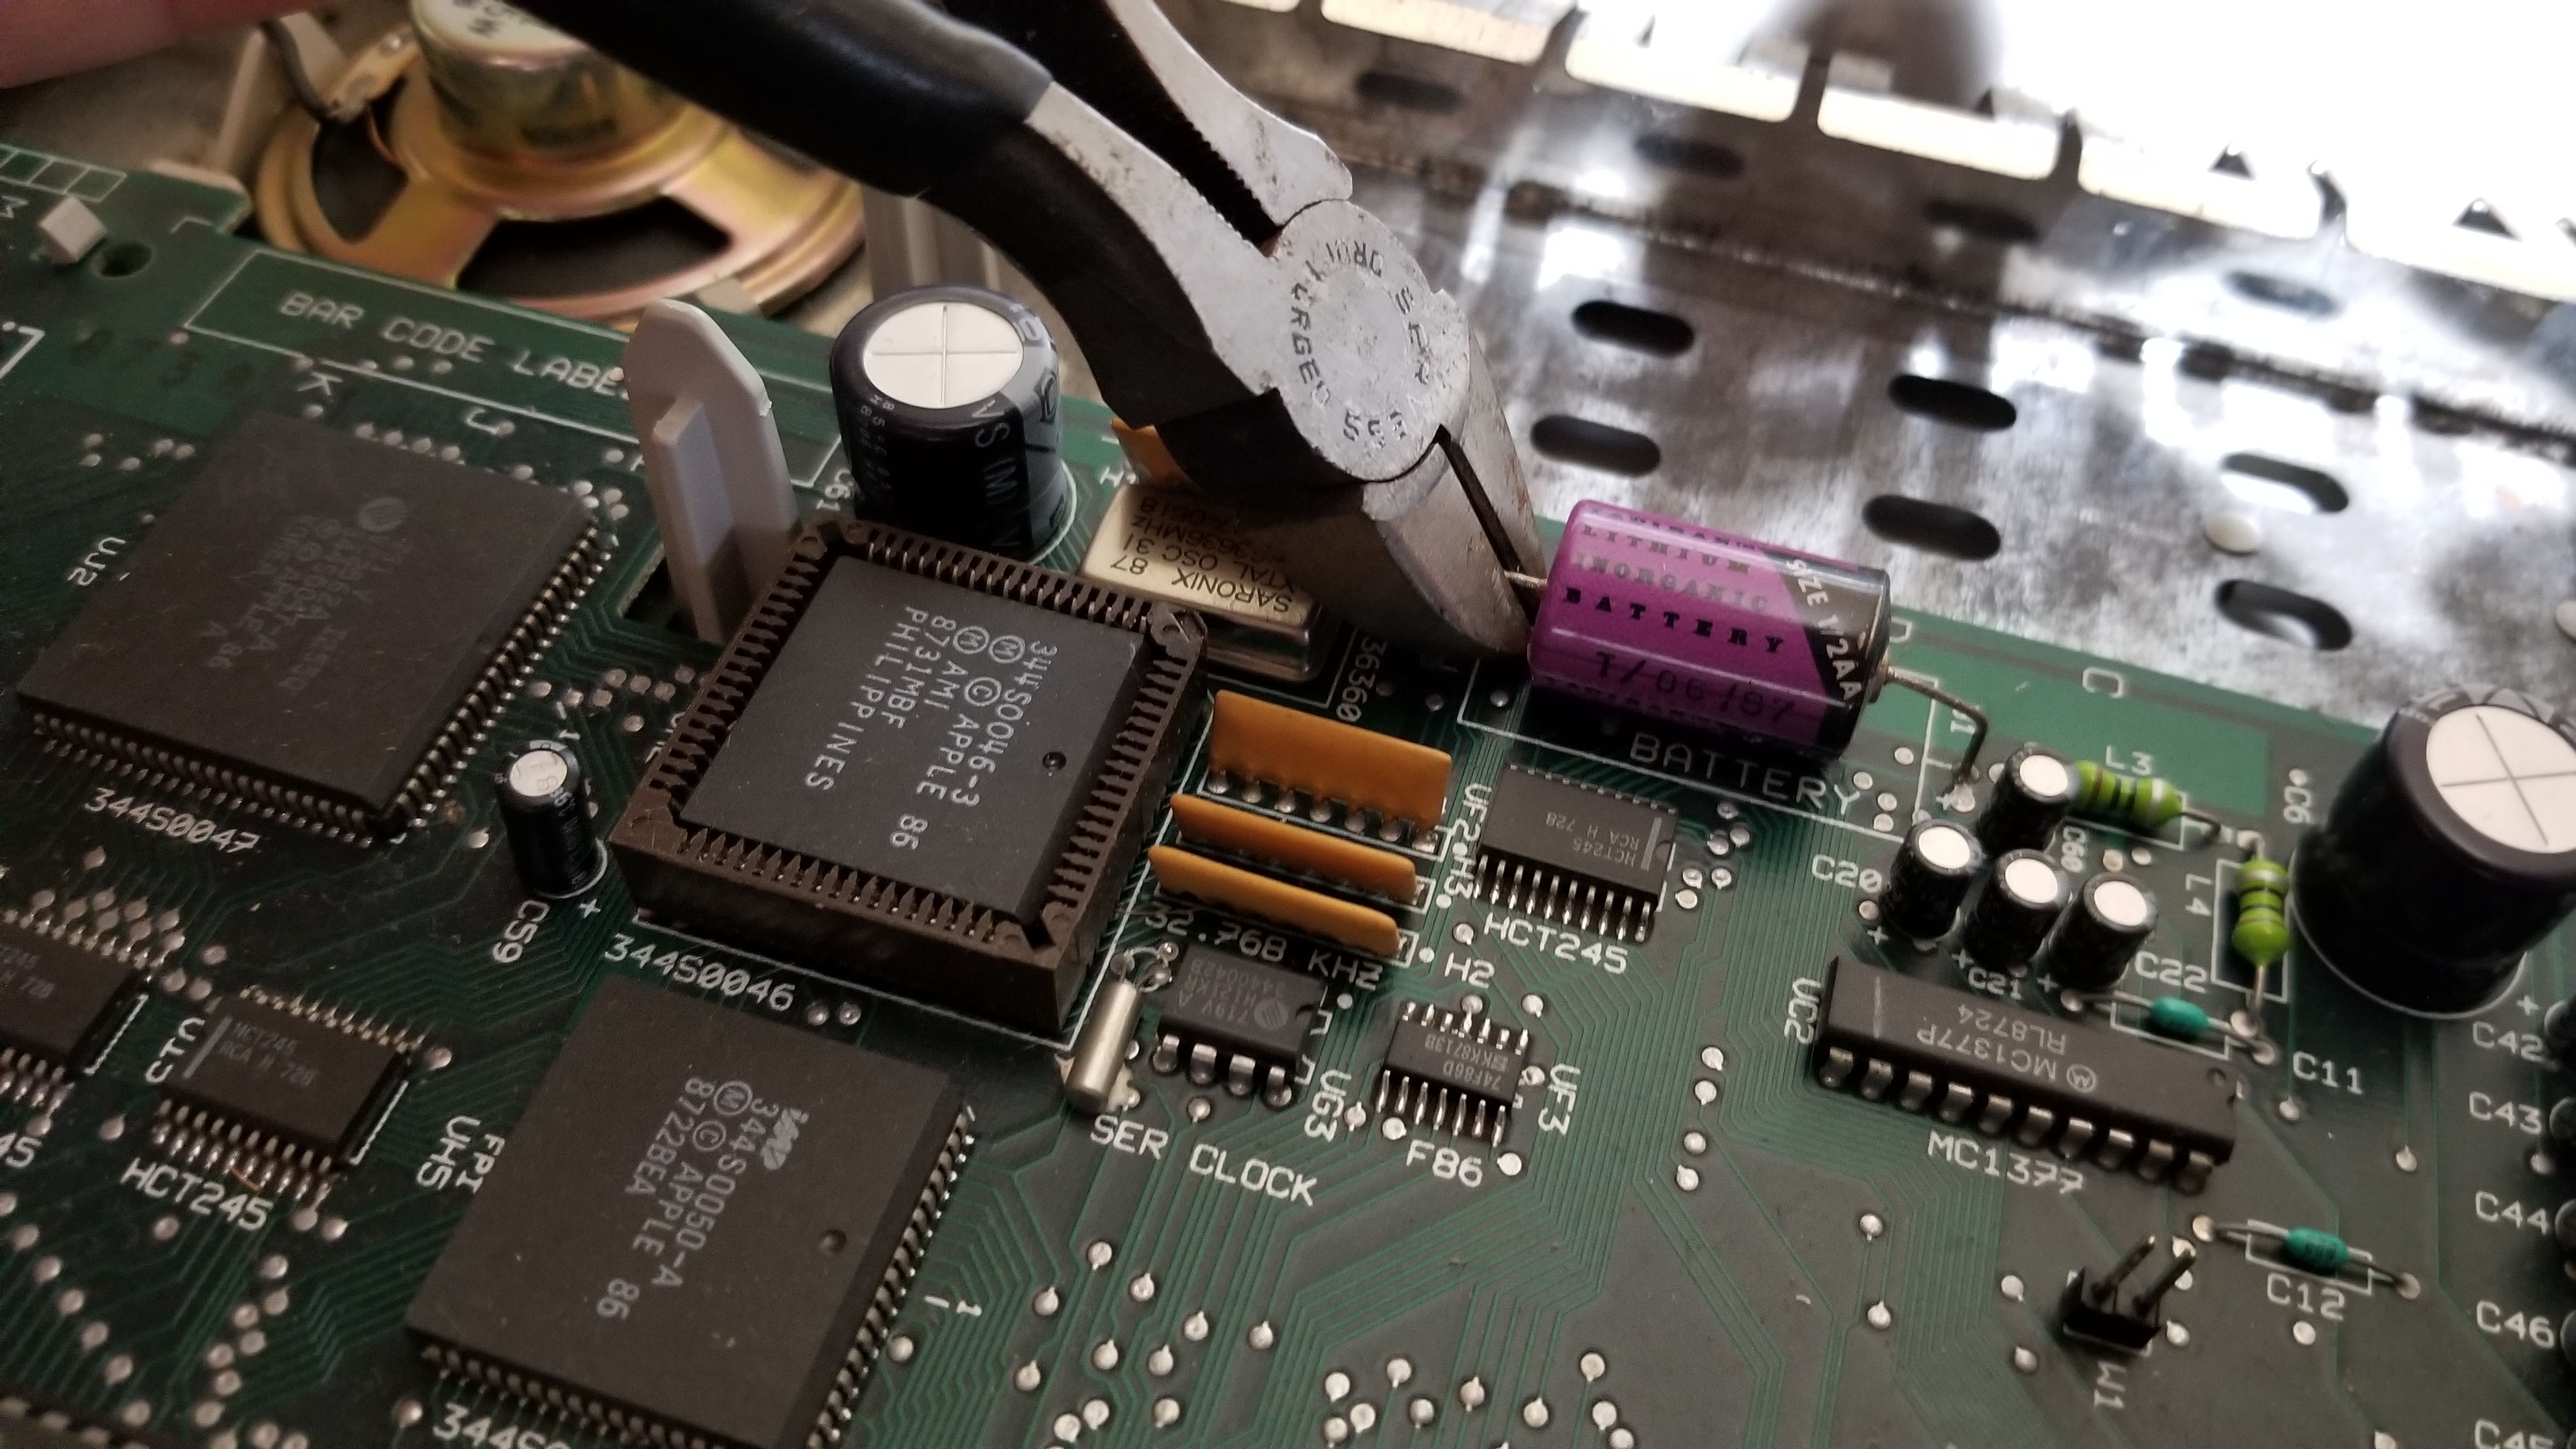
Using a pair of wire cutters, carefully snip the battery connectors snug up against the battery.
This is really just to leave your options open. There are three battery replacement options, and one option involves attaching connectors to the leftover ends.
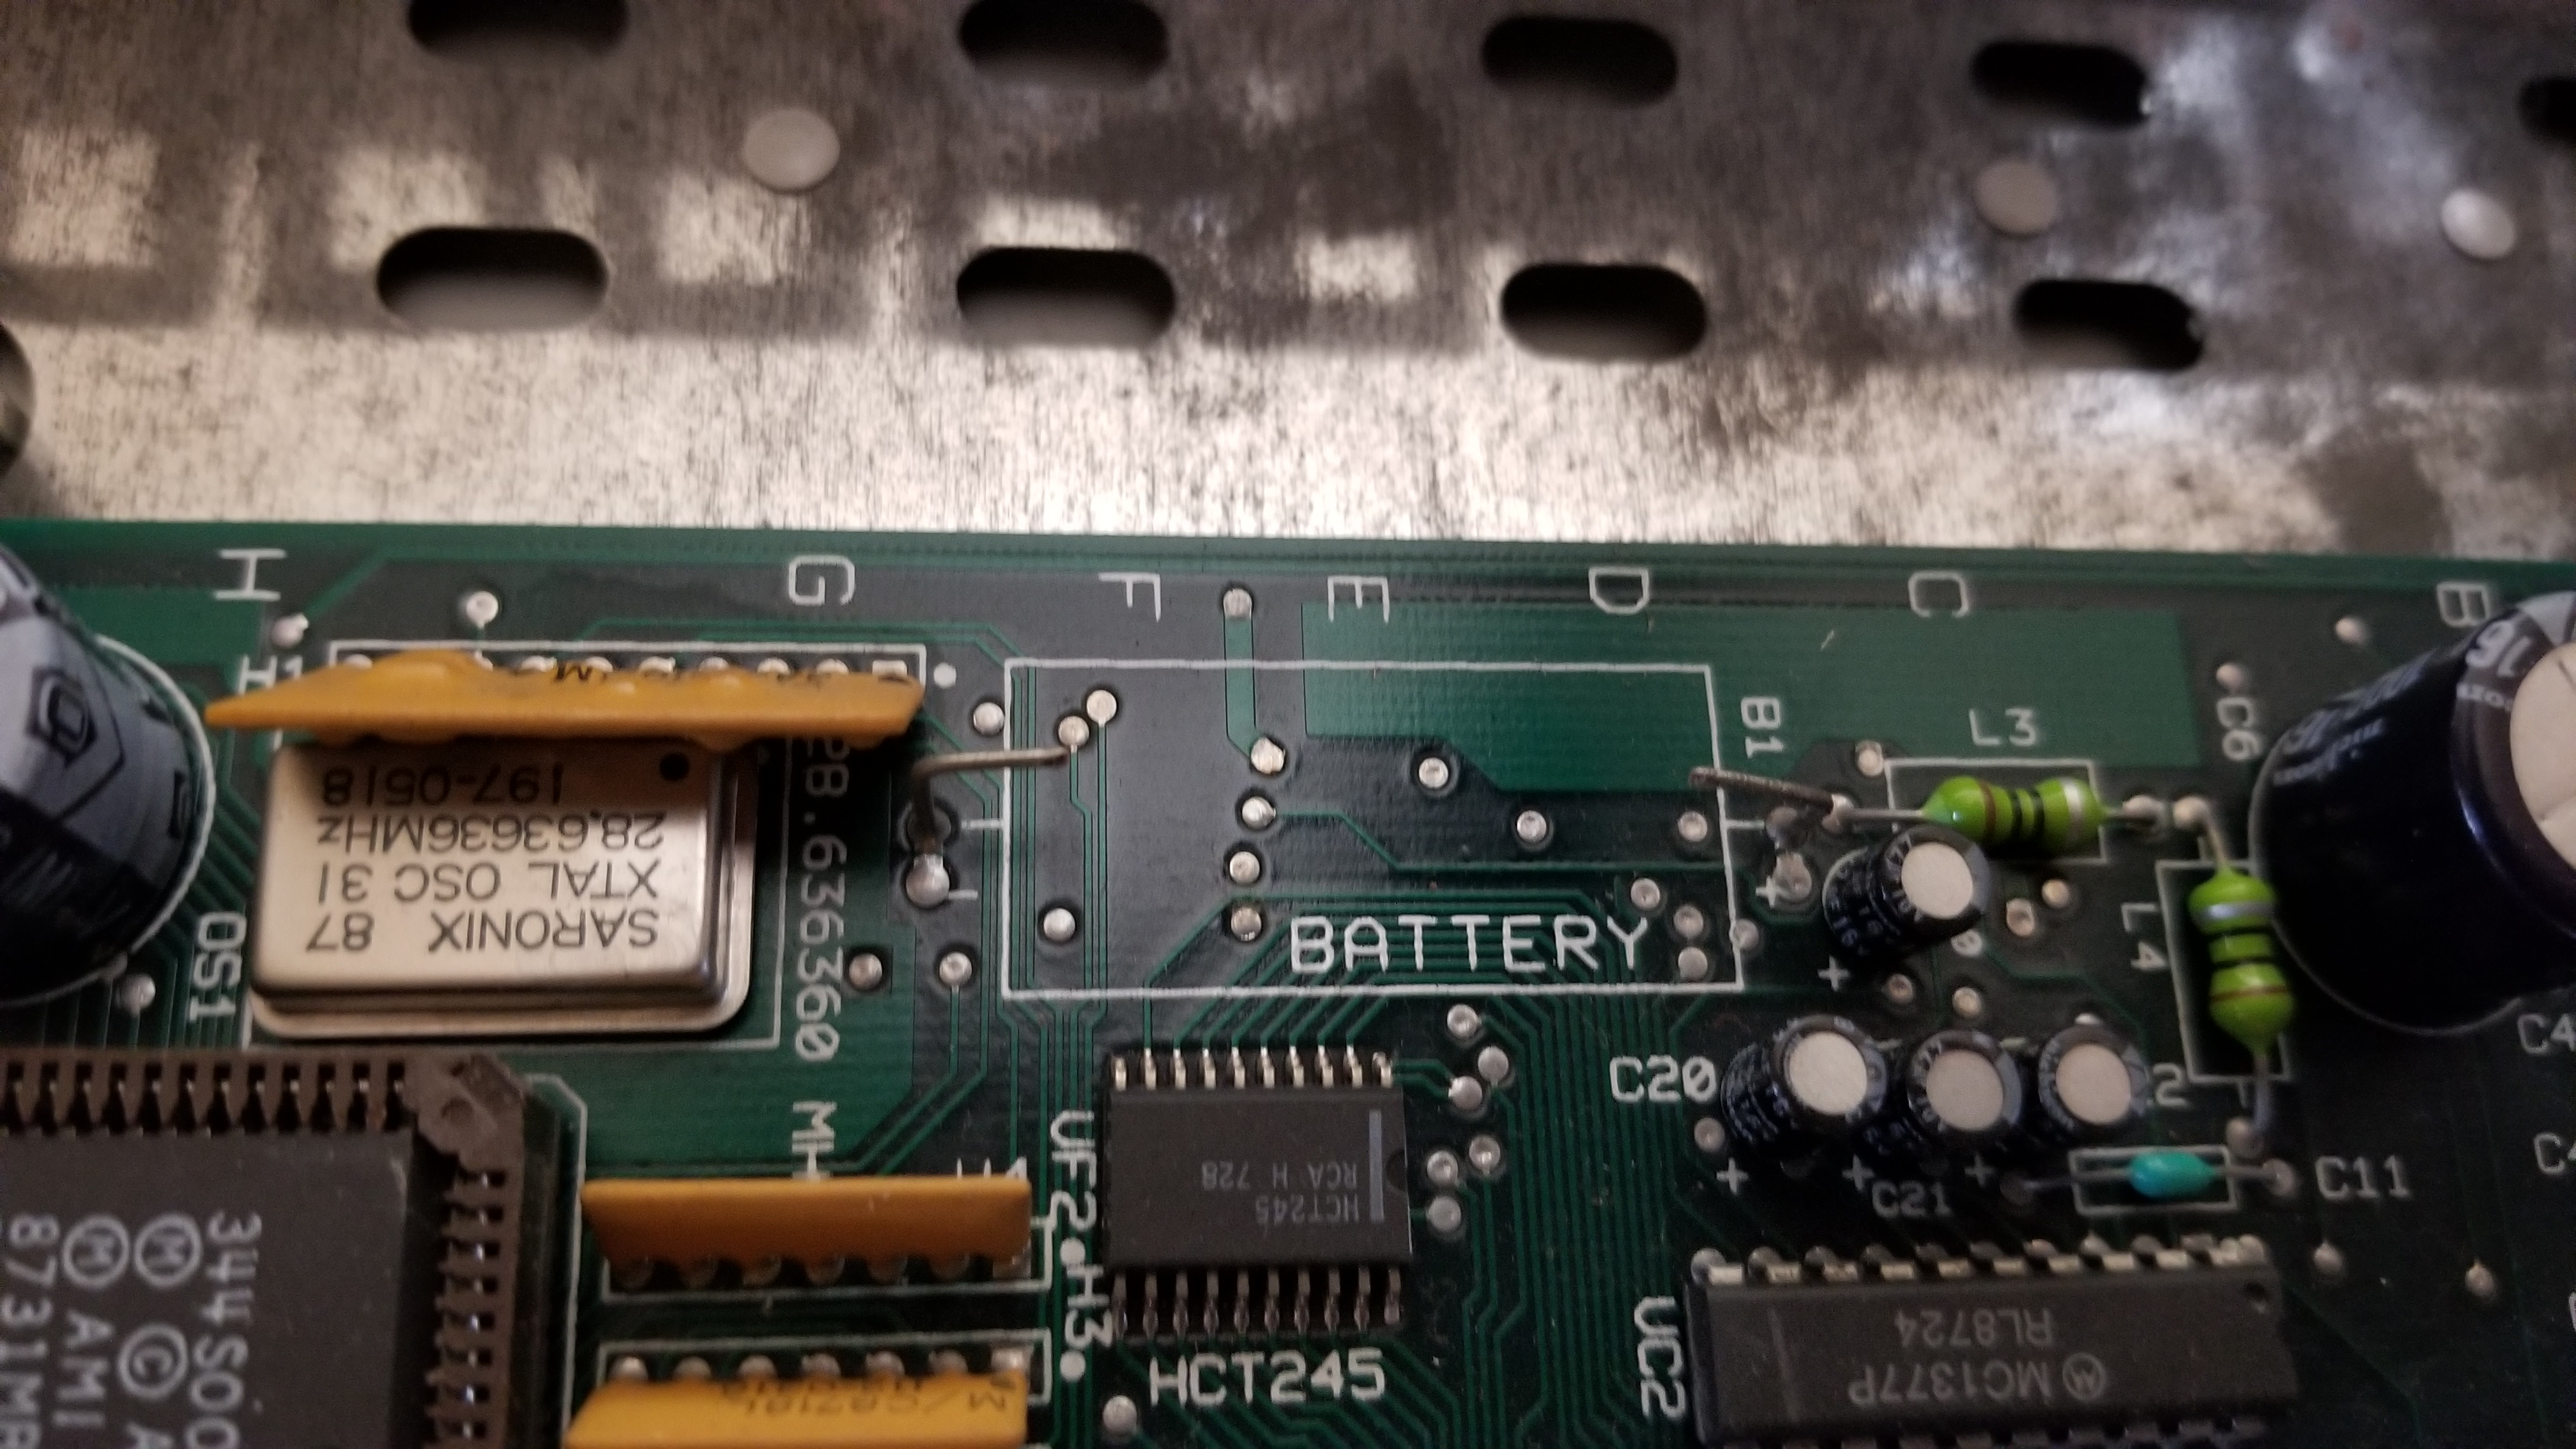
You will be left with a lonely space where the battery once stood.
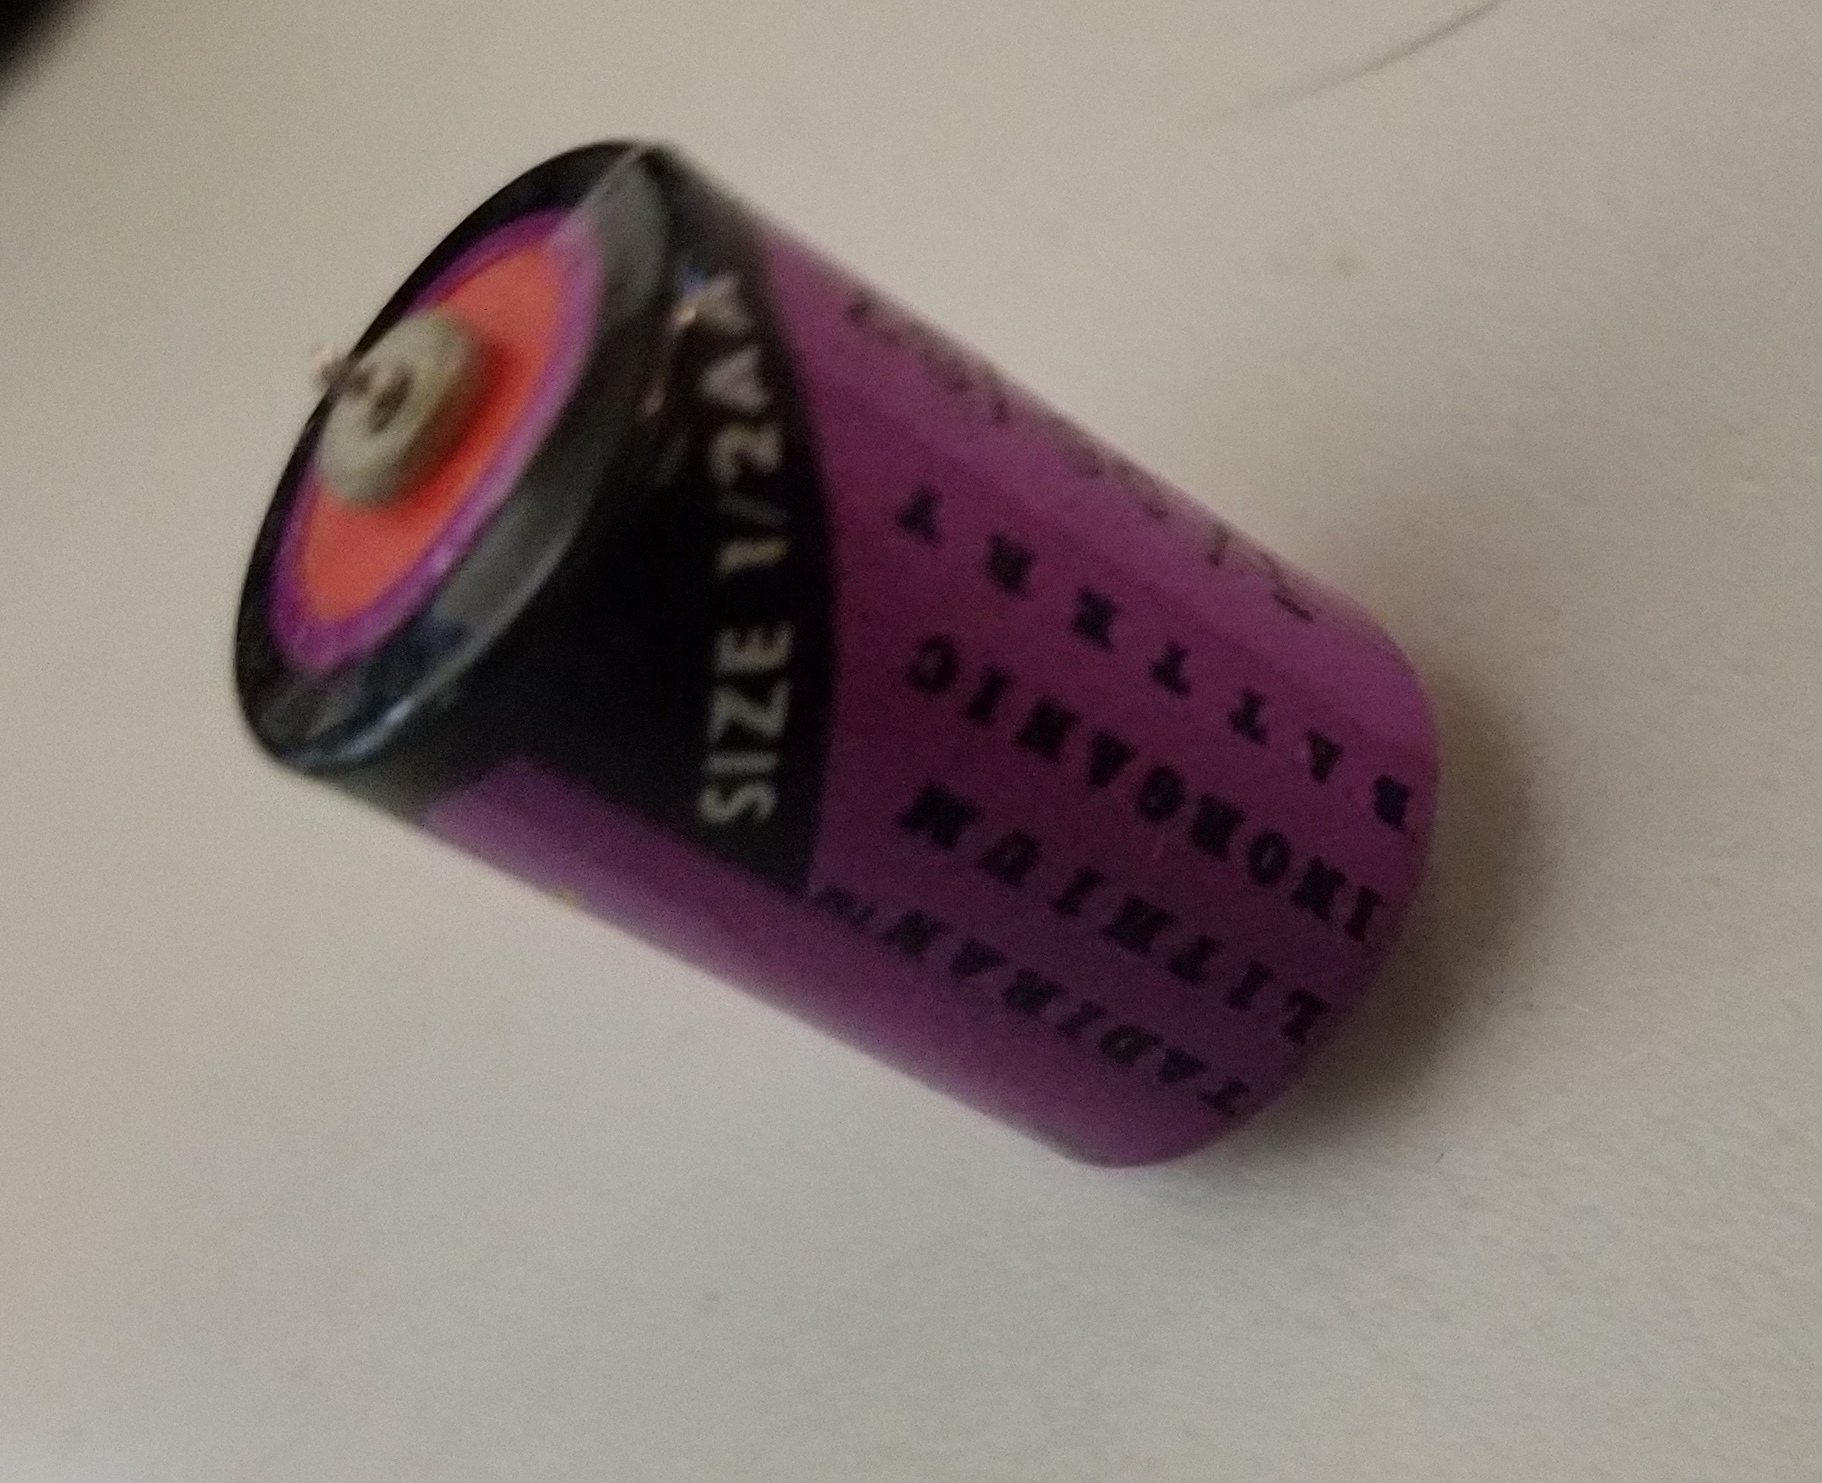
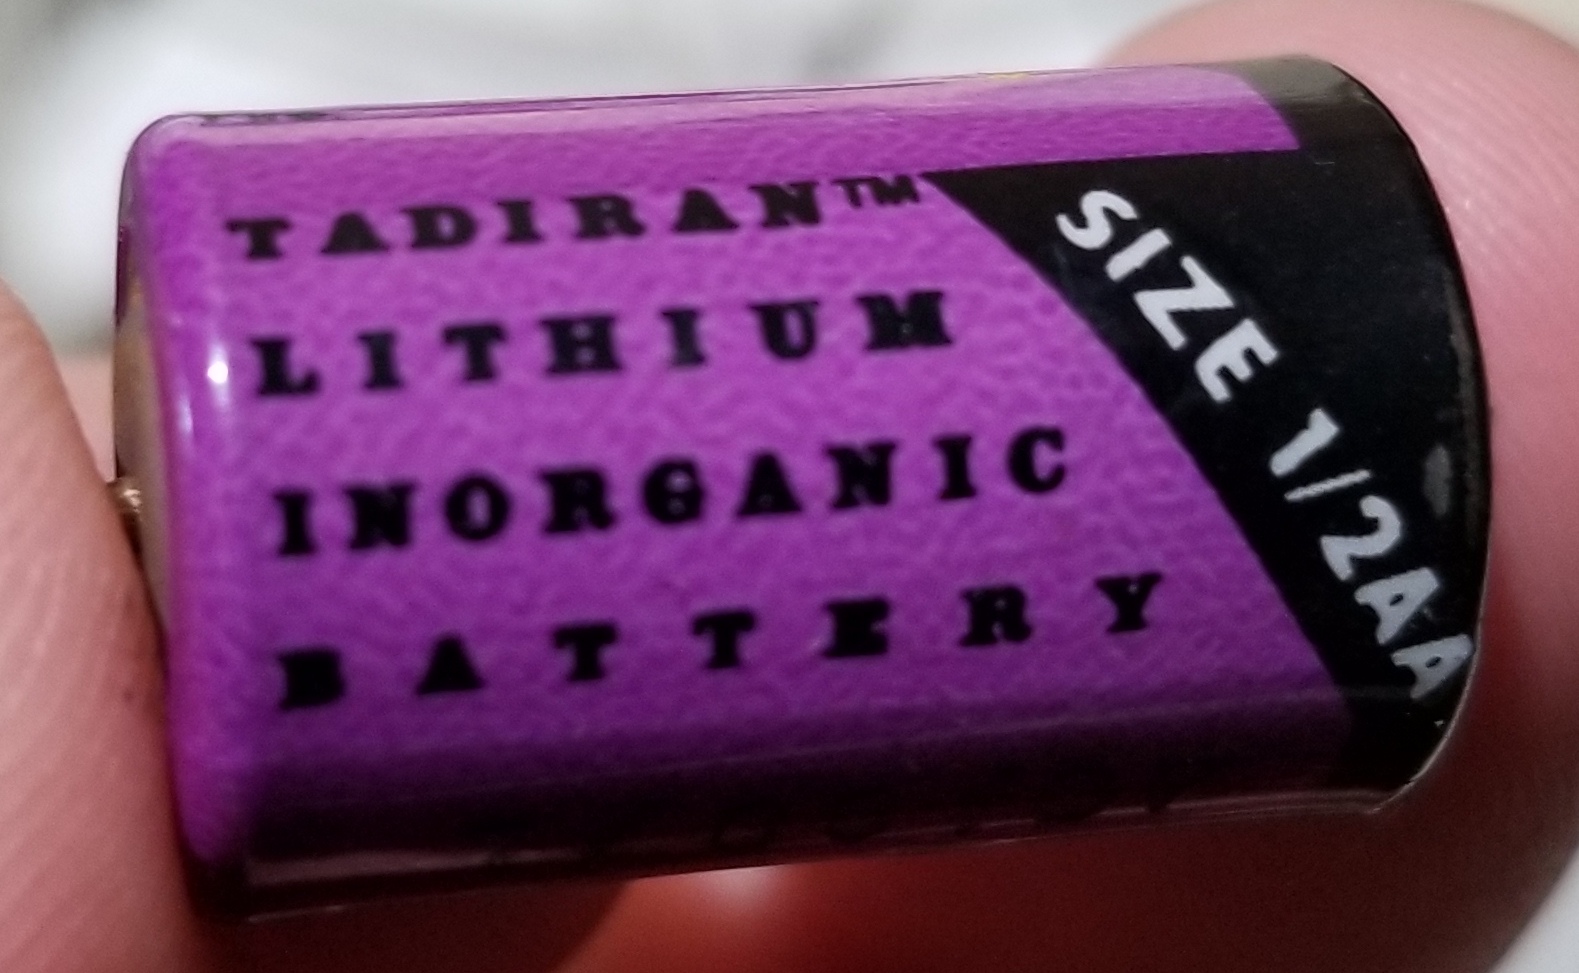
When done, you can marvel at how cute the 1/2AA battery is, and then dispose of it properly.
Look, Ma! No Batteries!
The Apple IIgs will work just fine without the battery installed, so do not delay in removing the battery.