Using Espruino with a NodeMCU
Download espruino firmware and install esptool for flashing the NodeMCU
wget https://www.espruino.com/files/espruino_1v97.zip
mkdir espruino_1v97
cd espruino_1v97
cd espruino_1v97_esp8266


pip install esptool
Flash the Epsruino firmware to the NodeMCU
Start the NodeMCU in ROM Flash Mode
- Connect the power to the NodeMCU while holding down the Flash button.
- The flash button will startup the NodeMCU in ROM flash mode.
Connect the NodeMCU using a USB Hub or external power supply
- The NodeMCU will draw 5.5v of power.
- If you are programming the NodeMCU using a Raspberry Pi, you will find that the power draw will be too large and your Raspberry Pi will shutdown.
- I find it easiest to connect to the NodeMCU through a powered USB hub.
Flash the Espruino ROM to the NodeMCU
esptool.py --port /dev/ttyUSB0 erase_flash

esptool.py \
  --port /dev/ttyUSB0 \
  --baud 115200 write_flash \
  --flash_freq 80m \
  --flash_mode qio \
  --flash_size 32m 0x0000 \
  "boot_v1.6.bin" \
  0x1000 \
  espruino_esp8266_user1.bin \
  0x3FC000 \
  esp_init_data_default.bin \
  0x37E000 \
blank.bin- After flashing the NodeMCU with Espruino, recycle the power on it twice.
Connect to the Espruino NodeMCU
- Gotcha: You can not connect to the Espruino terminal using both the serial connection (minicom) and the Web IDE at the same time. Only one of the two can be active at once.
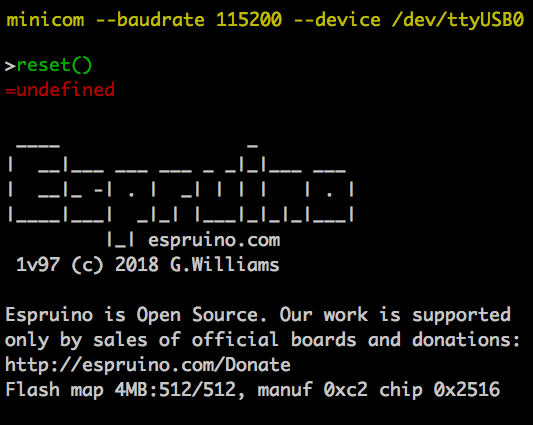
Connect to the Espruino NodeMCU using minicom
minicom --baudrate 115200 --device /dev/ttyUSB0Connect to the Espruino NodeMCU using the Espruino Web-IDE
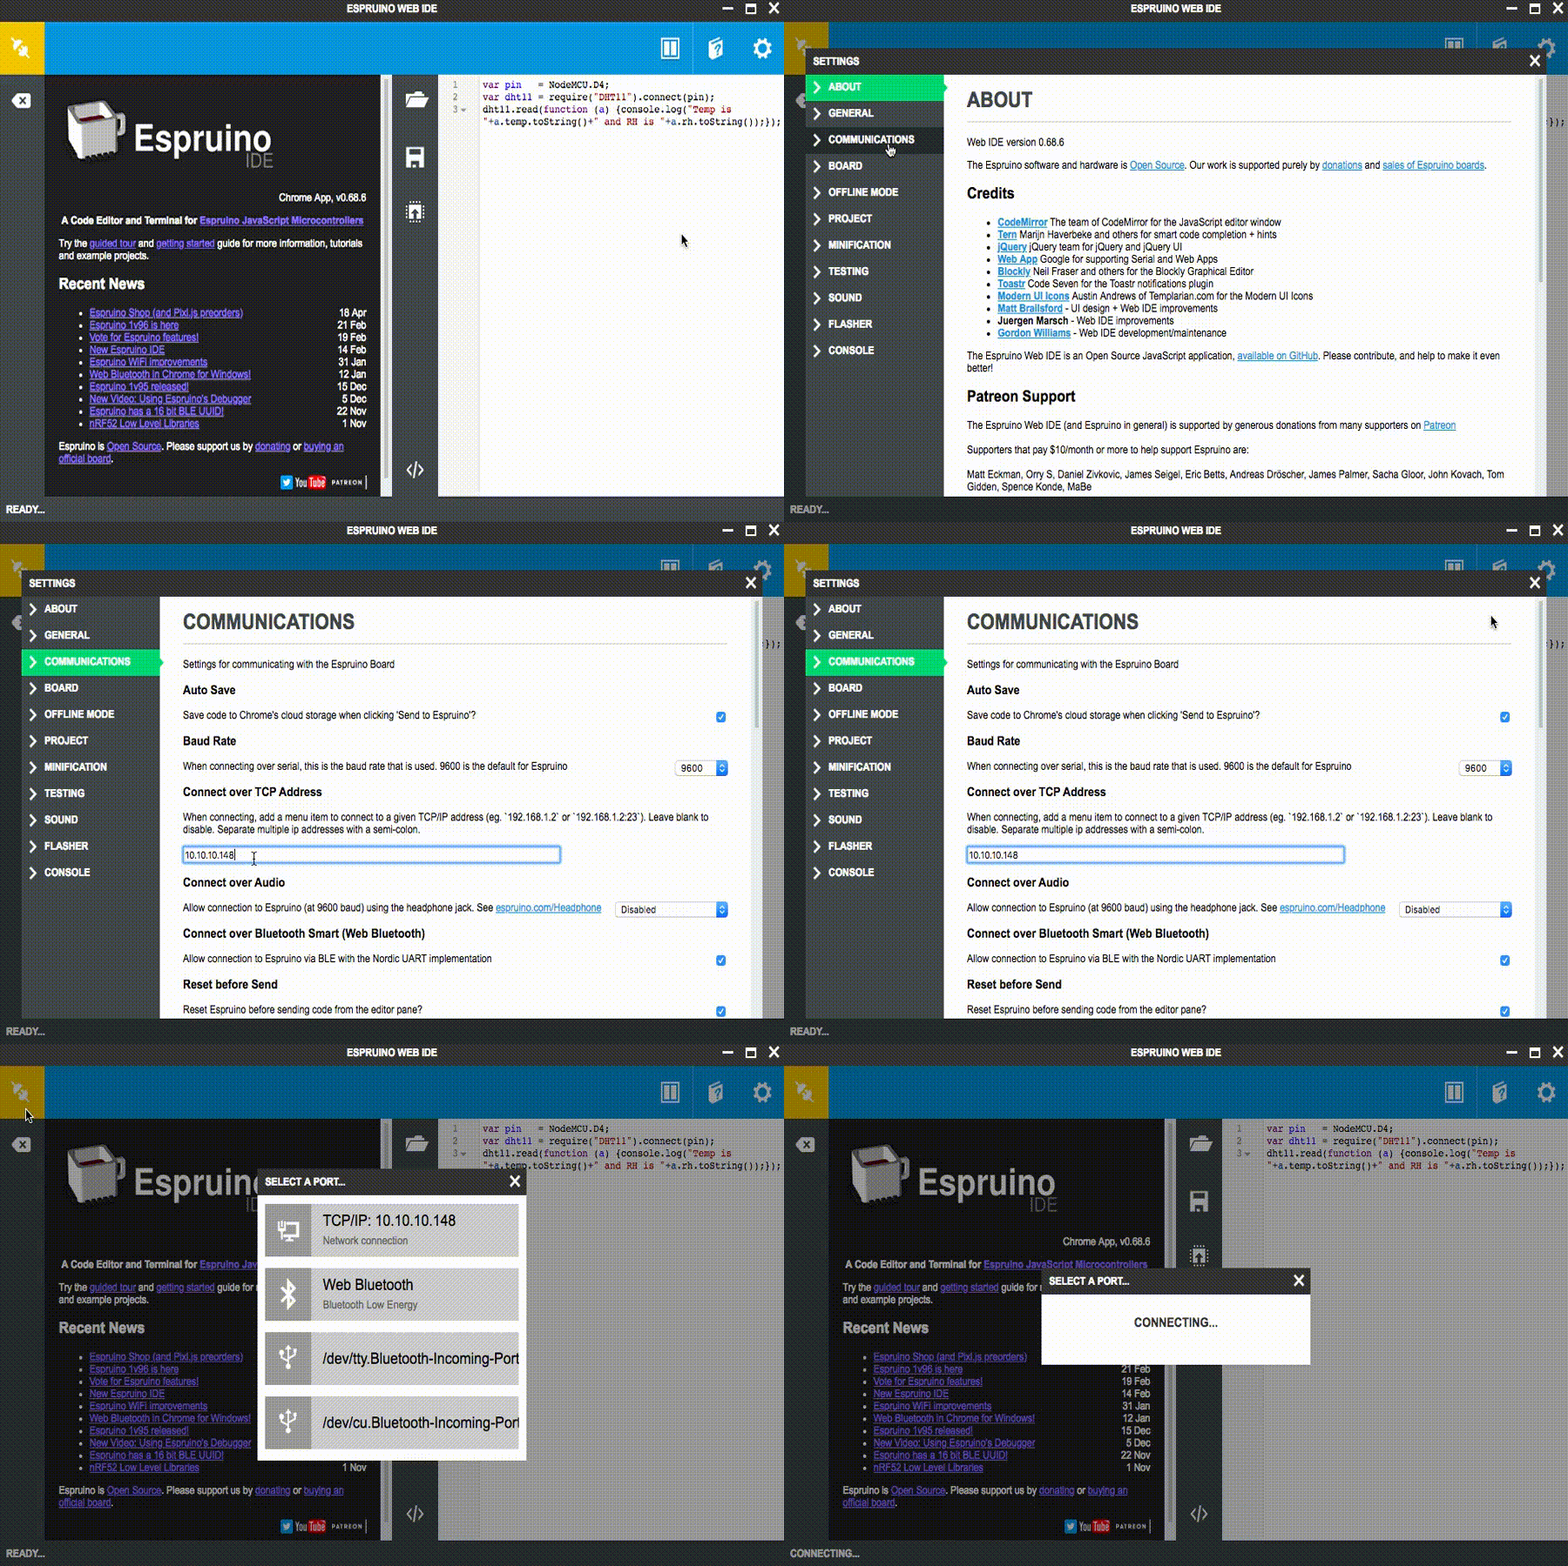
-
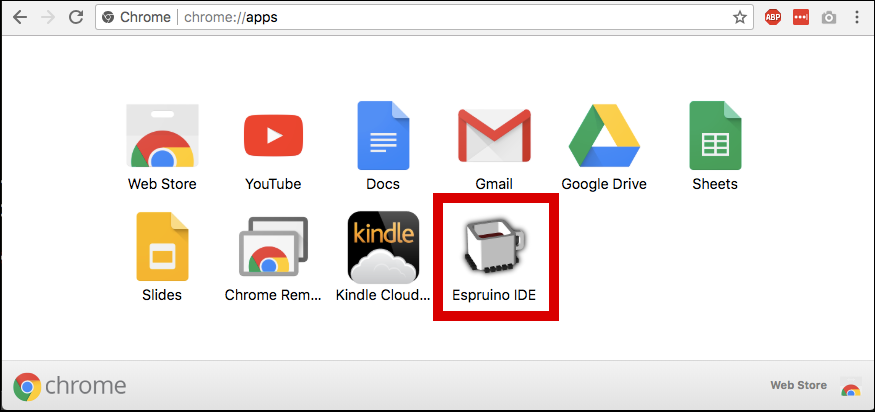
Launch the Espruino Web IDE

- Connect to the Espruino over TCP/IP

Connect the NodeMCU to a Wireless Network
var ssid     = 'xxxxxxxxx';
var password = 'yyyyyyyyy';

var wifi = require('Wifi');
wifi.connect(ssid, {password: password}, function() {
    console.log('Connected to Wifi.  IP address is:', wifi.getIP().ip);
    wifi.save(); // Next reboot will auto-connect
});


// Connected to Wifi.  IP address is: x.x.x.x
The =undefined status message
- =undefined is an odd and unsettling status message.
- The Espruino developers explain that this is normal and it indicates the result of the last operation was undefined.
- For example, console.log has no defined result.
